
Weeknight Meatloaf + Rosemary Potatoes
Every week I ask the family what they want for dinner. And every week Mr Hedin says “meatloaf.” Literally, every week. Everyone else groans. I end up making it every few weeks but not as often as Mr Hedin would like.
The problem with meatloaf is that it’s usually too thick to cook easily for dinner. I found that by flattening the loaf to a reasonable thickness, I can make this in about 30 minutes. Plus - I can pop the potatoes in the oven on a baking sheet next to the meatloaf and they are done at the same time (-ish). While it bakes, I usually make a green salad. But you could also throw some asparagus or broccoli in the oven with everything else.

Weeknight Meatloaf
Serves 4
2lb ground beef
1 cup ketchup
1 grated onion
1 tsp worchestershire
1 egg
1 cup bread crumbs
1 clove garlic, grated
¼ cup milk
½ lb potatoes, slice in half
4 sprigs rosemary
salt
STEP 1
Preheat oven to 400 degrees.
Combine together ground beef, ketchup, onion, worchestershire, egg, breadcrumbs, garlic, and milk.
STEP 2
Form into a flat loaf on a rimmed baking sheet lined with foil. Squeeze ketchup on top. Bake 30 minutes until done all the way through. I usually make sure the middle is not pink and then I know it’s done. Because it’s so thin, it should cook quickly. You can also use a thermometer and make sure your beef is at 180 degrees.
STEP 3
Preheat oven to 400 degrees.
Toss potatoes with rosemary and salt. Bake 20-30 mins until crispy. I put both in the oven at the same time and they are done at the same time - usually!























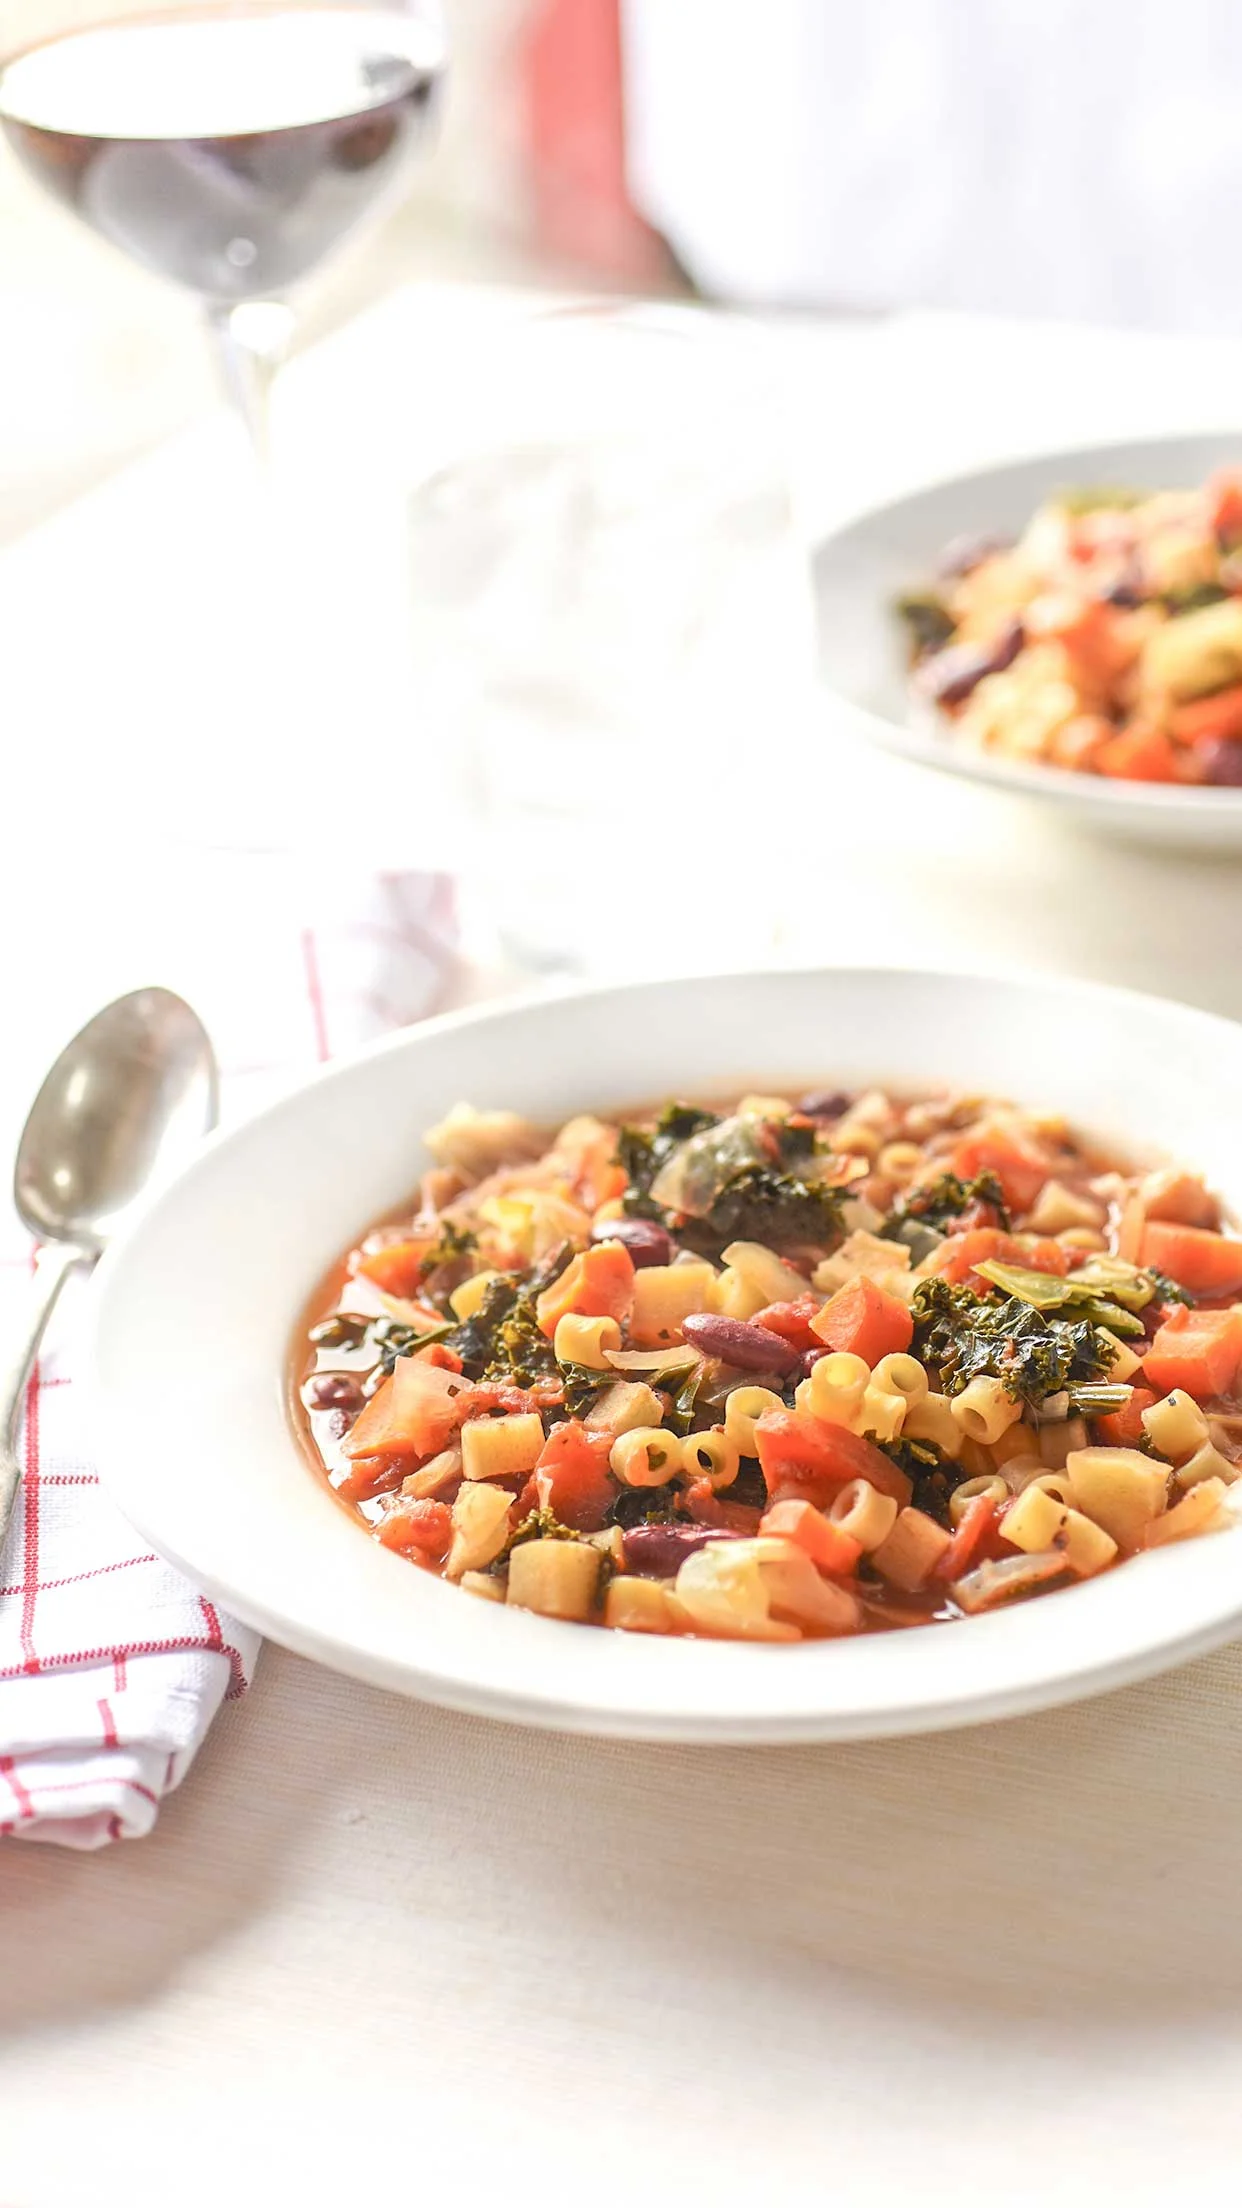
In-No-Way-Authentic Dan Dan Noodles
We are a mostly non-dairy house. That severely limits some of the options for dinner. Luckily, Asian inspired dinners are always an option. I am constantly recreating things we’ve had from takeout or making up things that feel like our favorite take out places.
This is a mash up of those inspirations. Dan Dan noodles are a Szechuan dish that I have completely changed from it’s original form by using curry (not Chinese) instead of the traditional sambal olek and removed the Szechuan peppers so my kids will actually eat it.
Is it authentic? No. Is is even Dan Dan Noodles? Hard to say. But it’s delicious and we love it. I think you will too.


In-no-way-authentic Dan Dan Noodles
Serves 4
1 red onion, sliced
2 tablespoons olive oil
2 lb ground pork
2 tbs red curry paste
2 tbs rice vinegar
2 tbs soy
2 tsp ginger
2 cloves garlic
2 carrots, grated
2 cups chicken stock
1 lb pappardelle noodles
4 scallions, whites and greens chopped
1 cup bean sprouts
¼ cup peanuts, chopped
STEP 1
Heat two tablespoons of olive oil in a large sauce pan and cook the onions slowly until translucent. Use low to medium heat so they cool nice and slow.
STEP 2
Add ground pork with red curry paste, rice vinegar, soy sauce, ginger, and garlic to the pan and cook until browned.
STEP 3
When meat is browned, add carrots and stock. Stir to combine and bring to a boil.
STEP 4
Add noodles to the pan and stir to cover with stock. Cover and let summer on low until the noodles are done.
STEP 5
When noodles are done serve hot with scallions, bean sprouts and peanuts.




Strawberry Oatmeal Bars
I started making these bars for our meal prep breakfasts a few years ago and totally forgot to share them with you! My husband just likes them cold. I like them crumbled up in a bowl like it’s cereal - then I pour almond or coconut milk on top and add more berries.
I’ve made these with raspberries and blueberries, but strawberries are my favorite.

Strawberry Oatmeal Bars
With sliced almonds
Makes 12 bars
1 cup old fashioned oats
1 cup quick oats
2 tbs brown sugar
2/3 cup almond milk, or other milk
3 tbs coconut oil
3 eggs
½ teaspoon salt
1 tsp vanilla
1 tsp almond extract
1 cup chopped strawberries
½ cup sliced almonds
STEP 1
Preheat oven to 350 degrees.
In the bowl on a stand mixer, combine oats, brown sugar, and salt.
STEP 2
In a separate bowl, whisk together almond milk, coconut oil, eggs, and extracts.
STEP 3
Slowly pour the milk mixture into the dry ingredients and mix until they are just combined.
STEP 4
Stir in chopped berries and almonds. Bake in a preheated oven for 25 minutes until a toothpick comes out clean. Let rest in the pan 5 minutes before cutting.
Store in an airtight container in the refrigerator for up to one week.

Share with me on Instagram if you make these too. I can’t wait to see what you do with them!


UPDATED | Sour Cream Coffee Cake
Every year I make a coffee cake for my kids birthdays. Some years I make my Coffee Cake Muffins - because this cake bakes for a full 45 minutes! On a school day there is almost no chance I’m getting up early enough to have a full hour to bake a cake and then let it rest before the kids leave the house. I am not that much of an early riser.
But when a birthday is on the weekend - or if I plan ahead the night before - then they get the whole cake. This year we had a snow day, so the whole cake was made for Pearl’s birthday. Lucky for all of us, the whole neighborhood came over for breakfast, so we celebrated with all of the 13 year boys in the area. Pearl was not thrilled. But it made for a fun, full house this morning and she did like that.

Sour Cream Coffee Cake
1/2 cup melted butter
2 eggs
1 cup sugar
1 tsp vanilla
2 cups flour
1 1/2 teaspoons baking powder
1/2 teaspoon salt
1 teaspoon cinnamon
1/2 cup sour cream
FOR THE TOPPING
3 tablespoons butter, room temperature
1/2 cup brown sugar
1/2 cup sugar
2 tablespoons flour
1/2 teaspoon cinnamon
STEP 1
Preheat oven to 350. Start by making the cake. Blend together melted butter, eggs, sugar and vanilla.
STEP 2
In a separate bowl combine 2 cups flour, baking powder, salt, and 1 teaspoon cinnamon.
Pour half of the dry ingredients into butter mixture blending until just combined. Add sour cream and combine with as few strokes as possible. Add the remaining dry ingredients and combine. I like to finish with a spatula so it isn’t over beaten.
STEP 3
Pour batter into an 9x9 baking dish and set aside while you make the topping.
STEP 4
With a fork, blend together all of the topping ingredients until it resembles sand. Spread evenly across the top of the batter.
Bake for 45 minutes to one hour until a toothpick comes out clean. Remove from oven and let sit for a few minutes before serving.





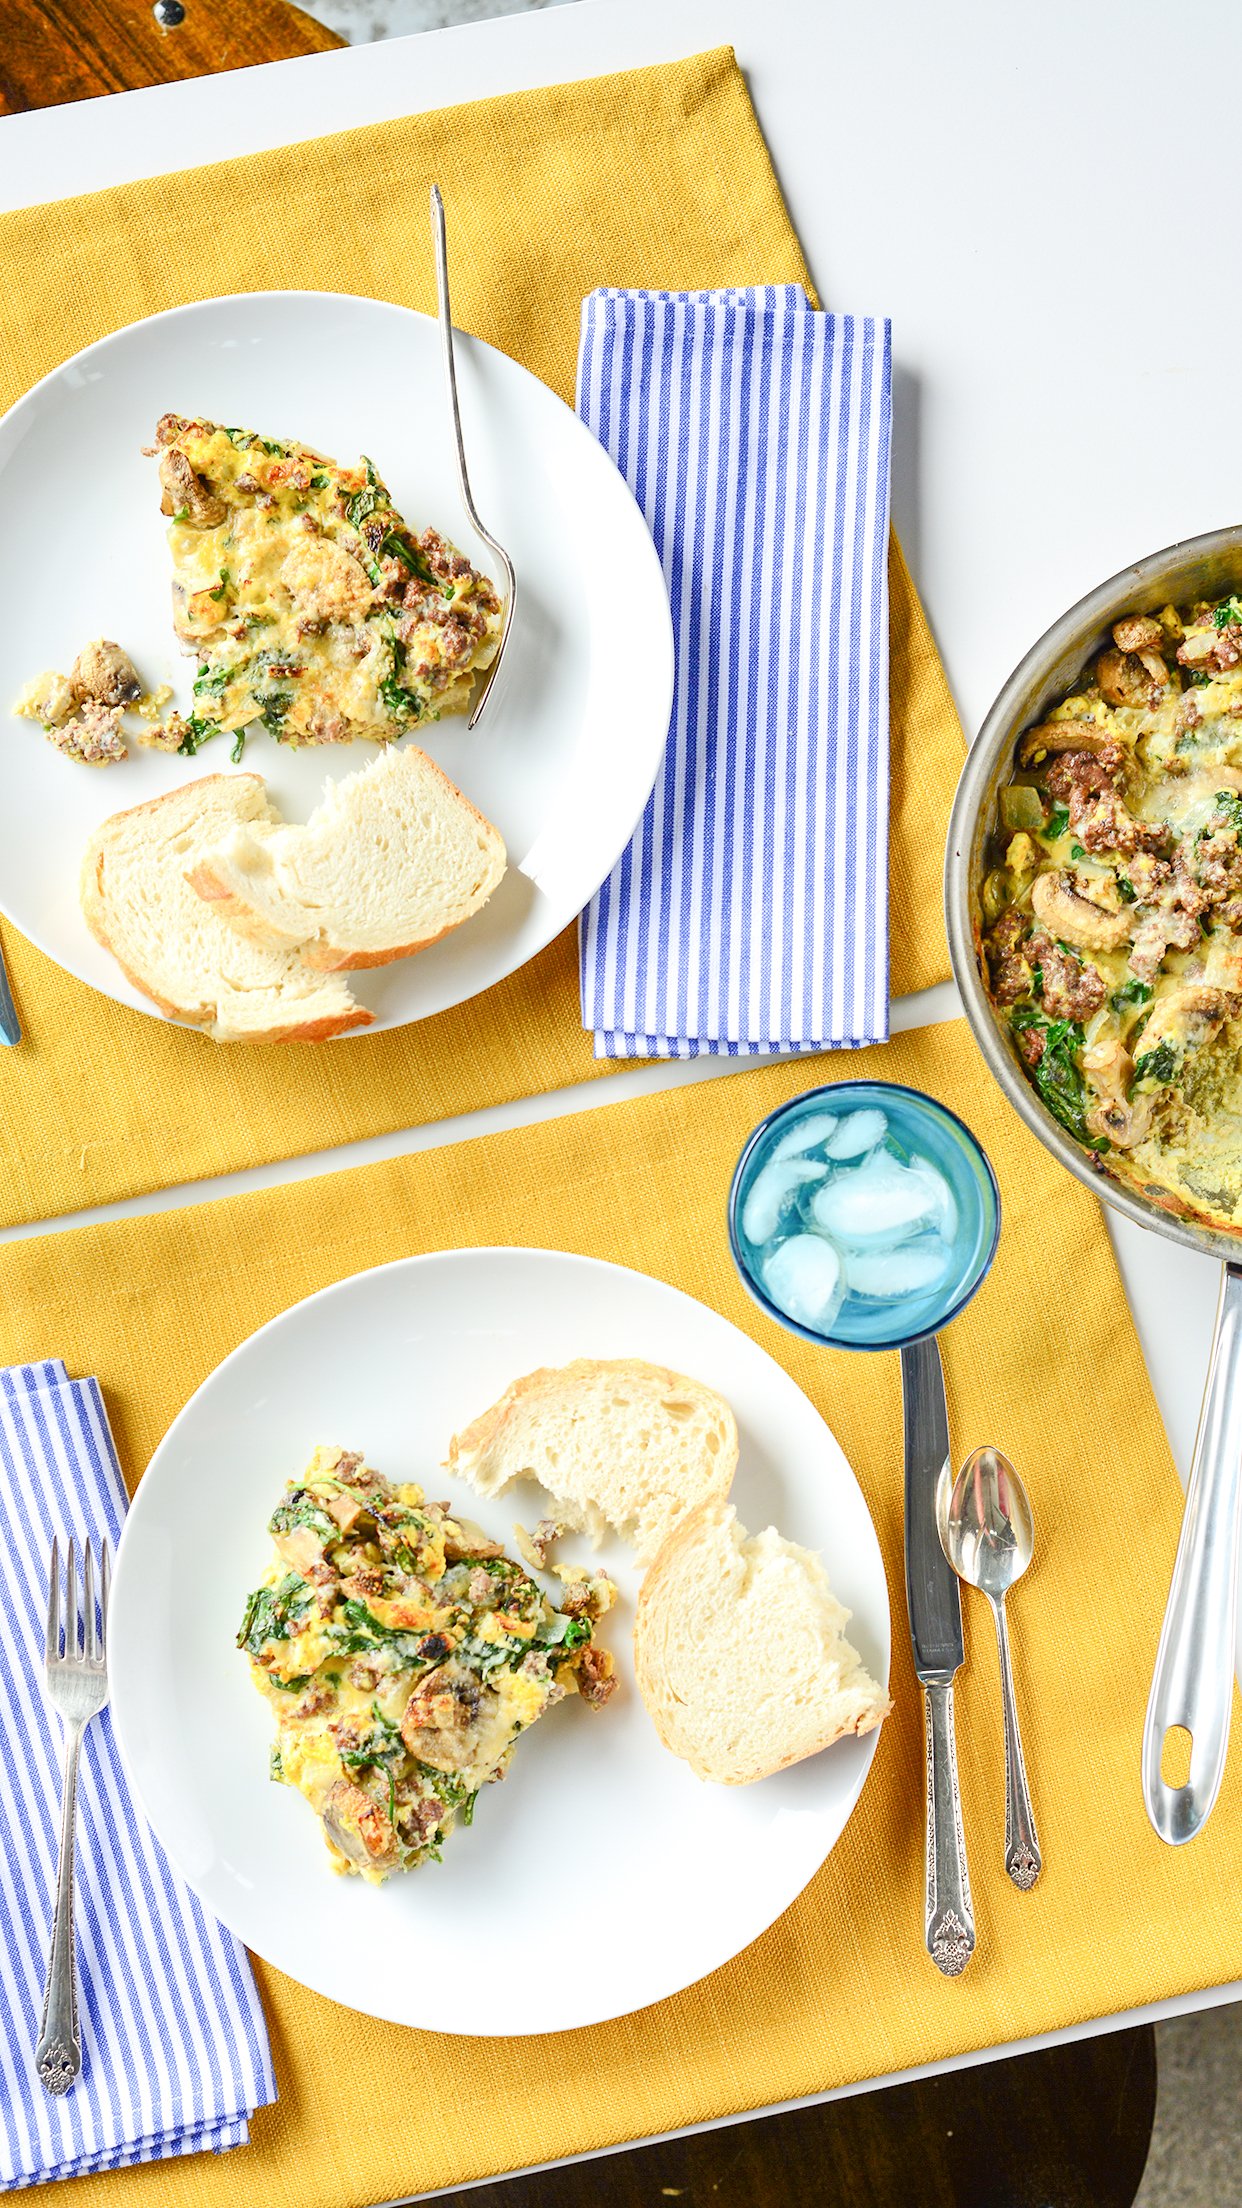







Heart Throb Pasta + love-ly breadsticks
Valentine’s Day is a family day at our house. At least it has been for the last sixteen years. We’ll see if the teenagers will change things up this year. But I also way cook a fun Valentine dinner for the whole family. There’s nothing sacred about February 14 (sorry to burst your bubble) that Mr. Hedin and I need to run out to an expensive dinner on that exact day.
I’ve done heart shaped make-your-own pizza, steaks, and plain old red sauce pasta. Recently I discovered that you can cook pasta in beet water and have it turn out red/pink-ish. It’s not perfectly even color - but it’s all natural and you can pop the beets in to the pasta sauce too! I think it’s a cool thing for younger kids to se happen. My teenagers did think it was cool. I got a shrug, but I’ll take a shrug.

The trick to getting the pasta to cook and the beets to be done is to start the beets early when you put the water in the pan. And then to get the color to stick, turn the water off when the pasta is basically done (but not crunchy) and let it rest all together. Then when you go back and drain the pasta - keeping some water! - the pasta is a lovely little red shade.
While the pasta sits, you can get the breadsticks going and tell one of your kids to mix up a green salad.


Heart throb Pasta
With love-ly bread sticks
Serves 4
1 red bell pepper, sliced
1 sweet onion, sliced
2 cloves garlic, chopped
2 tbs olive oil
2 beets
½ lb pasta
½ cup parmesan cheese
1 package crescent dough
STEP 1
Bring a large pot of water to a boil. Slice the beets in half and add them to the water as it begins to boil. When the water has come to a boil, add the pasta.
STEP 2
When the pasta is nearly cooked, turn the heat off and let rest for 30 minutes.
Preheat the oven to 375 degrees.
STEP 3
Unroll the package of crescent dough and press together all of the seams. Slice the dough into strips. Twist the dough and form it into a heart. Bake 10-12 minutes until golden brown.
STEP 4
Heat a skillet with the olive oil. Cook the peppers, onion, and garlic over medium heat until softened. Zest in lemon juice and toss with cooked beets.
STEP 5
Drain the pasta – reserving at least one cup of pasta water – and toss the pasta with the peppers. Add the pasta water, a little at a time, and toss until a sauce has formed. Remove from heat and sprinkle parmesan on top.








Winter Vegetable Frittata
This time of year we are drowning in events, activities, and more things going on than time. Breakfast for dinner is the perfect solution. This frittata is a little bit of a “clean out the fridge” + quick dinner that will be a winner.
My dad is a champion frittata maker. He can seem to put anything in it and it’s always delicious. That spirit is what led me to pop in every winter veg that we love in our house and bake it up. It is amazing. And you can pop in anything you will probably love.
Topping with cheese is obviously delicious but totally optional. In our house we have lots of allergies and intolerances, so we make adjustments as we go. You should do the same!


Winter Vegetable Frittata
Serves 4
8 eggs
2 cups Swiss chard, chopped
1 red onion, sliced
1 small sweet potato, sliced thin
¼ cup parmesan cheese, shredded
2 tbs butter
STEP 1
Preheat broiler. Cook potato, chard, and onions in 2 tbs butter. Season with salt and pepper
STEP 2
Continue cooking until potatoes are browned and chard & onions are limp.
STEP 3
Whisk eggs in a bowl and pour into the pan. Stir until ½ way cooked. Remove from heat.
STEP 4
Top the eggs with parmesan cheese and pop into broiler. Cook until bubbly on top. Keep an eye on it! Serve with toast.

Roasted Black Cod + Tomato Bread Salad
I love a sheet pan dinner. If they aren’t the hero of the weeknight, then I don’t know what is. This one is especially great because it can totally be a fancy night dinner - and done so easily. Do you need to celebrate a birthday? A good grade? Anniversary? This one is the one.

I like this dinner in the winter because that’s usually when you can find a good black cod. If you can’t find good black cod, then skip this. Do not buy mediocre fish. Buy the good stuff. It’s about 1/2 pound per person - a little less if you have light eaters (read not teenagers). You can do this with any thick fish - it just gets more expensive when you pick halibut instead of cod!
The salad is great too because it’s just a panzanella that cooks ALONGSIDE the fish! Pop everything in the oven - watch the time - and then dinner is done.


Roasted Black Cod
with tomato bread salad
Serves 4
1 ½ lb black cod filet
1 large onion, sliced
2 cups cherry tomatoes
3 tbs olive oil
4 cloves garlic
1 loaf crusty bread
salt and pepper
4 sprigs rosemary
1 lemon, juiced
STEP 1
Preheat oven to 400 degrees.
Line a baking sheet with parchment paper. Place fish in the middle and surround with tomatoes, chopped onion, and garlic cloves. Sprinkle rosemary over top and season with salt and pepper.
STEP 2
Toss bread in 2 tbs olive oil. Spread on a baking sheet and season with salt.
STEP 3
Place fish filled sheet on the upper rack of the oven. Place the bread filled sheet on the lower rack – directly below the fish. Roast 15-20 minutes until fish is cooked and tomatoes have burst. Check the bread periodically and make sure it doesn’t get too brown.
STEP 4
Remove from oven. Remove the fish from the baking sheet and place on a plate to rest. Cover with foil
STEP 5
Toss tomatoes, onions, garlic, and bread together in a bowl. Add remaining oil and the juice of one lemon. Toss again to coat.
STEP 6
Serve fish alongside bread salad.

Asian Soup with Meatballs
I’m obsessed with this soup. I’m obsessed with these meatballs and when they are cooked in the broth they get even better. This is such a simple soup and a simple dinner. It’s like an actual 20 minute dinner - and a perfect dinner after a freezing cold night of watching baseball or soccer.
If you have time earlier in the day - I highly recommend making the meatballs ahead of time and popping them in the fridge while they are raw. You can then just make the broth and pop the meatballs in once the broth is boiling.


You can also add what ever vegetables you have in the fridge to this at the end. Most small sliced vegetables will cook in just a minute or two - try shredded carrot, spinach, or water chestnuts!

Asian Soup with Meatballs
Serves 4
1 lb ground chicken
2 tbs ginger
3 cloves garlic
8 scallions
½ cup panko
3 tbs soy sauce
6 cups chicken stock
1 tbs sesame oil
1 cup snap peas
1 cup sliced mushrooms
STEP 1
In a large pot, combine together stock, 1 tbs ginger, 1 clove garlic, 1 tbs sesame oil, 2 tbs soy sauce, and 4 sliced scallions. Bring to a boil.
STEP 2
In a bowl, mix together ground chicken, remaining ginger, remaining garlic, remaining scallions, panko and soy sauce. Mix well with your hands and form into balls using an ice cream scoop.
STEP 3
When soup is boiling, drop meatballs into the hot soup. Cook 10 minutes until meat balls are mostly done.
STEP 4
Add peas and mushrooms and cook another 3-5 minutes. Serve hot.

Tortilla Soup
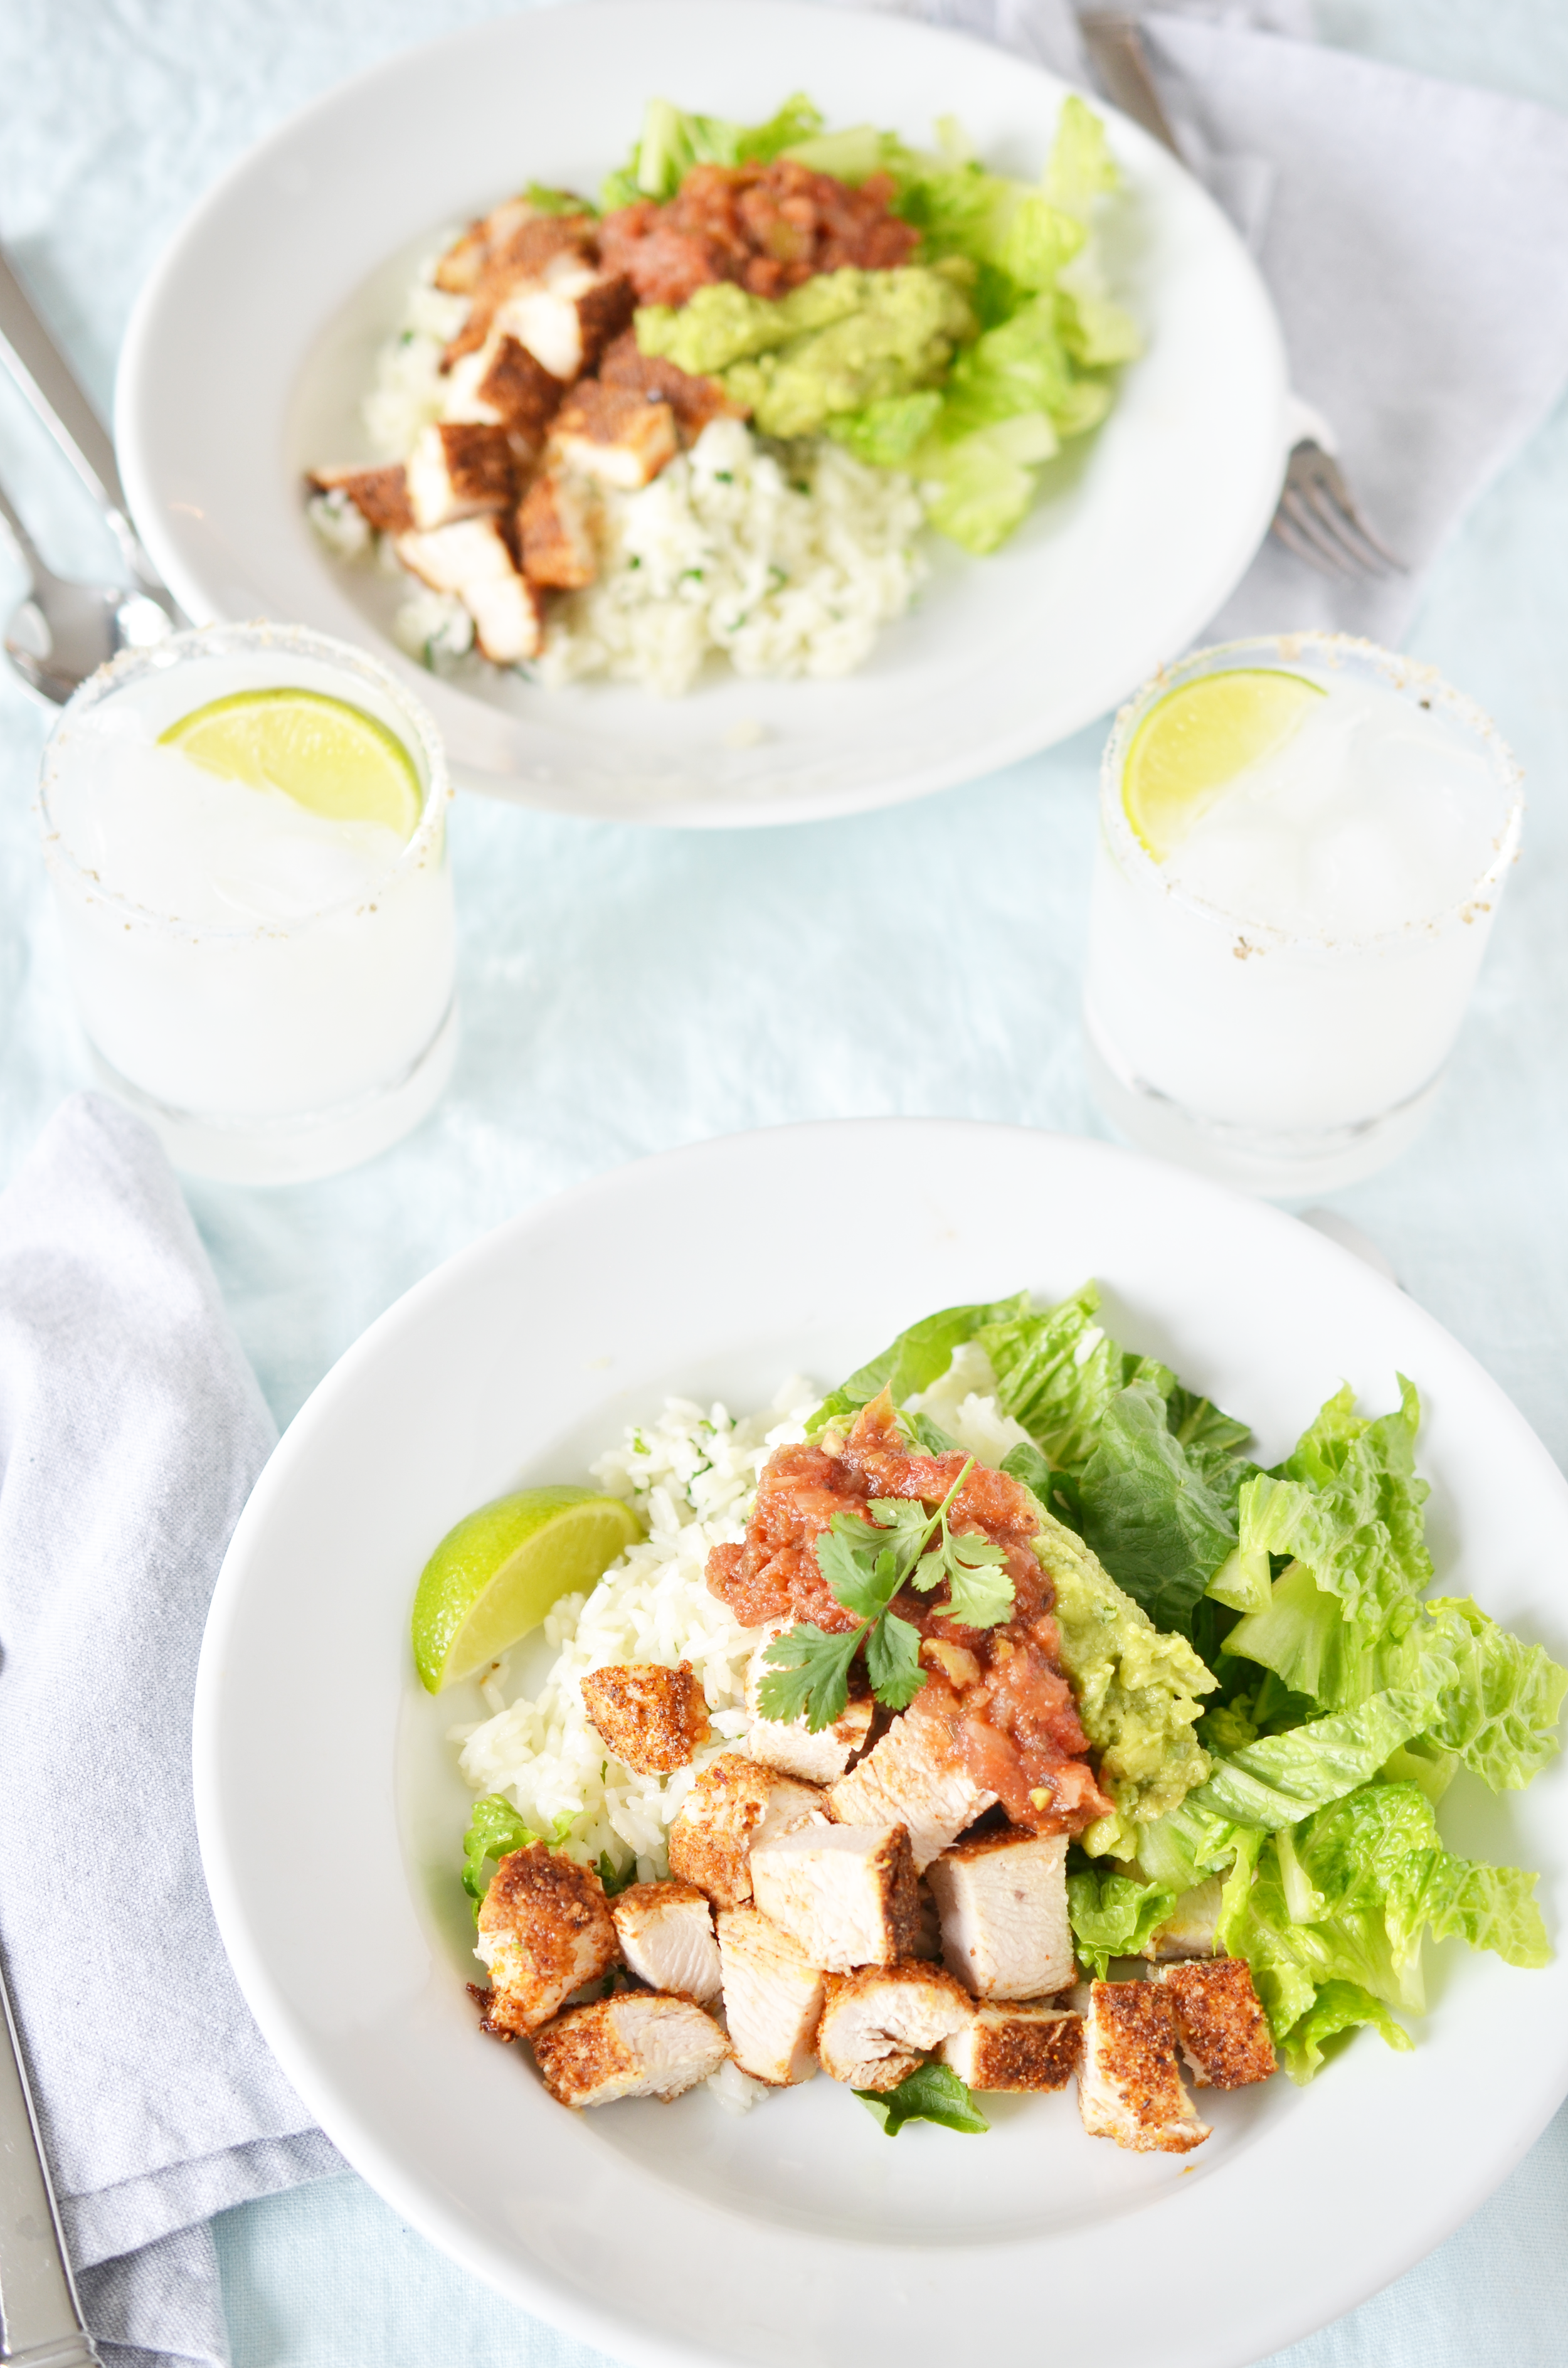
All I want when it’s cold and stormy outside is to eat soup. Hearty soup. This one fits the bill. It’s so simple and gets thick from the corn tortillas that melt in the soup as it cooks. I usually use leftover chicken that I already have cooked - you can also use rotisserie from the grocery store.


This also is perfect with a margarita in the middle of the summer. We have those summer days in Seattle when it is absolutely a soup night. This is your soup for that night.

Tortilla Soup
Serves 4
½ jalapeno, seeded and diced
1 medium onion, finely diced
1 dried ancho chili pepper
1 clove of garlic, chopped
2-4 tablespoons olive oil
2 tablespoons chili powder
1 teaspoon cumin
1 teaspoon paprika
28oz can diced tomatoes
6 cups vegetable stock
1 can black beans, drained
1 cup corn (fresh cooked or frozen)
2 cups shredded chicken
6 corn tortillas
½ cup canola oil
1 avocado, sliced
1 lime, cut into wedges
½ cup sour cream
STEP 1
In a large stock-pot, cook jalapeno, onion, and garlic in oil (enough to cover the bottom of the pan) with dried chili until onion is translucent. Add spices and cook until fragrant about one minute.
STEP 2
Pour in tomatoes and stock and bring to a boil. Add 4 tortillas and cook until tortillas are soft. Remove dried chili.
STEP 3
Using a blender or an immersion blender, puree the soup until smooth.
STEP 4
Pour in beans, corn, and chicken and return to a boil.
STEP 5
Heat canola oil in a frying pan and place the remaining two tortillas in the hot oil. Cook quickly until crispy on both sides. Let cool on a paper towel. Slice and serve on top of the soup with avocado and sour cream.

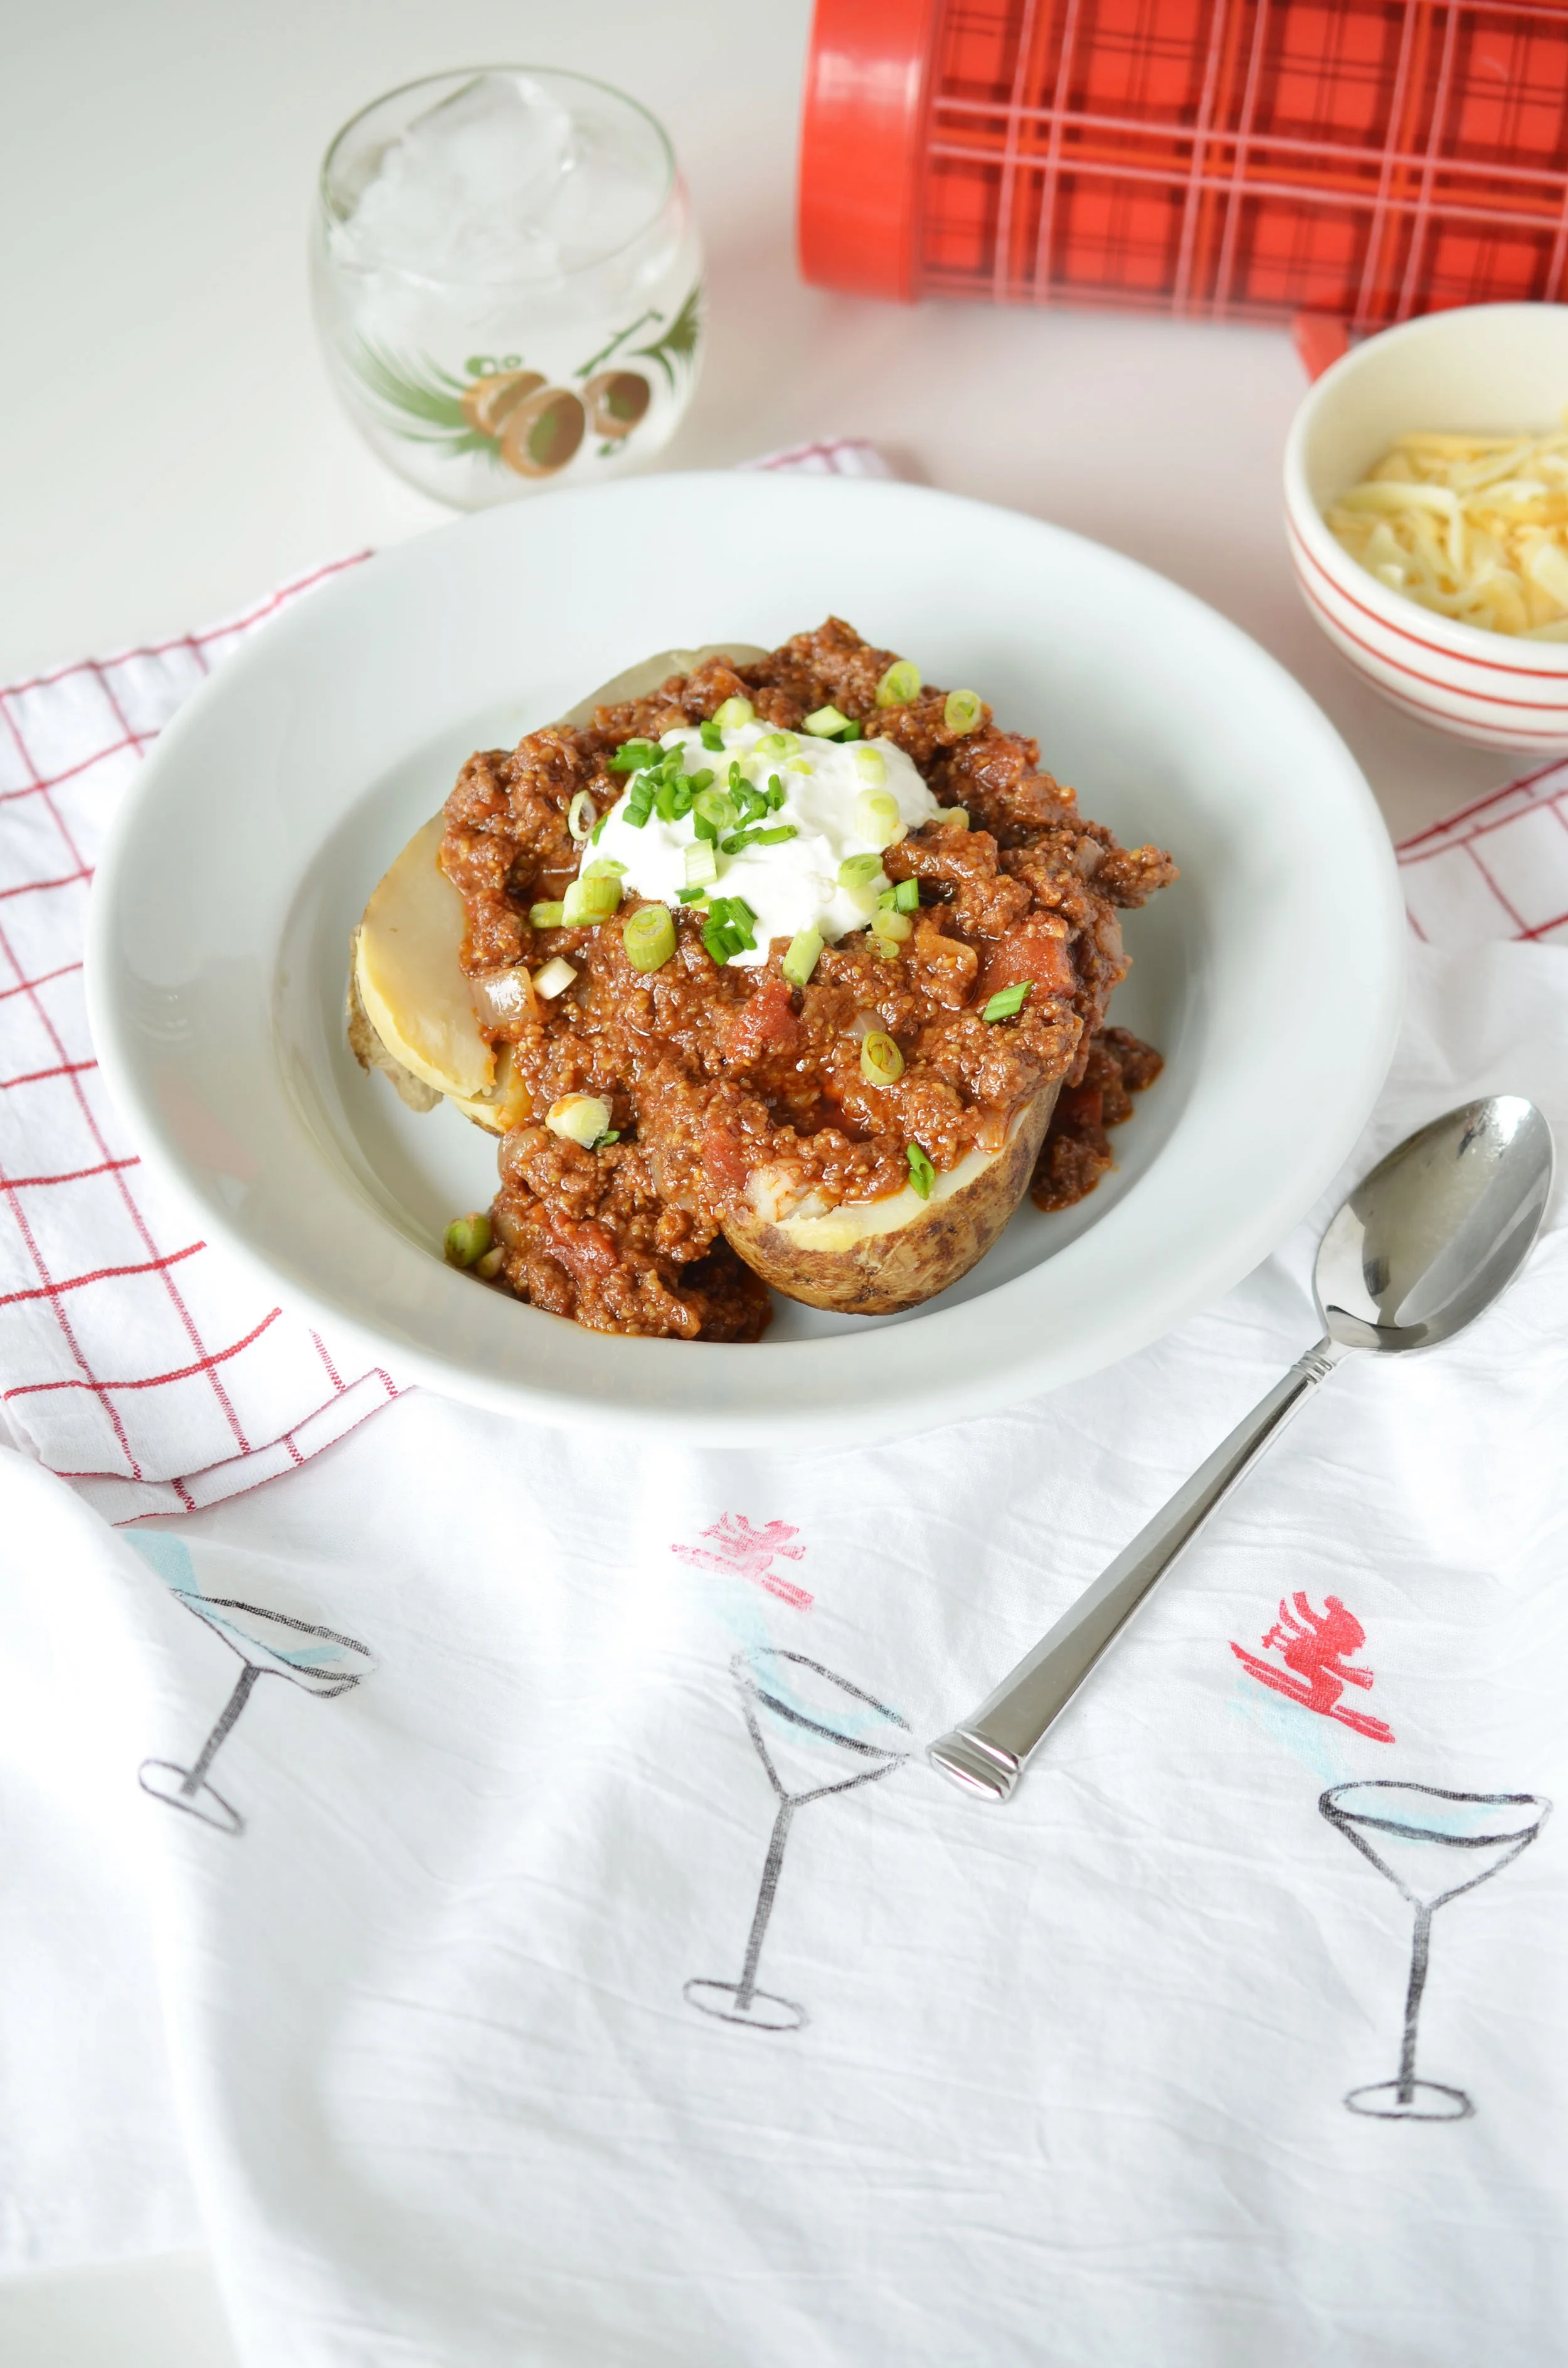






Shake a Margarita
I think this is literally the world’s best margarita. It’s super simple and the perfect tequila refresher!
Scandinavian Inspired Rhubarb Cake
The first time I made this cake it was a huge gamble. We were having guests for dinner and this was my only dessert. I had nothing else planned in the event that this was terrible. I had a guess that it would be good because it’s a version of a cake I really do love. But putting rhubarb into a cake is risky. It can be extremely sour when not prepared properly.
After thinking through the process completely I decided to use more sugar than seemed reasonable to counter the sour of the rhubarb and bring out its delicious flavor.
I don’t think I would have even considered rhubarb in this cake until we were in Sweden this past summer. Rhubarb was in full effect in EVERYTHING and I could not get enough. In Seattle, rhubarb is a spring flavor but it turns out in Sweden it’s a summer flavor. For this cake, frozen is mandatory which makes it an any season cake! I usually have frozen rhubarb from our garden or my mother-in-laws garden but you can always but it at the Whole Foods.

Rhubarb Snack Cake
makes one 9” cake
1 cup frozen rhubarb
1 1/2 cup sugar (divided)
1/2 cup butter, at room temperature
2 eggs
1 teaspoon vanilla
1 1/3 cup flour
1 teaspoon baking powder
2 tablespoons turbinado sugar
STEP 1
In a small bowl combine the rhubarb and 1/2 cup of the sugar and set aside. Mix to combine and let rest until the rhubarb is defrosted and a syrup has formed around the rhubarb. Smush it a bit with a fork to mash the fruit a little. This can take as little as an hour or as long as a whole day (usually takes me 2 hours). Plan accordingly.
STEP 2
Preheat the oven to 350 degrees. Spray the bottom of a 9” pan and line with parchment paper.
In the bowl of a stand mixer, combine butter and remaining one cup of sugar. Cream together until a paste forms. Add the eggs and vanilla and combine.
STEP 3
Mix flour and baking soda together in a separate bowl.
Drain the liquid off the rhubarb. It should be about 1/2 cup.
STEP 4
Alternate flour, rhubarb syrup, and flour mixing into the stand mixer and combine. Remove the bowl from the mixer and stir in the rhubarb gently. Pour into the prepared 9” pan. Option to sprinkle the top with the turbinado sugar - or see glaze option below.
Bake 35-40 minutes until a toothpick comes out clean. Let cool before serving.
OPTIONAL
If I don’t add the sugar to the top, I like to add a glaze. I realize there’s already an excessive amount of sugar in this small cake, but I figure what’s a little more? Mix together 1/3 cup powdered sugar and one to two teaspoons cold water. Pour over the cooled cake.





Rhubarb Soda
Turning things into cocktails is a special skill of mine. Here’s a rhubarb cocktail in case you can’t get enough rhubarb.