


I can't even tell you how many times a week I bring cookies, fruit, snacks, you name it - somewhere. T-Ball practice, a game, a friends house, to the park - it seems never ending. Leaving platters places makes me crazy.
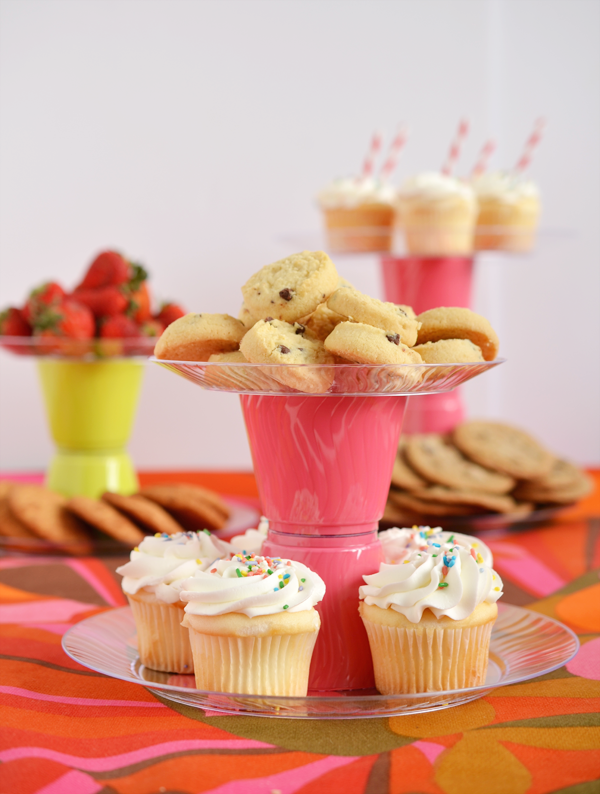
So I came up with a solution. And not just your average 'grab-a-paper-plate' solution. A real-live-looks-cute-in-public solution. With a little help from Chinet, I created colorful serving tiers. I even tested them at a real life party and they did not tip over or break. They held together perfectly - and washed up nicely if you're interested in trying to reuse them.
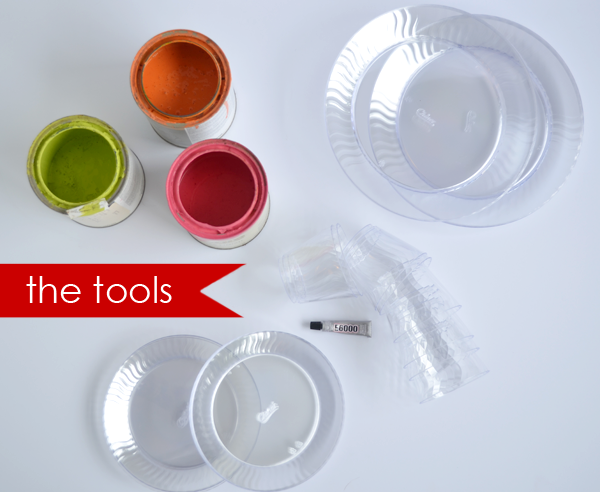

You'll need
Chinet Cut Crystal Dessert Plates
Chinet Cut Crystal Dinner Plates
Chinet Cut Crystal 9 ounce cups
Acrylic Paint in bright colors
Craft Epoxy {like E6000}
A Q-tip or small sponge
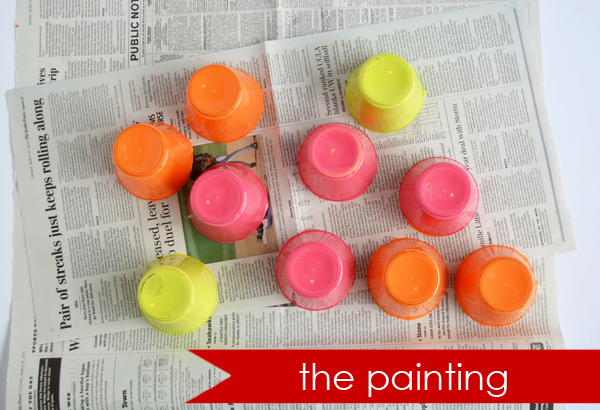
Step 1 :: Pour a small amount of paint on the inside of each glass. Swirl it around to coat the entire inside and pour extra back into the paint can. Let dry upside down, but check often that they are not sticking to the newspaper
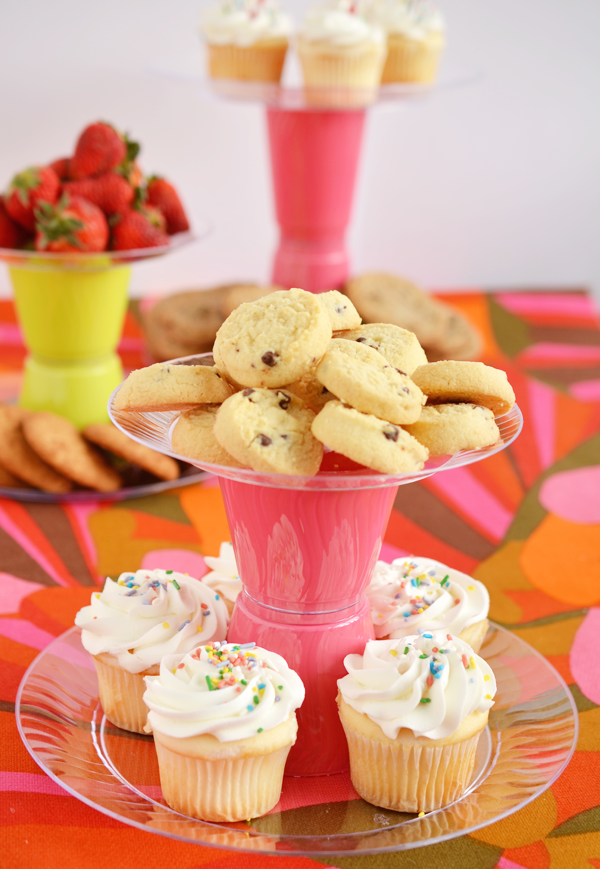
Step 2 :: Spread a small amount of E6000 on the rim of one of the glasses using the q-tip and press it onto the center of a dinner plate.
Step 3 :: Spread a small amount of glue on the bottom of the glass that's glued to the plate and line up a second glass base on top of it. Press firmly.
Step 4 :: Spread a small amount of glue on the rim of the top glass using the q-tip and press a dessert plate on top. Let dry. Repeat with all of the glasses and plates until you have enough tiers.
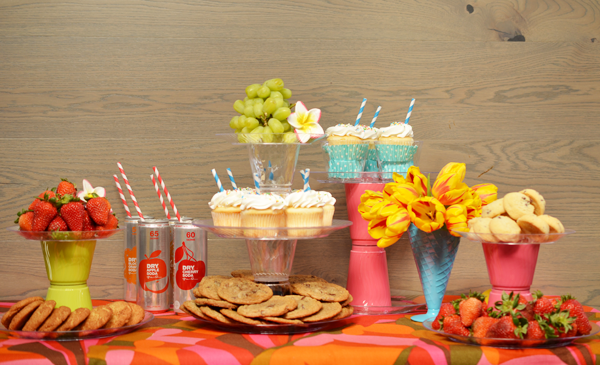

Also, I discovered that two cupcake wrappers - one upside down and one right side up - fit perfectly into a 9 ounce cup! The perfect way to serve cupcakes!
Want to win an entire Chinet Party Pack yourself? That's a bunch of plates, cups, and silverware for your summer entertaining. Leave a comment below and we'll choose a winner on April 18th! Don't think you need a Chinet Party Pack? That's where you're wrong my friend. It's really handy to have plastic or paper plates and cups on hand.
UPDATE :: Comgratulations to Erin Smith! Happy Entertaining!
Entries must be posted by
Thursday, April 17th at 9pm PST
, and one winner will be chosen at random. The winner will be sent one Chinet Party Pack. Good luck!
{Limited to US residents only. Please do not leave your email or web address in the body of the comment, only in the allotted boxes.
Winner will be contacted by email once comments close, posted on Facebook and announced on the bottom of this post soon after.}
Chinet Party Pack and Chinet Product used in this post courtesy of Chinet.
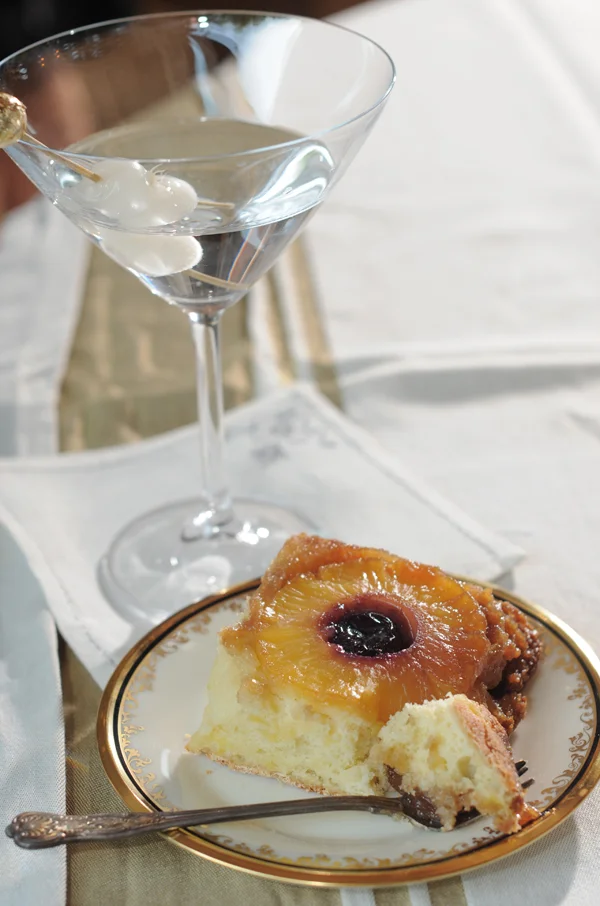

Have you made Pineapple Upside Down Cake recently? Or ever? Do you know how simple it is? Totally fabby and worthy of a weeknight party. Any night of the week.
Topping ::
3 ounces butter
½ cup packed brown sugar
5 pineapple rings
5 maraschino cherries
Cake Batter ::
2 eggs
1 cup sugar
1 teaspoon vanilla
1 cup flour
½ teaspoon baking powder
¼ teaspoon salt
½ cup chopped pineapple
Preheat oven to 350 degrees. Butter the bottom of an 8x8 pan and line with parchment paper.
In the bowl of a stand mixer whip together butter and brown sugar until light in color and fluffy. Using an offset spatula, evenly cover the bottom of the prepared pan with the brown sugar mixture. Place drained and dried pineapple rings on top of the brown sugar mixture and place one cherry in the center of each ring.
Clean out the mixing bowl and whip together eggs and sugar until light and airy. Add vanilla. In a small bowl, combine dry ingredients and add them to the egg mixture. Mix in flour with as few strokes as possible. Add pineapple and combine.
Pour batter over pineapple rings and smooth out with an offset spatula. Bake 35-40 minutes until a toothpick comes out clean.
Let rest 5 minutes before inverting. When slightly cooled, place a platter on the top of the pan and flip over so cake lands on the plate.
Serve warm.


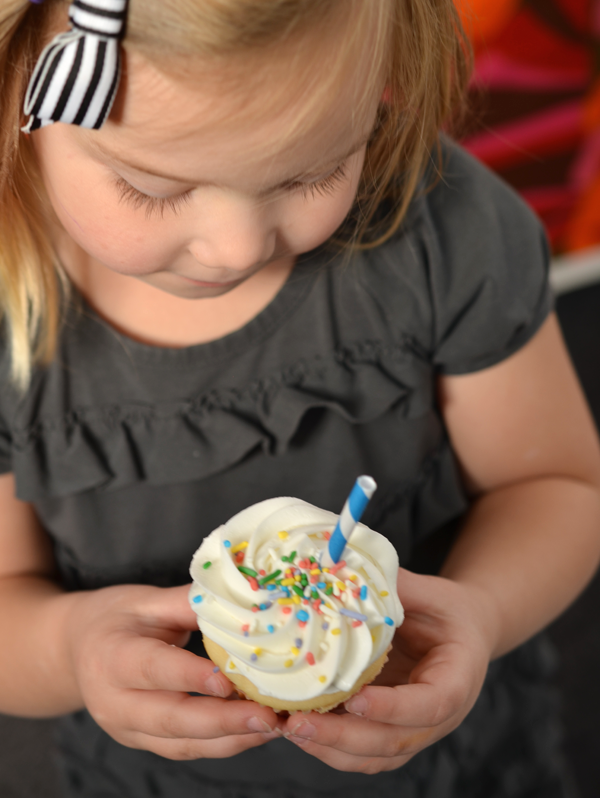
I made this for Lars's birthday party. For the parents, of course, but still it was for a three year old birthday party - I realize it's probably not the 'normal' choice - but it was a hit. Most parents still stuck around and boy were they thrilled.
Which is exactly why I thought of making this recipe today because I am thrilled to be hosting my friend
and her family for dinner tonight at the station. Be prepared for lots of Instagrams from both of us {
and
}. She's in town for the weekend with her family so we get to hang out for a night. I can't wait!
There were lots of cool things my friends did this week around the webs.
:: Kam is keeping it real by
the rest of us mothers live through daily.
:: MJ gave spring
. My question is, when do I get a mudroom?
:: Ashley is making
. And Palm Springs. And skirts.
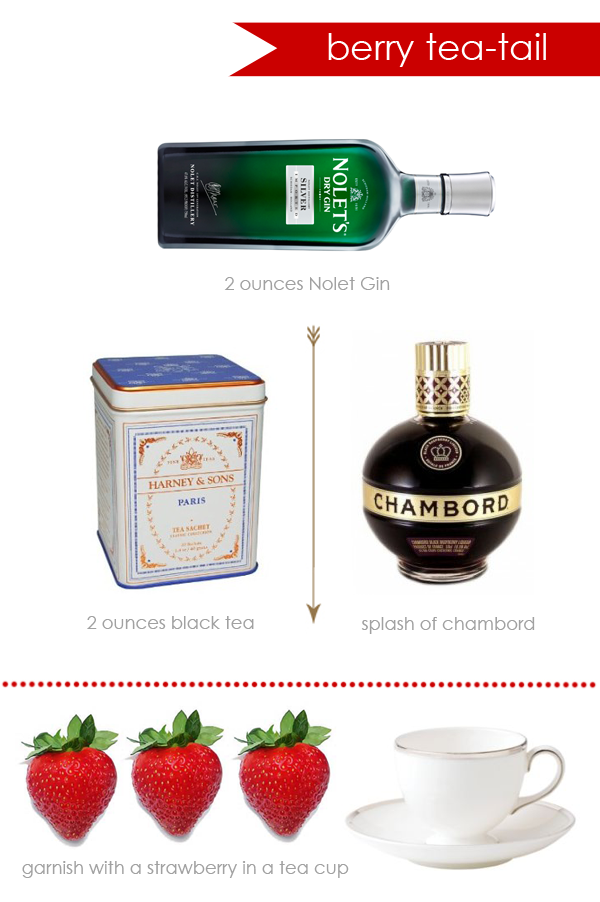
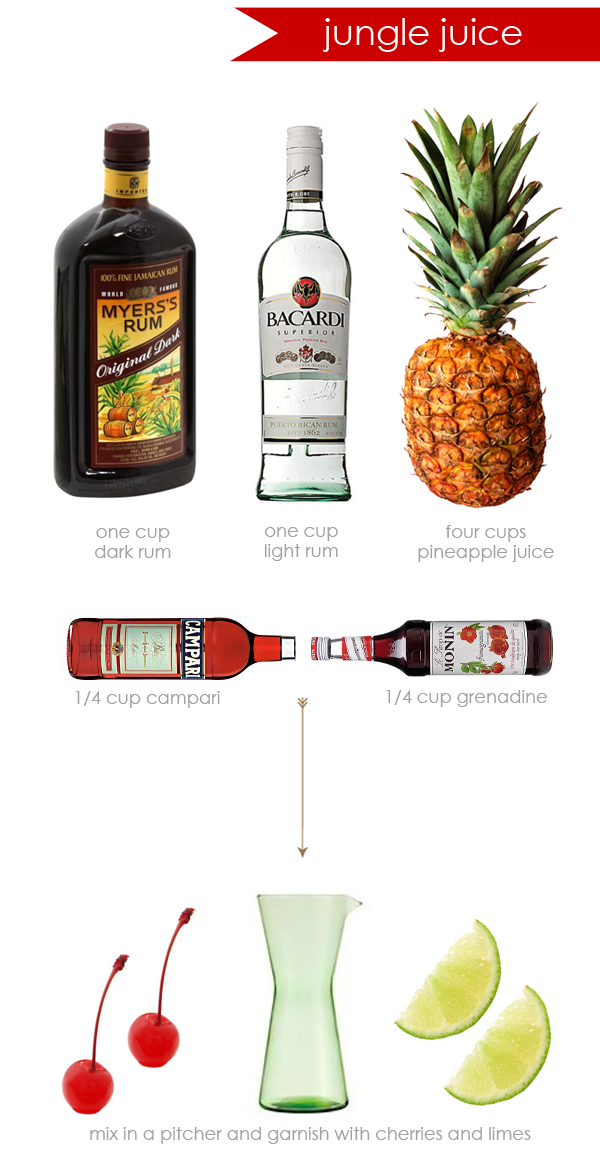
:: The girls at Style Me Pretty paired those
cute glasses you registered for with actual cocktails
to put in them! And who couldn't use a new cocktail recipe?
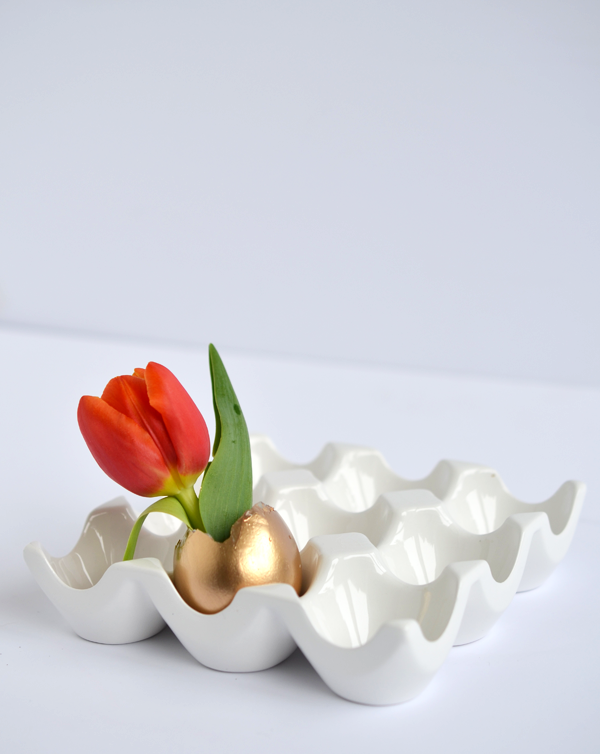
:: MJ also made a
with her kids. Love!
See you Monday!
-a


I am so excited to let you in on a project we've been working on for the past two weeks - Black Cod videos + recipes with Metropolitan Market! I'm totally in love with Metropolitan Market, their gorgeous stores, their amazing staff, and I feel totally honored to get to work with them to create these short videos that help you feel more confident when you buy groceries.

Black Cod is especially delicious. It's a rich and buttery fish from Alaska that's almost impossible to screw up. Because of the high oil content {the good kind - Omega 3} the fish is really lenient when it comes to over cooking. It can be over cooked - don't get me wrong - but if you stay within the window of cooking time you will be ok.

You can check out the entire Black Cod promotion + videos and recipes on the
. And then come back and let me know what you think! I love your feedback.

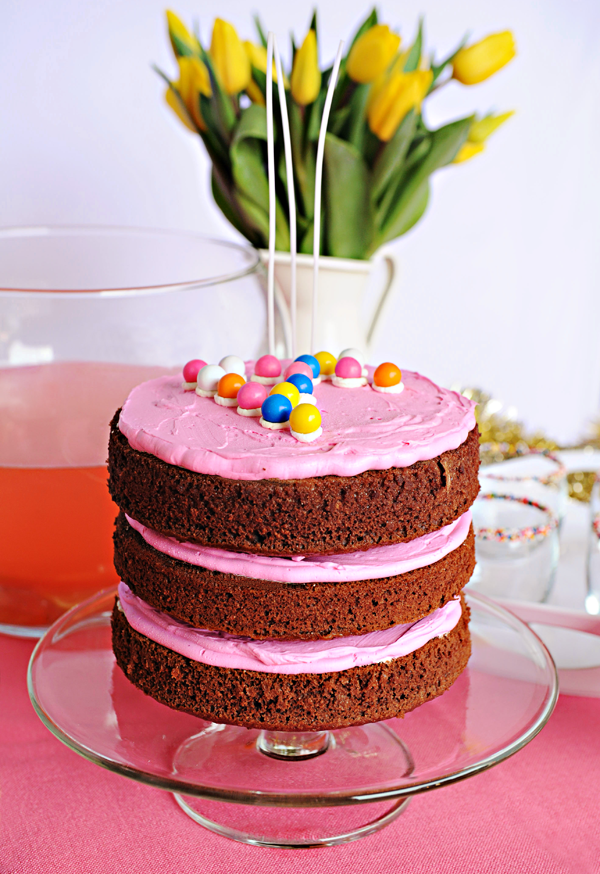
A classic cake never goes out of style. But sometimes you want something more fun than a 'classic cake.' That's why I turned the salted caramel frosting in this dreamy cake pink. A few drops of gel food coloring and we're not just having a party, we're having a P.A.R.T.Y.

1 cup butter
2 cup sugar
4 whole eggs
1 tablespoon vanilla extract
2/3 cup unsweetened cocoa powder
3 cups flour
2 teaspoon baking powder
½ teaspoon salt
2 cup milk
Preheat oven to 350 degrees. Grease the bottom of four 8 inch cake pans. Line each pan with a round of parchment paper and butter the parchment paper. Set aside.
Cream butter and sugar in the bowl of an electric mixer until fluffy, about 3 minutes. Add eggs and vanilla and beat until combined. Add cocoa powder and whip until creamy.
Combine flour, baking powder, and salt in a bowl. Add half of the dry ingredients, mixing until just combined. Add the milk. Once mixed, add remaining dry ingredients.
Equally divide batter among four prepared pans and bake 20 minutes until a toothpick comes out clean.
Salted Caramel Frosting
2/3 cup sugar
¼ cup heavy cream
4 egg whites
1 cup sugar
1 ½ cups butter
In a heavy bottomed saucepan, heat sugar over medium heat. When edges begin to turn brown, stir gently {only once or twice} with a wooden spoon. Let the sugar continue to heat until all of it has turned into an amber syrup. Remove from heat and quickly whisk in one tablespoon of cream. The mixture will sputter and steam. Be careful. Continue whisking cream in a slow steady stream until completely incorporated. Pour into a heatproof dish and let cool to room temperature.
In the bottom of the heat proof bowl from a stand mixer, heat egg whites and remaining sugar to 160 degrees on a candy thermometer whisking often. When the mixture reaches 160 degrees, attach the bowl to the stand mixer and whisk on medium high speed until the egg whites form a stiff peak. Switch out to the paddle attachment and add the butter, one tablespoon at a time, until incorporated. When all butter is incorporated, beat on high for 3-5 minutes. Stir in room temperature caramel and beat on low until fully combined.
Use immediately on cooled cake.
I'm also not wild about trying to frost the whole cake. I get really OCD crazy trying to make every angle of it perfect. So I've take to just frosting the middle layers. It calms my perfectionist tendencies and still looks cool. Plus, you can lump loads of frosting in the middle layers which is dreamy.
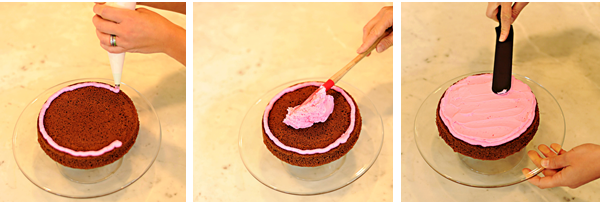
1. Fill a piping bag, fitted with a large opening tip, and pipe a 'bumper' of frosting around the edge of the cake.
2. Drop a spatula full of frosting in the center of the cake and spread evenly out to the edges with a offset spatula.
photography by Brooke Clark
Follow Alexandra Hedin's board I love birthdays on Pinterest.
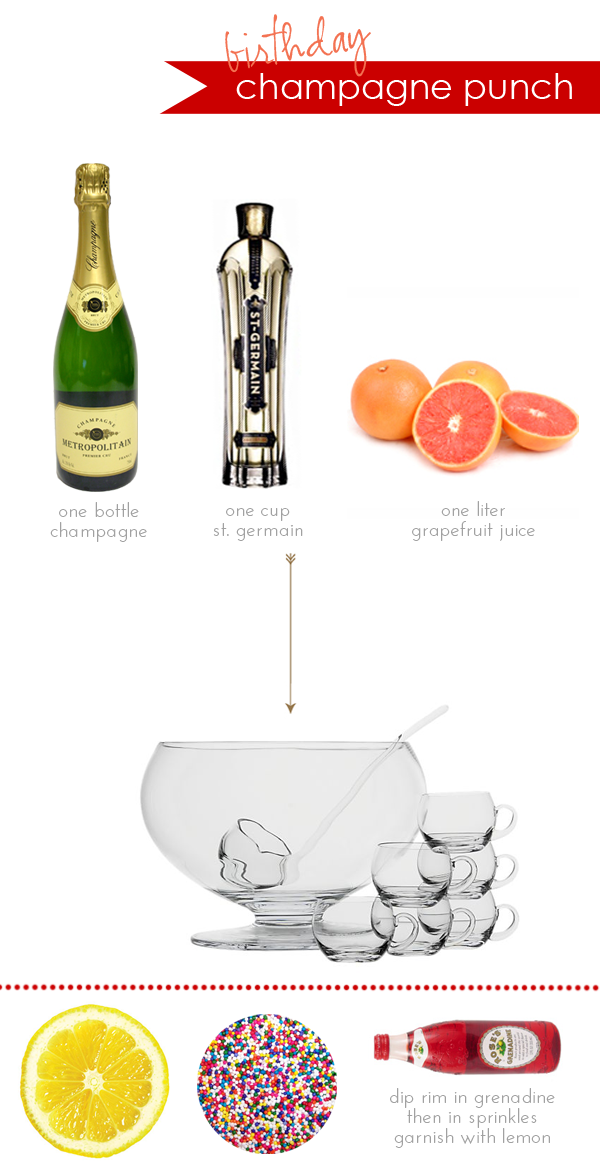
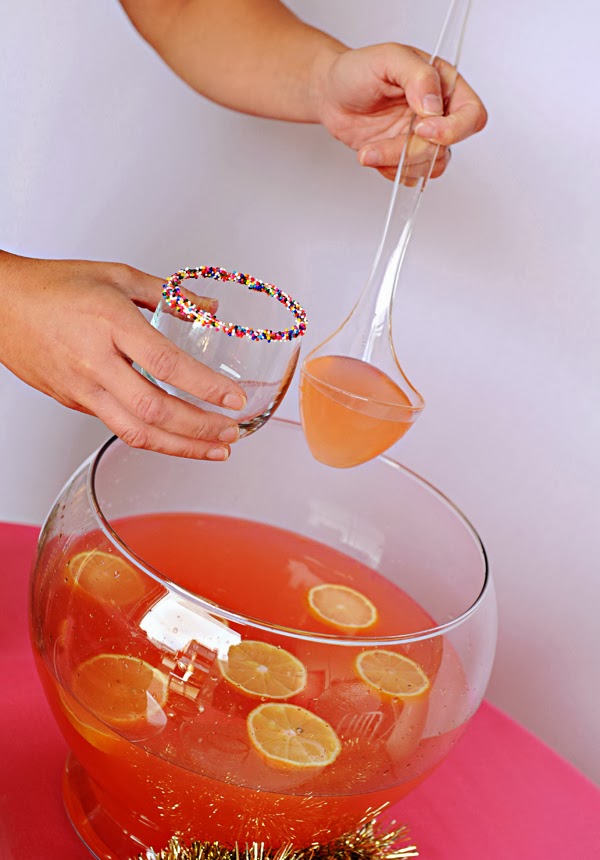

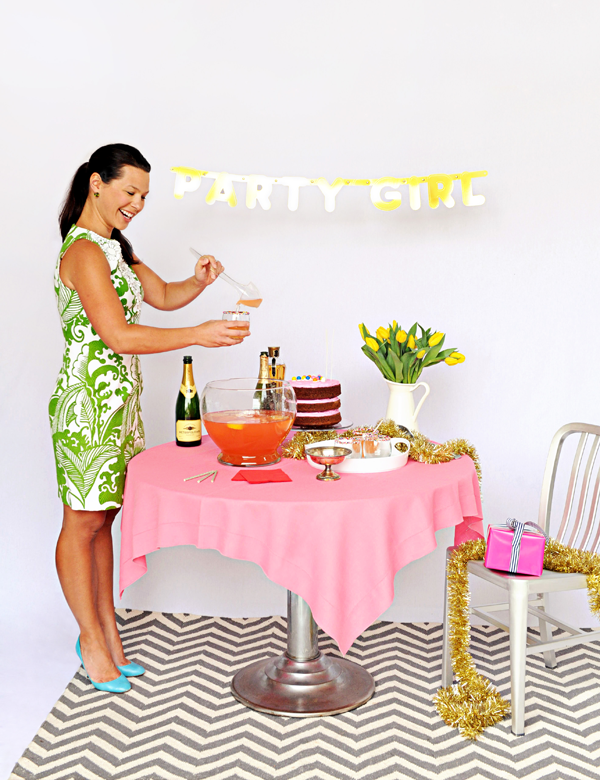
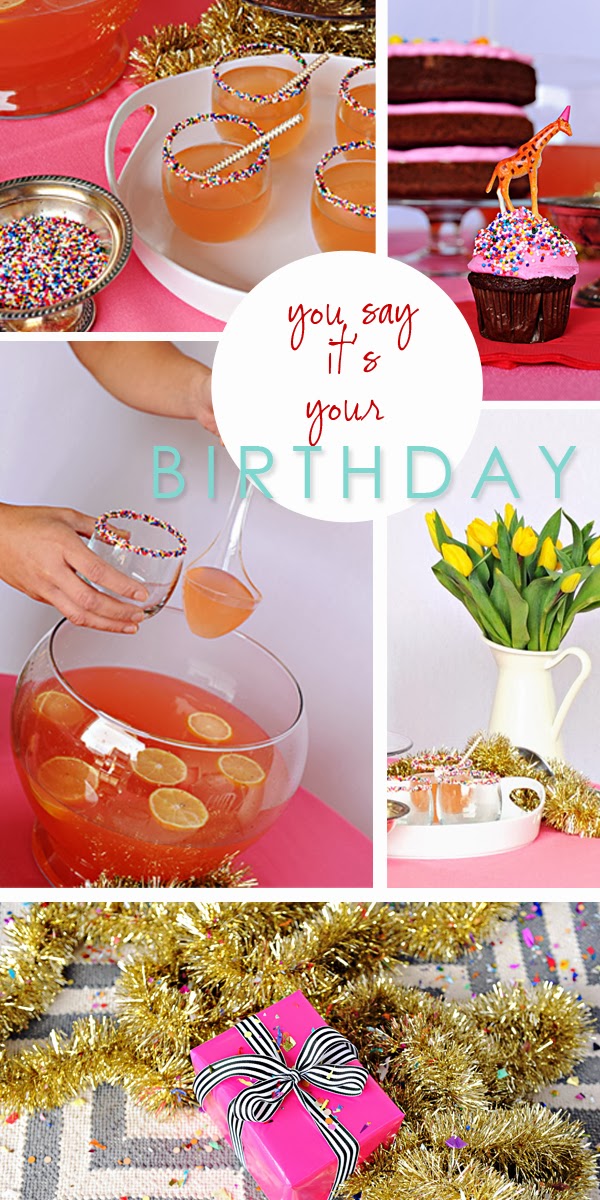
I love a birthday. LOVE LOVE LOVE. Occasionally, I have found that a birthday sneaks up on you right when you were least expecting it and you are stuck trying to pull off something that seems planned when it really was maybe not *that* planned. Here are my suggestions for pulling off a fabulously fabulous birthday party in minutes.
Happy Birthday!

Photography by Brooke Clark