Posts in Recipes
Miso Salmon Bowls with ‘quickles’

I made these for dinner last week and completely held my breath as I served them. Technically, my kids love salmon - they love pickles - they love rice - they love kimchi. But all together, with the miso, I just wasn’t sure. Turns out I had nothing to be worried about. They loved them. And asked to have them again soon. Especially the ‘quickles’ which I’m making again this week with a Korean beef dinner!

Miso Salmon Bowls by Ali Hedin | A quick and healthy weeknight dinner

‘Quickles’ are quick-pickles. When the vinegar mixture is hot, it’s poured over the cucumbers and - because they are smashed - they soak up the liquid and turn into a delicious version of a pickle. I don’t totally know what the story is with smashing the cucumbers. I saw it online and started reading about it. What I discovered (basically) is that smashing them opens up more ‘pores’ of the cucumber so it has better ability to soak up flavors. It’s suppose to be a great solution for salads, etc. where you want them to absorb dressing or - in this case - vinegar solution. It was worth a shot and I was impressed. I’ll totally smash them! Plus, the teenagers were intrigued and all came into try smashing. Family activity!

I did not include directions on making rice. I’m assuming you can make rice? Or you have a way you prefer? I make rice on the stove top. But my mom used a rice maker. My sister-in-law likes the bags of almost cooked rice. I honestly don’t care how you make it. I (obviously) think my way is right. But you do you.

Some miso paste is a little dry. Using the mortar and pestle ensures that everything gets mixed together. You don’t need to use it - just an option. A bowl and the back of a spoon works the same!

Miso Salmon Bowls by Ali Hedin | A quick and healthy weeknight dinner

Miso Salmon Bowls with ‘quickles’

serves 4


2 pounds salmon filets

2 tablespoons miso (brown or yellow)

2 tablespoons sesame oil

2 teaspoons mirin

2 teaspoons soy sauce

1 cucumber

1/2 cup white vinegar

1/2 cup rice vinegar

2 tablespoons salt

2 tablespoons brown sugar

4 peppercorns, cracked

1 teaspoon red pepper flakes

kimchi for serving

rice

edamame

pickled ginger


STEP 1

Preheat oven to 350 degrees.

In a small skillet bring to a low boil the white vinegar, rice vinegar, salt, brown sugar, peppercorns and red pepper flakes. To ‘crack’ the peppercorns you can use a mortar and pestle or smash them with the back of a knife. No peppercorns? Use fresh ground pepper - about 1/2 teaspoon or less.


STEP 2

Slice the cucumbers into large chunks then smash them with the side of a knife to break them apart. Pop them into a bowl or a pint jar. Once the vinegar mixture has come to a low boil (just a few bubbles on the sides and the sugar is melted) pour it over the cucumbers. Let rest until it’s time to eat.


STEP 3

Line a baking sheet with foil and pop the salmon on top of the foil. Pat it dry with a paper towel.

In a small bowl (I used a mortar and pestle) combine the miso, mirin, soy, and sesame oil. Blend until it’s a paste. Spread generously over the salmon. Pop into the oven and bake 10 minutes. Then turn up the heat and broil at 500 degrees for 5-10 minutes depending on the thickness of your salmon. To check, use a fork and pull back a small section - it should be flaky and the same color all the way through.


STEP 4

Serve the salmon over cooked rice with the ‘quickles’, edamame, pickled ginger, and kimchi.


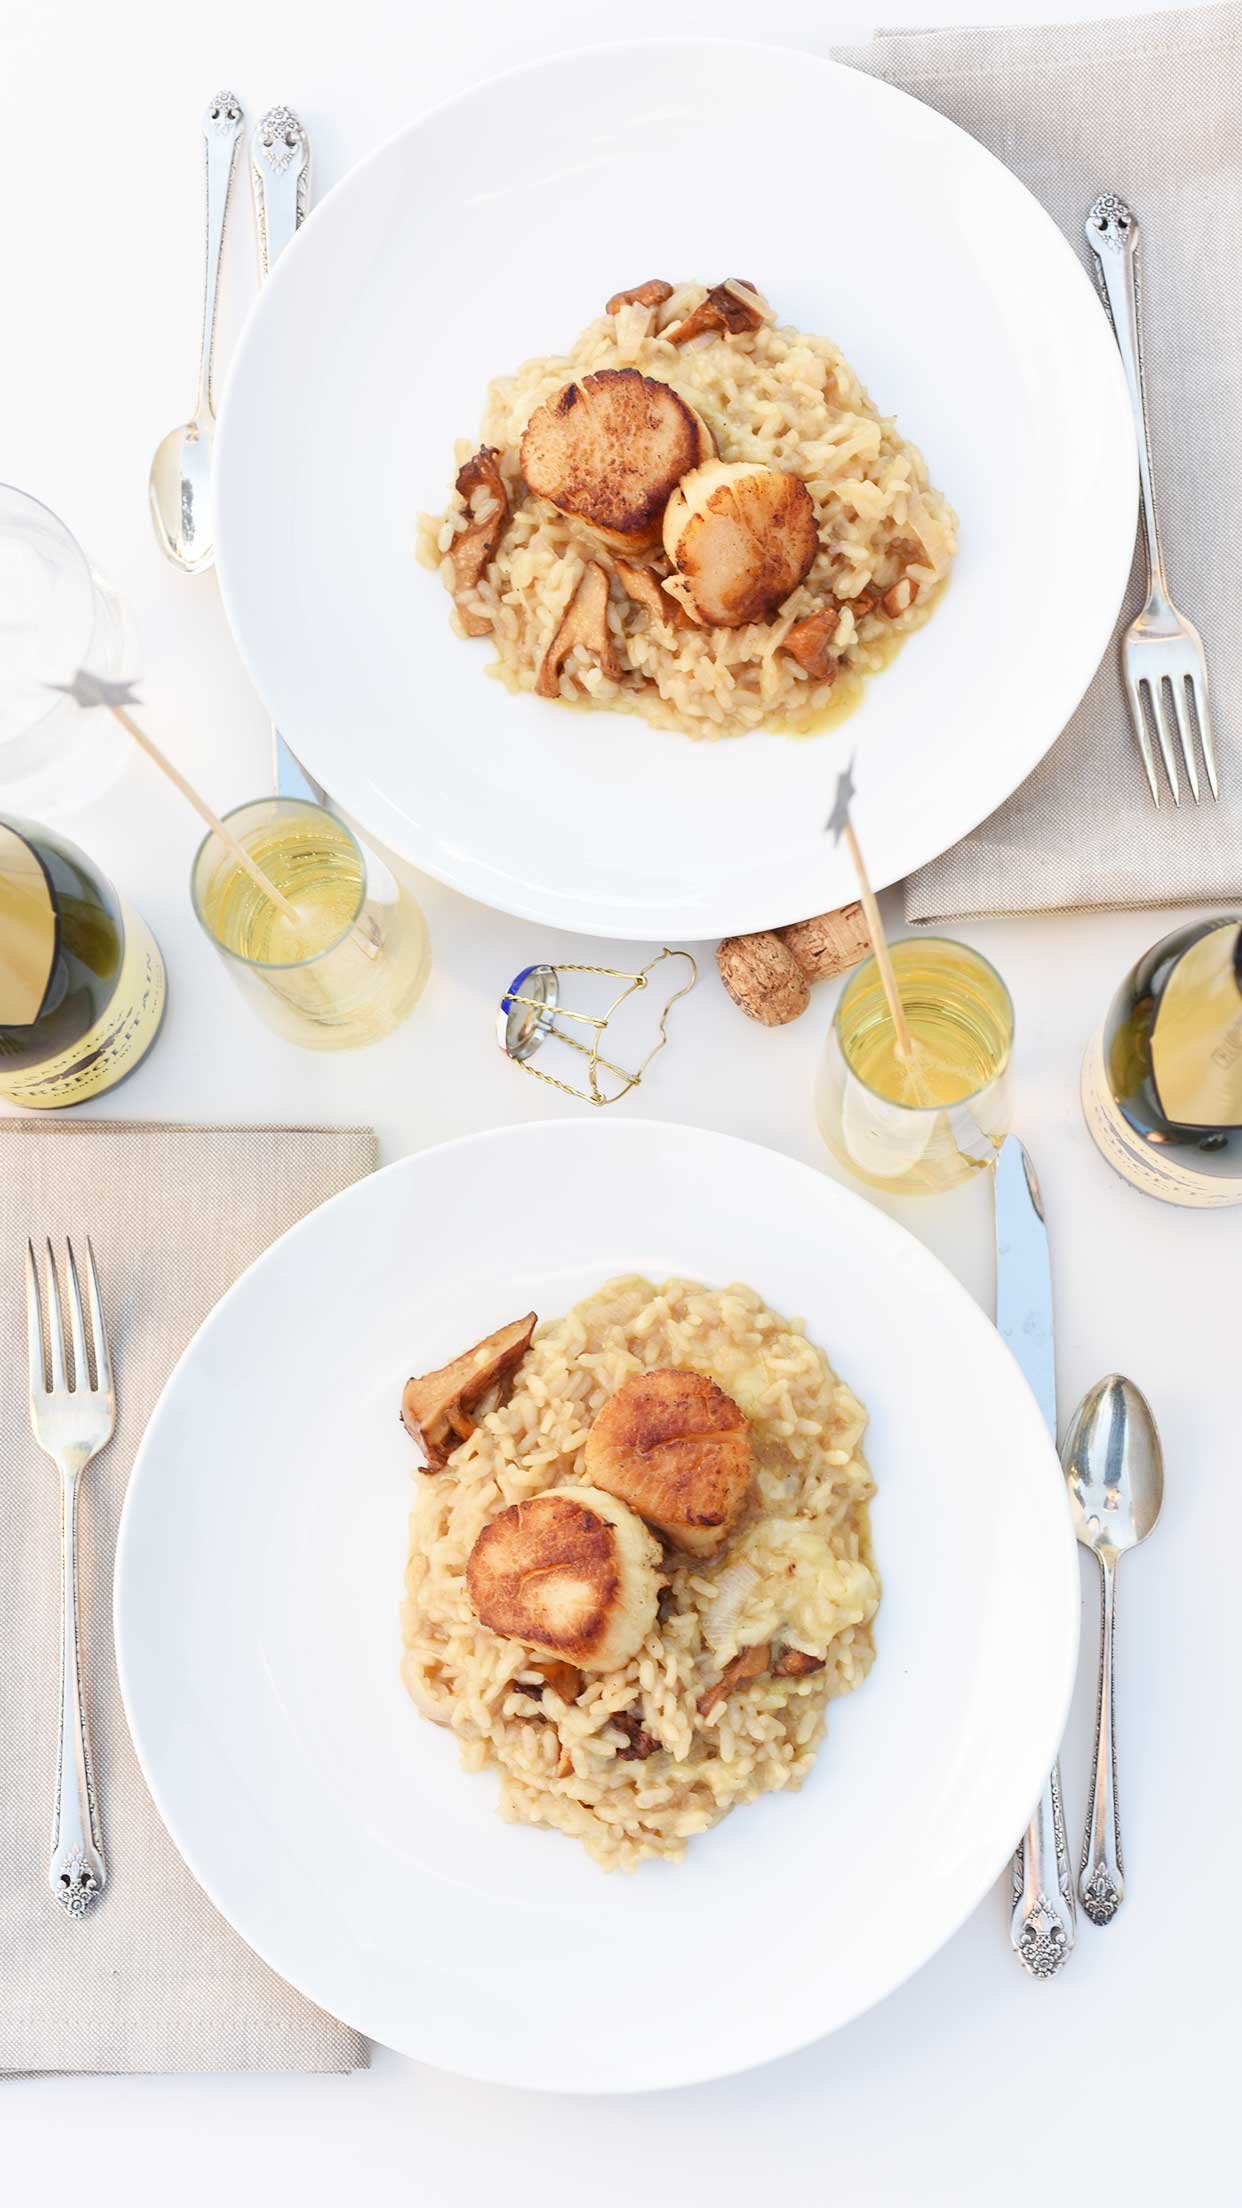
Champagne Risotto with seared scallops

Some years for New Year’s Eve we go out to a big party, some years we host a big party, and some years we celebrate at home with our little family. This is the perfect dinner for that situation. It’s super elegant, but can be made in less than half an hour. The scallops are so tender and perfect this time of year - so they make a great addition. If you aren’t a seafood person, this is easily swapped into beef tenderloin, pork or even a chicken breast. But I stick by the scallops.

Champagne Risotto

with Chanterelles & Seared Scallops

Serves 4

1 shallot, chopped

1 clove garlic, chopped

½ cup butter, divided

¼ lb chanterelle mushrooms

2 tbs olive oil

2 cup Arborio rice

2 cup champagne

4 cups room temperature seafood stock

½ cup parmesan cheese

salt and pepper

8 large sea scallops

STEP 1

In a medium saucepan, heat 2 tbs butter & 2 tbs olive oil.  Cook mushrooms over medium heat until tender.  Remove from the pan and set aside. (5 mins)

STEP 2

In the same pan, melt another 2 tbs olive oil with 2 tbs butter.  Cook shallot and garlic until softened (4 mins)

STEP 3

Stir Arborio rice into the pan and stir until all of the kernels are coated in oil.

STEP 4

Pour in one cup of champagne and stir constantly to deglaze the bottom of the pan.  When most of the champagne has evaporated, add the second cup and stir until that liquid has evaporated.

STEP 5

Pour in one cup of stock and stir until completely incorporated.  When most of the stock has dissolved, add another cup of stock.  Continue until all of the stock has been added.  Season to taste with salt and pepper.

STEP 6

Remove from heat and stir in mushrooms, remaining butter and parmesan cheese.

STEP 7

Bring a dry skillet to high heat.  Pat the scallops dry and season with salt and pepper.  Melt 2 tbs butter in the pan and place the scallops into the melted butter.

Cook 1-2 minutes until browned.  Flip and cook 2 minutes on the other side.  Scallops are properly cooked when slightly firm to the touch.

NOTES

  • Weeknight Trick, use room temperature stock instead of anything chilled.  The warmer the stock when it goes in the pan, the better the absorption.

  • Use a decent champagne when making this – you’ll taste it!  Plus, you’ll have extra left over to drink with dinner.


Chocolate Candy Cane Cookies

This time of year we are making so many cookies it’s unreal. Lars made a batch last night for his scout troop today- I made a batch today for friends - last week I think we went through 12 pounds of butter just making and frosting cookies.

These are ones you will want in heavy rotation. They are in heavy rotation at our house - this is literally what Lars made last night, they are a huge favorite in our house. Jud told me today that he waits all year for these! Who knew?

Ali Hedin's Chocolate Candy Cane Cookies - perfect for holiday parties!

Chocolate Candy Cane Cookies

1 cup butter, room temperature

1 cup brown sugar, packed

1 cup sugar

1 teaspoon vanilla

2 eggs

1/2 cup cocoa powder

1 3/4 cup flour

1 teaspoon baking powder

8 candy canes

STEP 1

Preheat oven to 350 degrees. Crush up the candy canes until they are very small pieces.

STEP 2

In the bowl of a stand mixer, combine the butter and sugars until creamy. Add the eggs, vanilla and cocoa powder and blend until light and fluffy.

STEP 3

Blend in flour and baking powder until the dough comes together. Roll a scoop of dough and dip the top into the crushed candy canes. Place candy side up on a lined baking sheet. Bake 12-15 minutes. The cookies will seem cake-y. It’s ok. Let them rest on the pan for about five minutes before moving to a rack to cool completely.

Store in an airtight container for up to one week!


Gingerbread Waffles

Christmas morning - or the two weeks before Christmas morning when the kids are home and you have literally nothing to do with them in the morning - deserve something delicious and festive for breakfast! We sure do love gingerbread at our house. Basically because it’s cake. Which means these taste like cake and who doesn’t love cake for breakfast?

Also, they sound super festive, so despite the fact that they are really easy - they give you the illusion of being a real Christmas elf. Even if you’re exhausted because the kids are home for way too many days before the holiday even starts!

Gingerbread Waffles

1 cup flour

1 teaspoon baking powder

1 teaspoon ground ginger

1 teaspoon ground cinnamon

1/4 teaspoon ground nutmeg

1/4 teaspoon ground cloves

1/2 cup sugar

1 egg yolk

1 teaspoon vanilla

3/4 cup milk

1/4 cup molasses

3 tablespoons melted butter

STEP 1

Combine all of the dry ingredients. In a separate bowl (or giant measuring cup) combine all of the wet ingredients.

STEP 2

Carefully blend all of the ingredients together and let them rest for 3-5 minutes. While they are resting, warm up the waffle maker.

STEP 3

Spray the waffle maker with cooking oil and fill the waffle maker about 1/2 full. Cook slightly longer than usual - mine went an extra two minutes - until crispy. The trick is to test the first one and see how much longer you need to let the rest of them cook. They will take extra time!

Serve hot with whipped cream and syrup.


Espresso Martini

A little something for the parents on Christmas morning - or the week before?

🍸

2 ounces vodka

1.5 ounces espresso

.5 ounce coffee liquer

Pour all ingredients in a cocktail shaker. Fill with ice and shake well. Strain into a martini glass and top with three coffee beans. Cin cin!

Weeknight Beef Bourguignon

Is anything more decadent than Beef Bourguignon? Probably. But it still sounds super elegant and fancy. Basically we’re talking about slow cooked beef stew with red wine. By using a good quality of steak this traditionally long cooking French stew cooks in just 20 (-ish) minutes making it perfect weeknight comfort food. All you end up actually waiting to cook is the potatoes. Once they’re done - you’re basically there.

But, good news, it can also cook as long as you need. Kids at practice? It will be fine when they get home. PTA meeting? Make it first and everyone can eat when they’re ready.

Also, it’s nice enough that you can make it for company with a green salad on the side.

The trick for everything is to use GOOD RED WINE! Do not skimp. Buy the good stuff. Drink the good stuff. Serve it along side this stew and all of you will be tickled.

Quick Bourguignon

Serves 4

1 cup pearl onions

1 cup sliced carrots

1.5 lb sliced sirloin steak

2 cups chopped potatoes

1 ½ c red wine

4 cups beef stock

6 sprigs fresh thyme

salt & pepper


STEP 1

In a large dutch oven, brown meat, carrots and potatoes until browned on all edges and a little crispy.  Season with salt and pepper.

STEP 2

Pour red wine into the pan and boil for two minutes until reduced by half.

STEP 3

Pour stock in the pan and bring to a boil.

STEP 4

Add pearl onions and thyme.  Reduce heat, cover and cook until meat is cooked through – about 15 minutes.


Chocolate Dipped Peanut Butter Cookies
Ali Hedin's Chocolate Dipped Peanut Butter Cookies

Peanut Butter + Chocolate is a tale as old as time. It’s literally the best combination of flavors. I can’t actually come up with a better one. Unless we’re taking queso and chips - but that’s totally different than PB&C.

Rumor has it my husband made peanut butter cookies when he was a kid. He used to put chocolate chips in them because he is smart and knows PB&C is the best combination. The hilarious part of this rumor is that I have known my husband for 25 years and not once has he even attempted to make a cookie.

These are perfect to take to a party or for a Big Cookie Friday celebration. I can’t get enough of them.

Chocolate Dipped Peanut Butter Cookies

makes two dozen

1 1/2 cups flour

1/2 teaspoon baking powder

1/2 cup butter, softened

1/2 cup brown sugar

1/2 cup sugar

2 tablespoons milk

1 egg

1 cup peanut butter

1 teaspoon vanilla

1/2 cup chocolate chips

1 tablespoon shortening

STEP 1

Preheat oven to 350 degrees.

In a small bowl, combine the flour and baking powder. Set aside.

STEP 2

In the bowl of a stand mixer, cream together the butter and sugars. Add the peanut butter, egg, and vanilla. Blend until well combined.

STEP 3

Scoop the dough out and flatten each scoop. Bake 10 minutes until brown on the edges.

STEP 4

Microwave the chocolate chips with the shortening in 30 second bursts until smooth. Dip half of each cookie in the chocolate. Let cool on waxed paper until the chocolate has set. It will not set completely hard.


Perfect Pear Cake
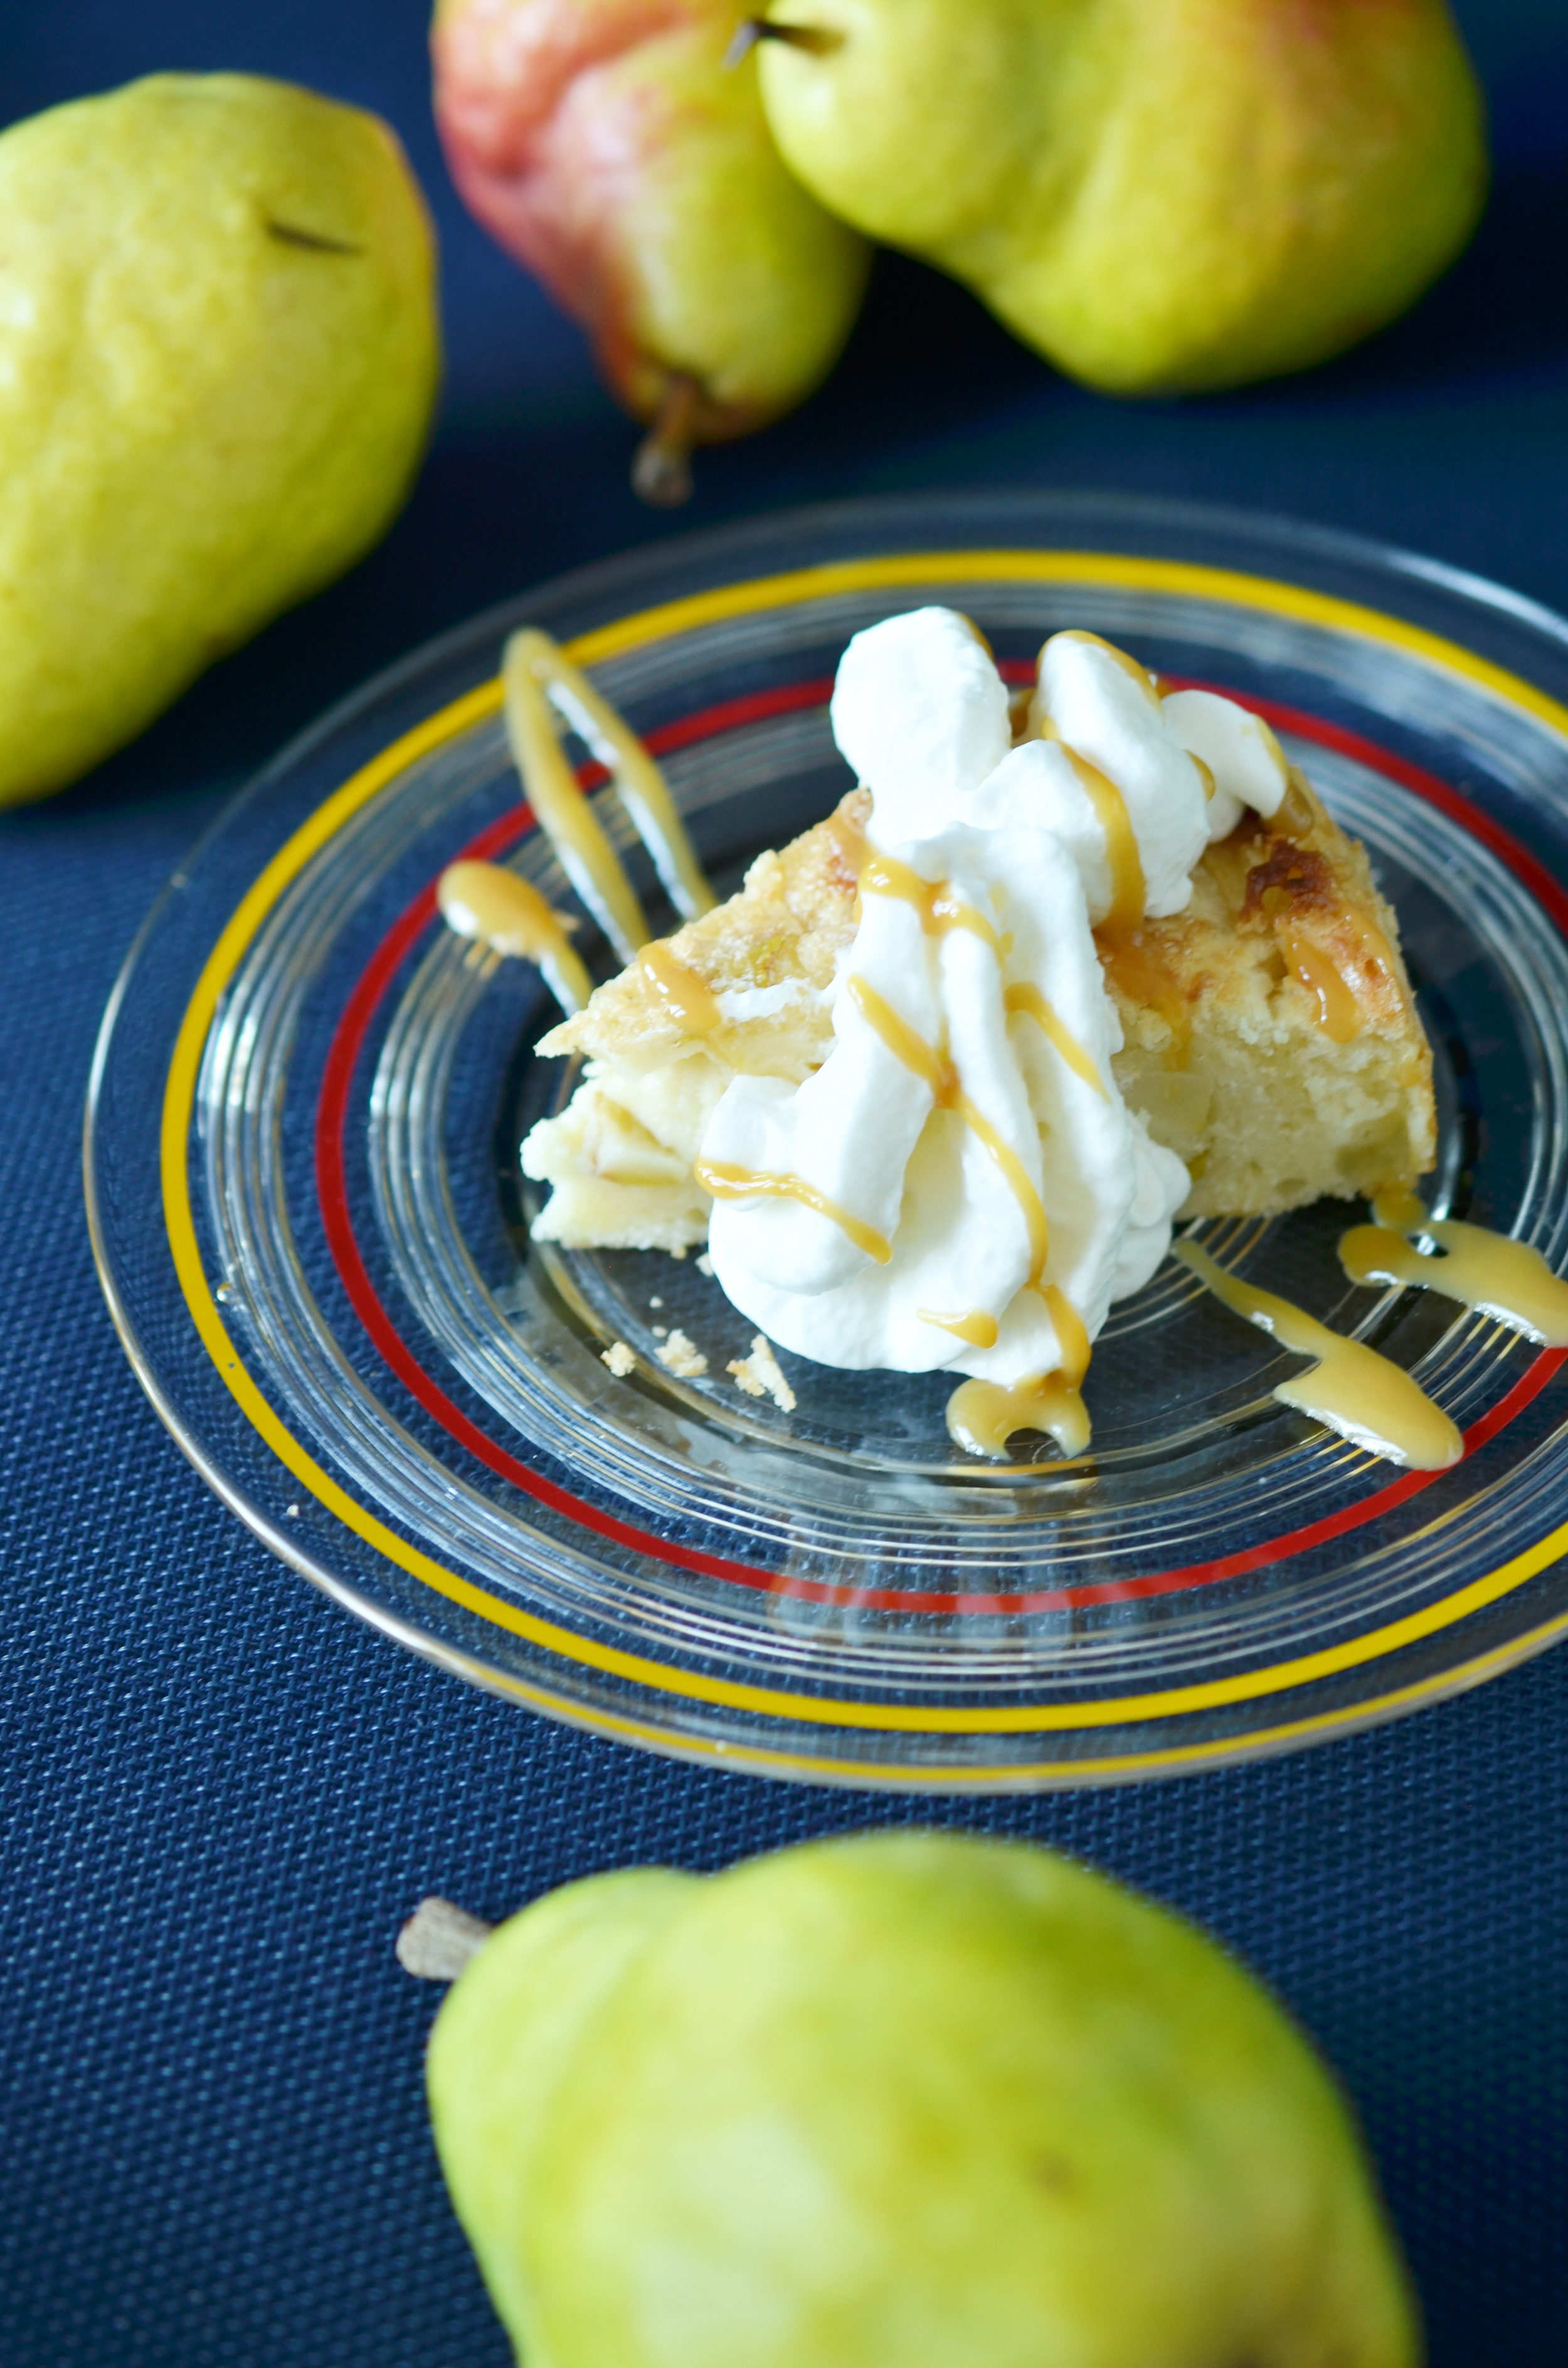
Ali Hedin's Pear Cake is perfect for any dinner party

I’ve been making this cake for so long I was shocked that it wasn’t on the blog already! Whoops. This is going to be your new favorite cake. I like it for dinner parties because it’s not super heavy. But with the whipped cream and caramel, it’s EPIC.

I use the Salted Caramel in a squeeze from Whole Foods. You can make your own or use your favorite, but it’s the simplest way to impress at Thanksgiving, Christmas, or any dinner party.

Pear Caramel Cake

serves 4-6

½ cup butter, room temperature

1 cup white sugar

2 eggs

1 teaspoon vanilla

1 1/3 cup all purpose flour

1 teaspoon baking powder

¼ teaspoon salt

½ cup sour cream

1 cup sliced pear

¼ cup turbinado sugar

caramel sauce for serving

STEP 1

Preheat oven to 350 degrees. Grease the bottom of a 9” round pan. Cream together butter and white sugar until light and fluffy.

            ½ cup butter

            1 cup white sugar


STEP 2

Whisk in eggs and vanilla until combined.

            2 eggs

            1 teaspoon vanilla


STEP 3

In a separate bowl, combine dry ingredients.

            1 1/3 cup all purpose flour

            1 teaspoon baking powder

            ¼ teaspoon salt


STEP 4

Alternate adding dry ingredients and sour cream starting and ending with dry ingredients.  Add the flour in two batches with the sour cream added in between.  Gently fold in fruit.  

            ½ cup sour cream

          1 cup sliced pears


STEP 5

Pour the batter into the prepared pan and sprinkle the turbinado sugar on top.  Bake 35-40 minutes until a toothpick comes out clean. Cool completely before serving.  

To serve, top with whipped cream or ice cream and a drizzle of caramel.


Cranberry Bliss Cookies

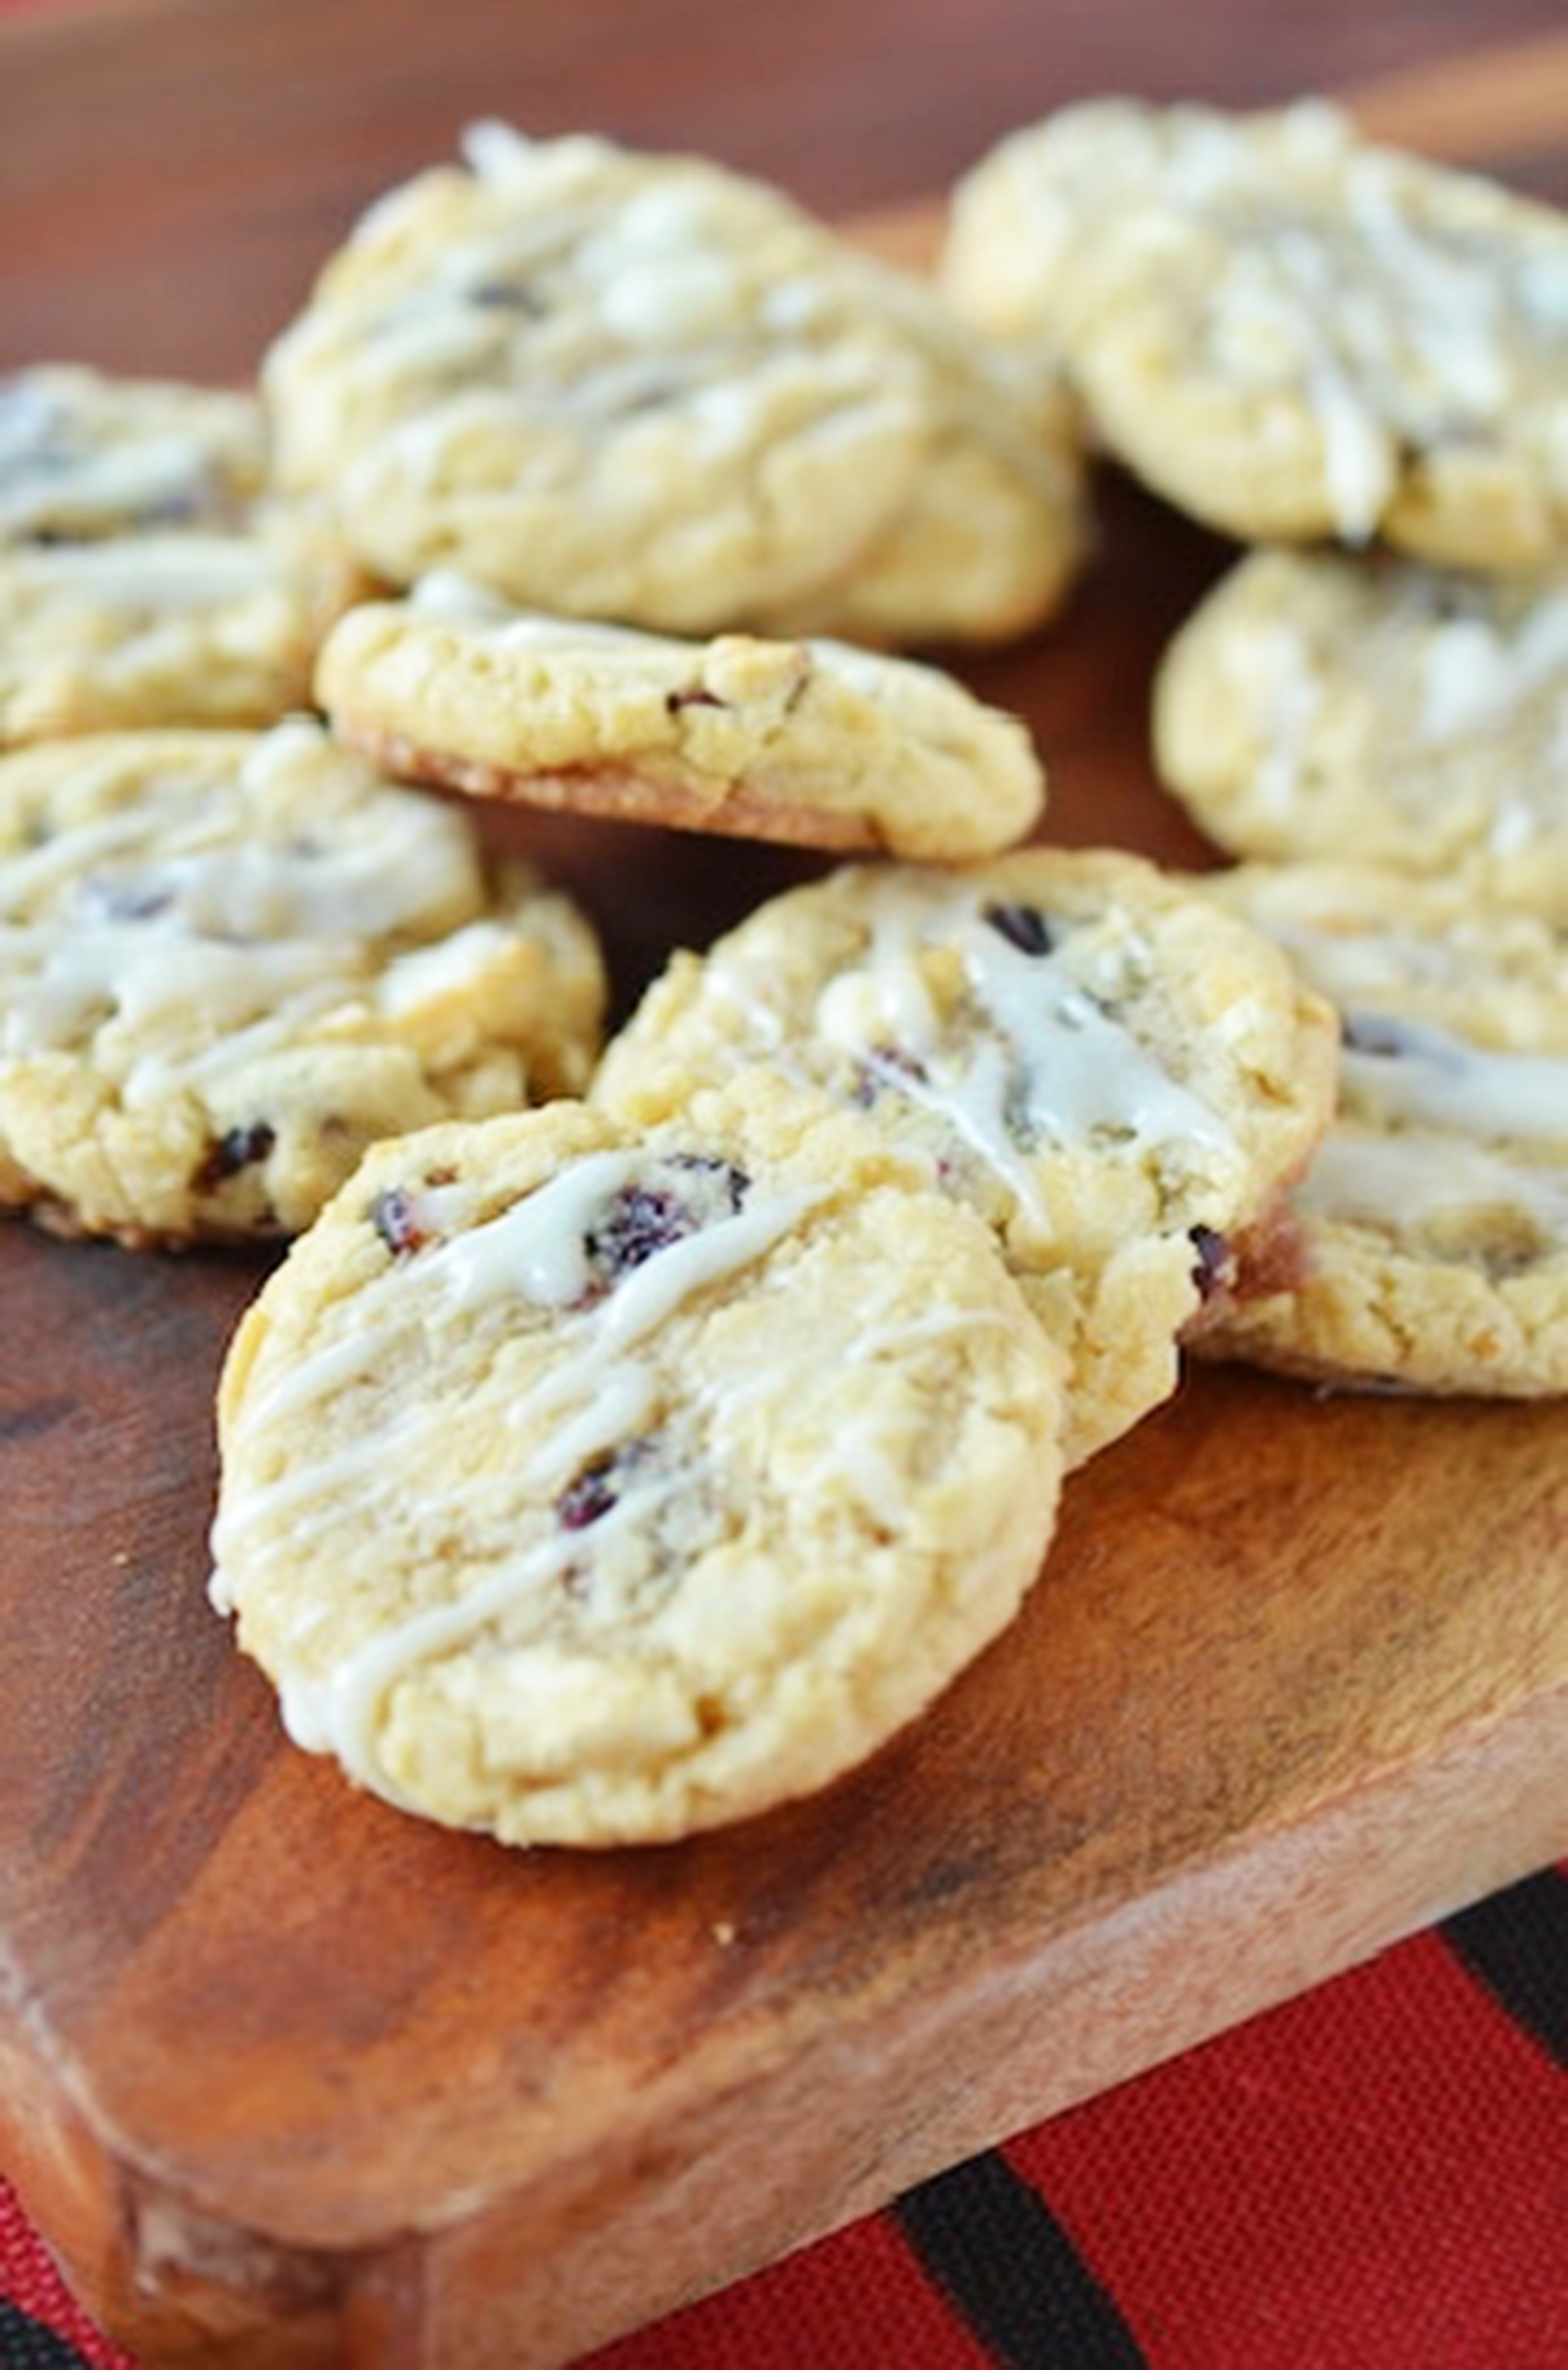
Have you ever had the Cranberry Bliss Bar at Starbucks? I resisted for years because it did not look delicious, but oh boy was I wrong. Cranberry Bliss Bars are SO GOOD. It’s dried cranberries, white chocolate, cream cheese and a cookie layer which meant it was perfect to turn into a cookie!

I made these and ate quite a few immediately. Then I froze a bunch of them to see what happened. They were perfect! Which means you can make these cookies today - freeze them - and defrost them in time for Thanksgiving. Or Christmas. Or a Tuesday board meeting - which is what I will take them too :)

Cranberry Bliss Cookies

makes 2 dozen

1 cup shortening

1 cup sugar

1 cup brown sugar

2 teaspoons vanilla

2 eggs

2 1/4 cup flour

1 teaspoon baking powder

1 teaspoon cream of tartar

1 teaspoon ground ginger

12 ounces white chocolate chips

1 cup dried cranberries

1/4 cup cream cheese

1/4 cup powdered sugar

STEP 1

Preheat oven to 350 degrees

In the bowl of a stand mixer, cream together shortening and sugars. Whip in eggs and vanilla and blend until smooth and fluffy.

STEP 2

Combine all dry ingredients and add them to the stand mixer. Blend them together slightly.

STEP 3

Pour in the chocolate and cranberries and blend until the batter is totally mixed. Scoop on baking sheets and bake 12 minutes until browned. Let cool on the baking sheet before moving to a cooling rack.

STEP 4

Warm cream cheese in the microwave for a few seconds until soft. Whisk in powdered sugar. Drizzle the top of cooled cookies.

Eat immediately or store in an airtight container for up to one week.

Ali Hedin's Cranberry Bliss Cookies - Just like Starbucks famous bars

Crispy Bacon Brussels Sprouts
Ali Hedin's perfect crispy Brussel sprouts!

If you’ve had happy hour at Jak’s bar, then you know all about the crispy brussels sprouts with bacon. These are an epic recreation of those. Being able to make them at home is a blessing (brussels sprouts are healthy!) and a curse (you will eat them all the time).

This is the perfect Thanksgiving side. The oven will already be hot so all you need to do is make the bacon and pop them in the oven. Literally, it’s a half hour tops and they’re done.

Ali Hedin's perfect crispy brussel sprouts!  Just in time for Thanksgiving.

Crispy Bacon Brussels Sprouts

1 pound brussels sprouts, sliced thin

4 slices bacon

1 tablespoon olive oil

1 tablespoon cornstarch

Balsamic glaze for serving

STEP 1

Preheat oven to 400 degrees.

In a large cast iron skillet, cook the bacon until crispy. Remove from the pan and set on a paper towel to cool.

STEP 2

Toss the brussels sprouts with olive oil and corn starch until coated. Pour them into the cast iron skillet and toss in the bacon grease gently.

STEP 3

Pop the pan into the hot oven and let roast in one thin layer for about 15 minutes. When they are starting to get brown and crispy, toss and give it another 5 minutes in the oven.

STEP 4

Chop the bacon and toss with the sprouts. Drizzle a little balsamic glaze over the sprouts and serve hot!


Retro Cranberry Jello Mold

It’s an epic debate in every household - canned cranberries or fresh? Our house does both and we get made fun of by the fresh contingent that we love our jellied cranberries. Those of us that love the canned berries can’t believe you’d choose cranberries over a vintage, retro, delicious jello dish!

Making your own canned cranberries is maybe the best of both worlds. It’s jello. But it’s also homemade. You can add any flavors you prefer into this. I like the brightness of the lemon and the texture of the pineapple. Jello salad with no texture is just a giant jello jiggler.

Cranberry Jello Mold

4 cups 100% cranberry juice, divided

4 envelopes plain gelatin

1/2 cup sugar

1 tablespoon lemon zest

8 ounces crushed pineapple

STEP 1

Pour one cup of cranberry juice in a bowl and sprinkle the top with the gelatin. Try to get all of it touching the liquid. Let it sit until the gelatin looks like it’s absorbed the liquid.

STEP 2

Bring the remaining juice to a simmer on the stove with the sugar. Pour the hot juice over the gelatin and whisk until combined. Stir in the pineapple and lemon zest.

STEP 3

Spray down a bundt pan, a jello mold, or a circular bowl with spray oil. Pour in the cranberry mixture and carefully transfer to the fridge. Let sit for 24 hours.

STEP 4

To unmold the jello, fill a large bowl or a small sink with hot water - just three to four inches deep with water. Dip the mold into the water to warm up the jello. Invert the jello onto a plate and serve!