Herbed Roasted Potato Salad
I think this is the potato salad to end all potato salads. It’s herby and tangy and filled with bacon. I literally can’t think of anything better.
I’m not a huge fan of a mayo based potato salad. There are some that are good- but it’s usually made with so much mayo and egg that the potato is almost an afterthought. This one is extremely potato forward - so use your good potatoes. It sounds silly, but it actually makes a difference if you use a good quality potato. If you can get them straight out of the ground, you will be blown away by how good it is.

Roasted Potato Salad
2 pounds small potatoes
3/4 cup olive oil
1/4 cup red wine vinegar
2 tablespoons Dijon mustard
1/4 teaspoon Worcestershire sauce
1/4 teaspoon salt
1/4 teaspoon fresh ground pepper
2 tablespoons chopped basil
2 tablespoons chopped oregano
2 tablespoons chopped thyme
2 tablespoons chopped chives
4 strips cooked bacon, chopped
STEP 1
Preheat the oven to 350 degrees.
Chop the potatoes into quarters, or smaller to make them bite sized. Toss with 2 tablespoons olive oil to coat & season with salt and pepper.
STEP 2
In a jar with a lid, combine the remaining oil, vinegar, mustard, Worcestershire, remaining salt & pepper, and all herbs. Shake until well combined. If I don’t have a jar on hand, I’ll mix the dressing in the bottom of the serving bowl - then throw the potatoes on top and toss them all together.
STEP 3
Let the potatoes cool slightly then toss with dressing herbs and chopped bacon. Let sit at least an hour in the fridge before serving.


Oven Baked Ribs
This is the perfect main dish next to your new favorite potato salad.
Mac Salad (for people who hate mac salad)
I will tell you that I think salad and mayonaisse are contrasting ideas. A “salad” should not include mayo in its ingredients! It’s not even a little healthy with it - and the concept of a salad (to me) is healthy. So I have protested a mac salad repeatedly for years. But every summer we host a luau at our beach house and you cannot serve Hawaiian plate lunch without mac salad! So we started researching and came up with a version that is just like you might get on a plate lunch, but with way less mayo. If you love a traditional mac salad, then take a minute before judging this one. It’s not traditional. It’s a noodle salad for the rest of us!

Mac salad is always served on a Hawaiian plate lunch. Plate lunch is my favorite thing ever. I usually get teriyaki chicken or chicken katsu - and a little mac salad on the side is actually quite delicious. This version is delightful with a plate lunch without being gloopy. I think you’ll like it no matter what your traditional mac salad preference is!


Mac Salad (for people who don’t like Mac Salad)
serves 4
1 cup macaroni noodles
1 tablespoon apple cider vinegar
1/2 cup mayonnaise
2 tablespoons milk
1 teaspoon sugar
1/4 cup shredded carrot
2 green onions, chopped
salt & pepper
STEP 1
Boil the noodles and drain when they are cooked. Immediately toss with apple cider vinegar and set aside.
STEP 2
In the bottom of a mixing bowl, combine mayo, milk and sugar. Add the noodles, carrot and green onion. Toss to coat with the dressing. Season with salt and pepper to taste.
STEP 3
REFRIGERATE! It must sit for at least one hour. Otherwise it’s not good and we’re going for surprisingly good.
*Note - I use almond milk instead of regular milk and no one has ever noticed the difference. We’ve also used vegan mayo in the past to avoid eggs. Any of those substitutions work just fine.


Broccoli & Roasted Tomato Slaw
I bought a bag of broccoli slaw on a whim one day. I don’t normally buy the pre shredded or precut items, but time is at a minimum these days and those precut bags looked really inviting. Originally I planned on just tossing it with a slaw style dressing and calling it a day. But then I looked through the fridge and started brainstorming what else could be done to make it more interesting.
Since broccoli is Italian and I had purchased Italian sausages…. it only seemed natural to pair it all with Italian flavors. I grabbed oregano and basil from the herb garden and added some roasted tomatoes. A little vinegar, olive oil and salt & pepper and it was a surprisingly delicious


So I made it again. And again. And again. And then I thought you might like it too! It’s the perfect side dish for Memorial Day weekend. It holds for a few hours and it’s actually better if you let it sit for 1/2 hour so the broccoli bits soften.
We’re heading up to the beach this weekend and I will for sure be making this happen. Let me know if you make it too!

Broccoli & Roasted Tomato Slaw
1 bag broccoli slaw
1 pint cherry tomatoes
2-4 tablespoons fresh basil, chopped (a small handful)
2-4 tablespoons fresh oregano, chopped (a small handful)
1/4 cup olive oil
2 tablespoons red wine vinegar
salt & pepper
STEP 1
Preheat oven to 400 degrees. Pour out the tomatoes on a baking sheet and toss with 2 tablespoons olive oil and salt. Roast for about 10 minutes until the tomatoes pop.
STEP 2
Let the tomatoes cool slightly then pour over the broccoli slaw. Add vinegar and fresh herbs. Toss gently until coated in the oil. If it seems dry, add more olive oil. Season with salt & pepper.


All Amercian Burger
The perfect burger to go with your new favorite side dish!.
Crispy Bacon Brussels Sprouts
If you’ve had happy hour at Jak’s bar, then you know all about the crispy brussels sprouts with bacon. These are an epic recreation of those. Being able to make them at home is a blessing (brussels sprouts are healthy!) and a curse (you will eat them all the time).
This is the perfect Thanksgiving side. The oven will already be hot so all you need to do is make the bacon and pop them in the oven. Literally, it’s a half hour tops and they’re done.


Crispy Bacon Brussels Sprouts
1 pound brussels sprouts, sliced thin
4 slices bacon
1 tablespoon olive oil
1 tablespoon cornstarch
Balsamic glaze for serving
STEP 1
Preheat oven to 400 degrees.
In a large cast iron skillet, cook the bacon until crispy. Remove from the pan and set on a paper towel to cool.
STEP 2
Toss the brussels sprouts with olive oil and corn starch until coated. Pour them into the cast iron skillet and toss in the bacon grease gently.
STEP 3
Pop the pan into the hot oven and let roast in one thin layer for about 15 minutes. When they are starting to get brown and crispy, toss and give it another 5 minutes in the oven.
STEP 4
Chop the bacon and toss with the sprouts. Drizzle a little balsamic glaze over the sprouts and serve hot!


Retro Cranberry Jello Mold
It’s an epic debate in every household - canned cranberries or fresh? Our house does both and we get made fun of by the fresh contingent that we love our jellied cranberries. Those of us that love the canned berries can’t believe you’d choose cranberries over a vintage, retro, delicious jello dish!
Making your own canned cranberries is maybe the best of both worlds. It’s jello. But it’s also homemade. You can add any flavors you prefer into this. I like the brightness of the lemon and the texture of the pineapple. Jello salad with no texture is just a giant jello jiggler.

Cranberry Jello Mold
4 cups 100% cranberry juice, divided
4 envelopes plain gelatin
1/2 cup sugar
1 tablespoon lemon zest
8 ounces crushed pineapple
STEP 1
Pour one cup of cranberry juice in a bowl and sprinkle the top with the gelatin. Try to get all of it touching the liquid. Let it sit until the gelatin looks like it’s absorbed the liquid.
STEP 2
Bring the remaining juice to a simmer on the stove with the sugar. Pour the hot juice over the gelatin and whisk until combined. Stir in the pineapple and lemon zest.
STEP 3
Spray down a bundt pan, a jello mold, or a circular bowl with spray oil. Pour in the cranberry mixture and carefully transfer to the fridge. Let sit for 24 hours.
STEP 4
To unmold the jello, fill a large bowl or a small sink with hot water - just three to four inches deep with water. Dip the mold into the water to warm up the jello. Invert the jello onto a plate and serve!


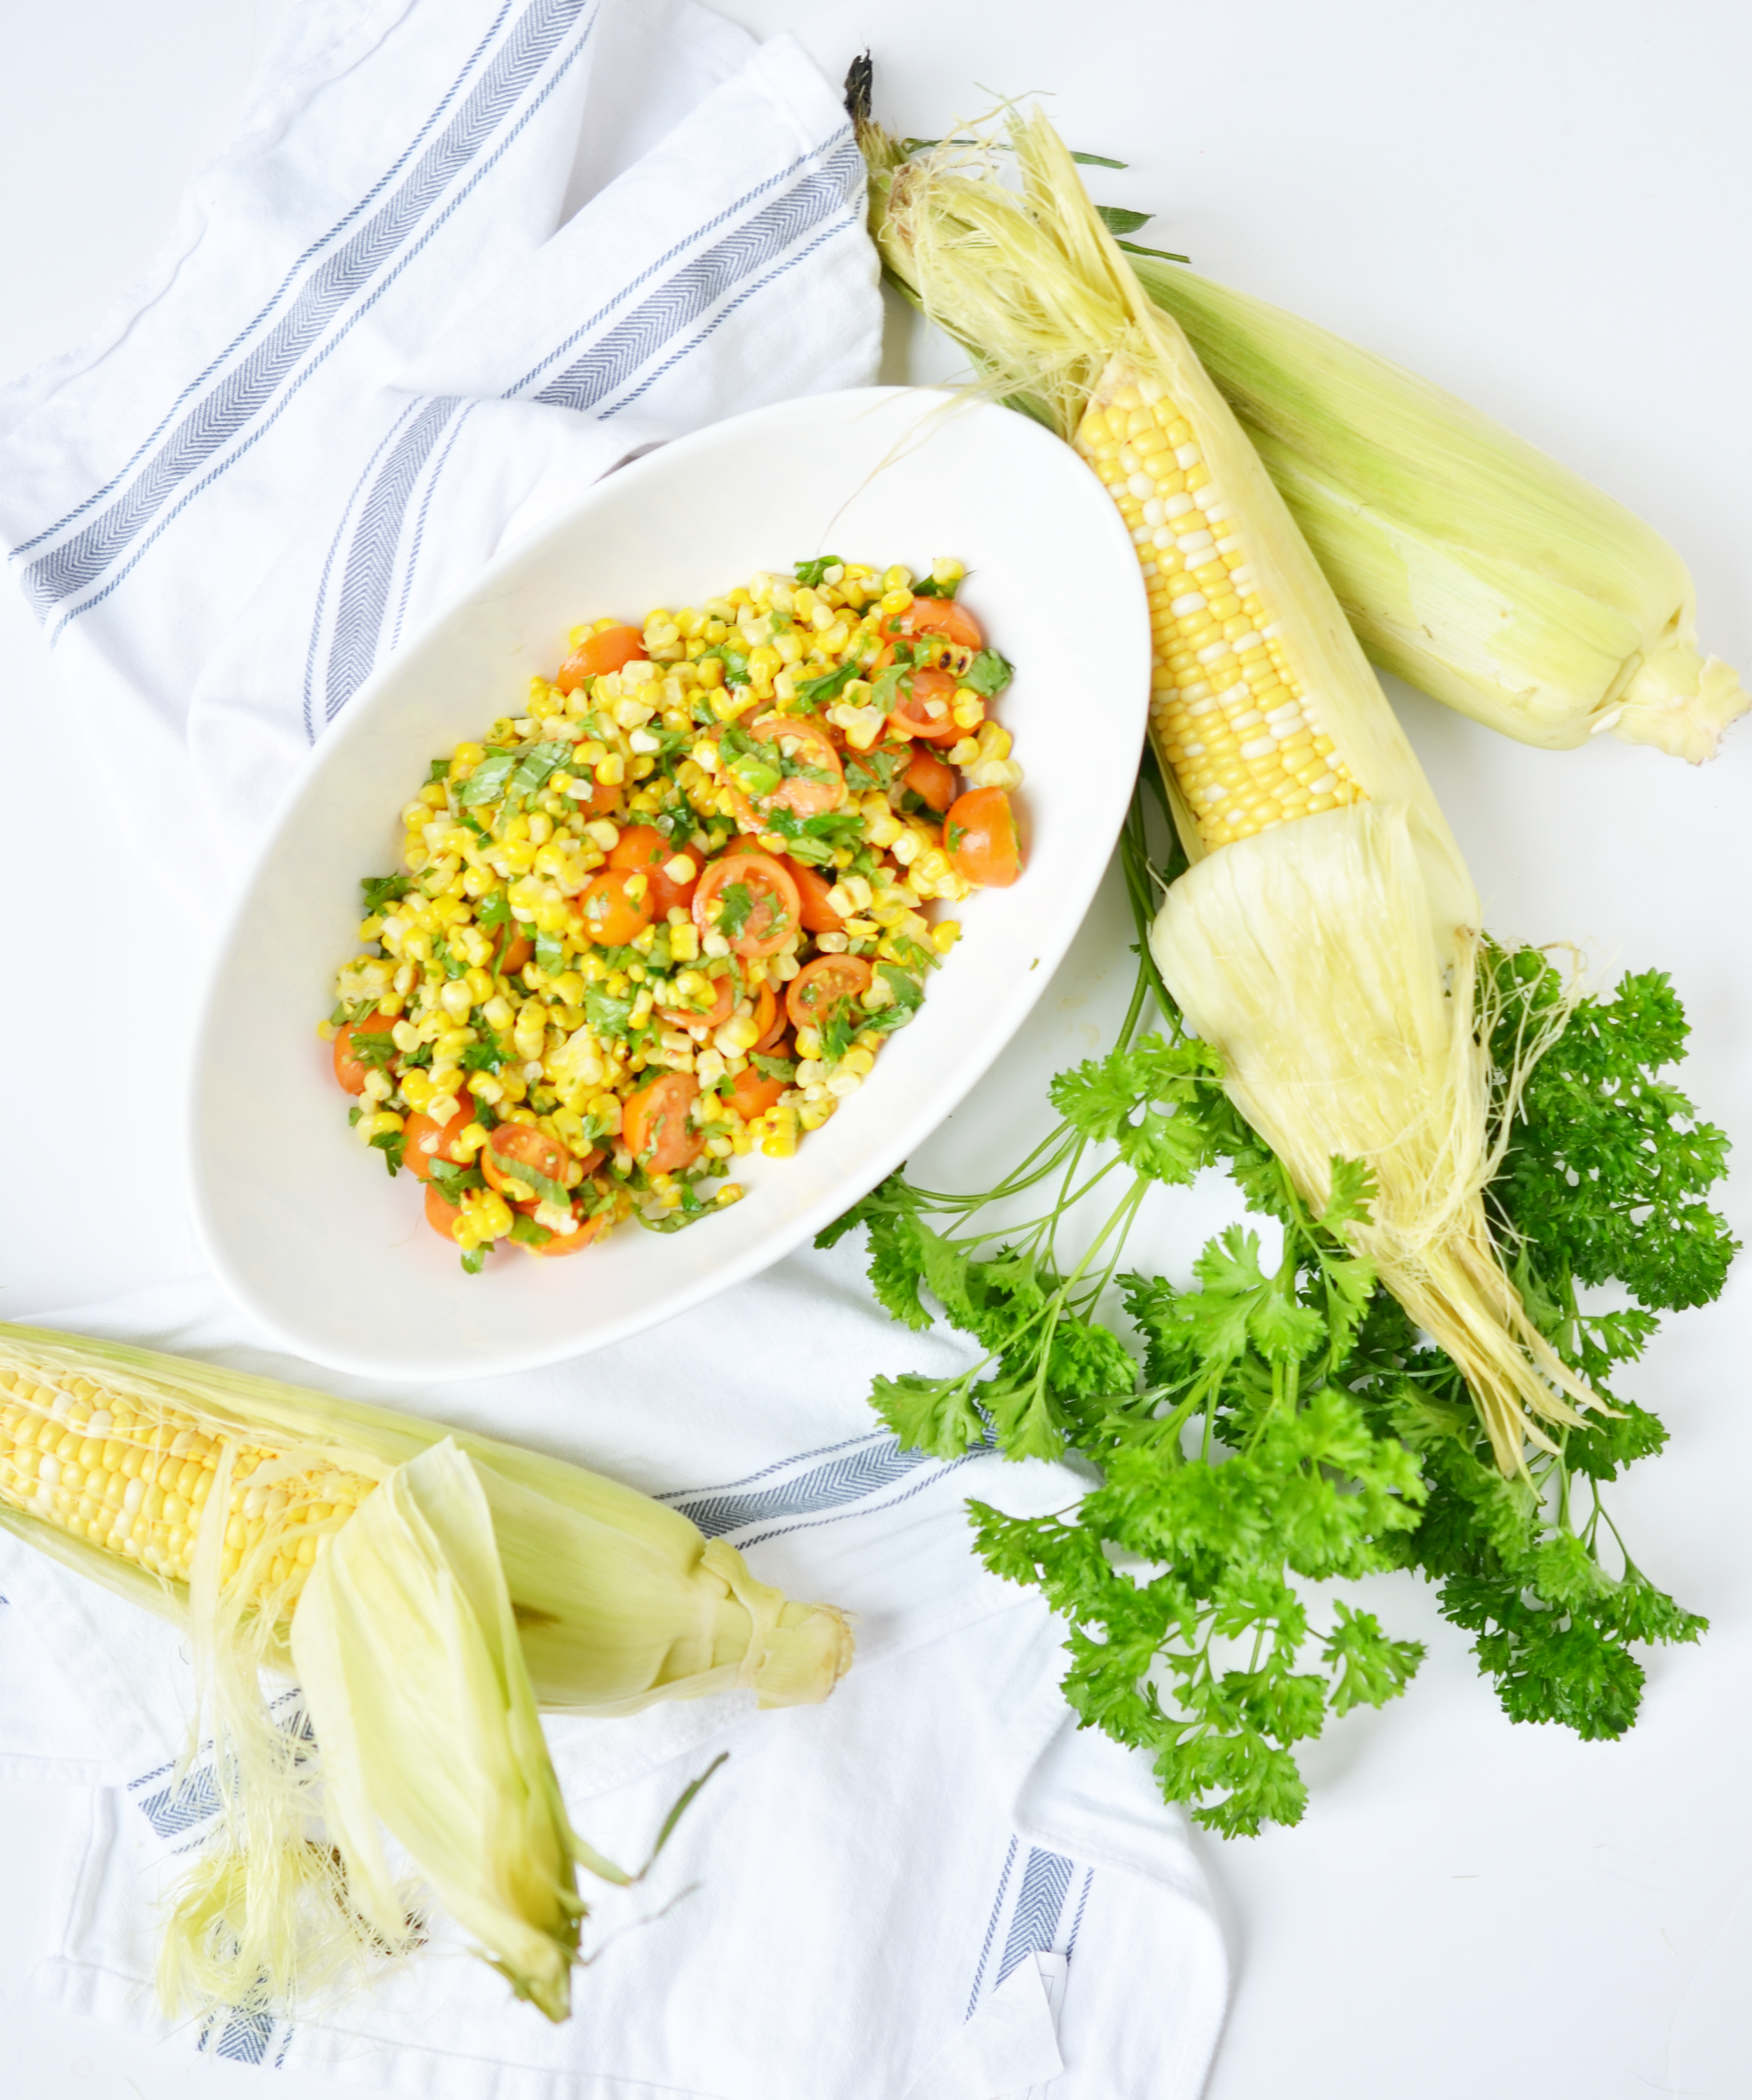
End of Summer Corn Salad
Can you believe summer is over? Luckily, the summer produce is still hanging around the markets - I just found the most epic corn last weekend! I made this salad to go with our Sunday dinner and I thought you might like it too. It’s so ridiculously simple so it barely requires a recipe but those are the best recipes! You can totally mix and match to make it your own.
Don’t have parsley? Use basil! Don’t have basil, use thyme! No herbs in the house? No sweat - this will be amazing no matter what. As long as your corn and tomatoes are fresh, then you’re set.

End of Summer Corn Salad
3 cups corn, off the cob (3-4 cobs)
2 cups sliced tomatoes
1/4 cup chopped parsley
1/4 cup chopped basil
2 tablespoons chopped thyme
2 tablespoons olive oil
1 tablespoon red wine vinegar
salt to taste
Mix everything together and let it rest for about an hour before serving. That’s it!


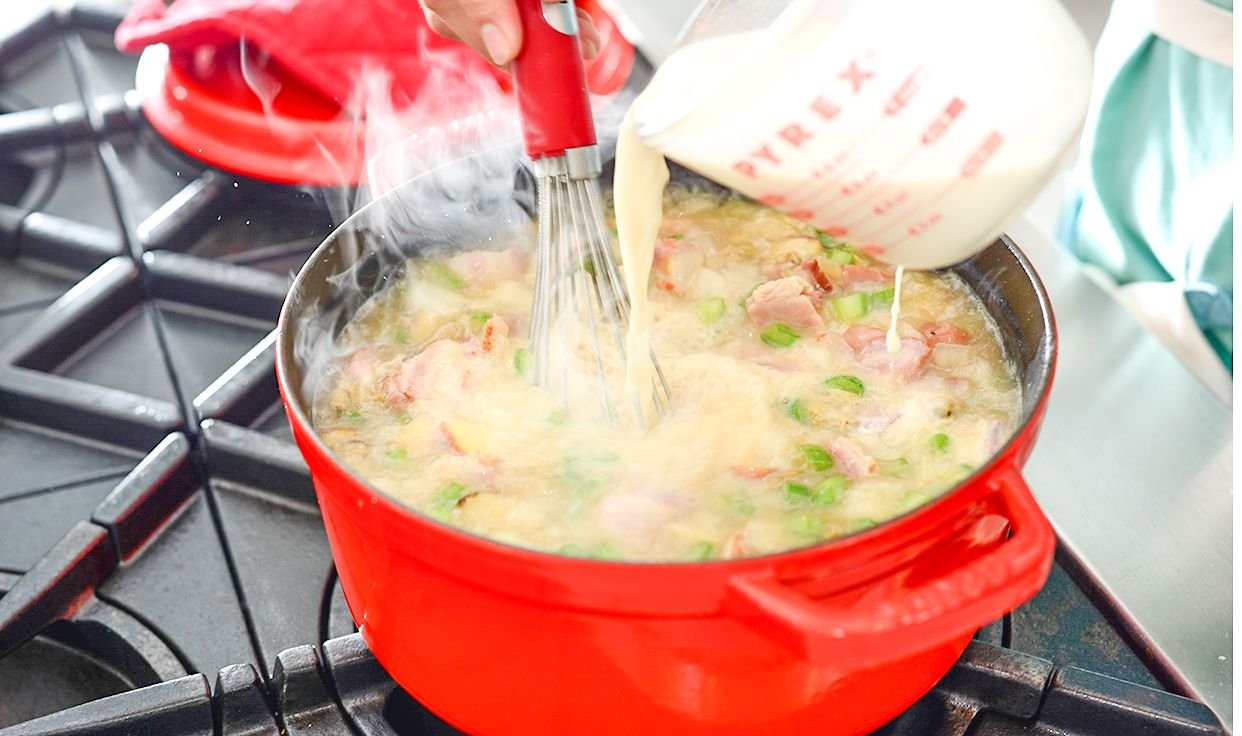
World's Best Clam Chowder
Clam Chowder is literally my favorite soup ever. We took a roadtrip several years ago down highway 101 which goes down the coast of Washington, Oregon and California (at some point it turns to Highway 1 but I can never remember where that happens). Every restaurant that we stepped into, I got clam chowder. Some were great. Some were gloopy. Some had too much dill. Some had too many potatoes. One was even red which is the most dreadful thing you can do to chowder.

Clam Chowder
Serves 4
4 strips bacon, chopped
1 small onion, finely chopped
4 stalks celery, finely chopped
2 cloves garlic
¼ lb potatoes, finely chopped
1 can clams
8 oz clam nectar/ clam juice
4 cups seafood stock
1 bay leaf
1 cup half and half
¼ cup flour
2 tbs parsley, chopped
1 bag oyster crackers
STEP 1
In a large pot, cook bacon until browned.
STEP 2
Add onion, celery, potatoes, and garlic. Cook until onions and celery are softened. Stir regularly.
STEP 3
Pour in stock and clams. Don’t drain the clams before – pour the liquid into the pot. Add the bay leaf. Cover and cook 20 minutes.
STEP 4
Whisk together half and half with the flour. Very slowly whisk in 1 cup of the hot soup broth.
STEP 5
Pour flour mixture into the soup pot and stir until incorporated.
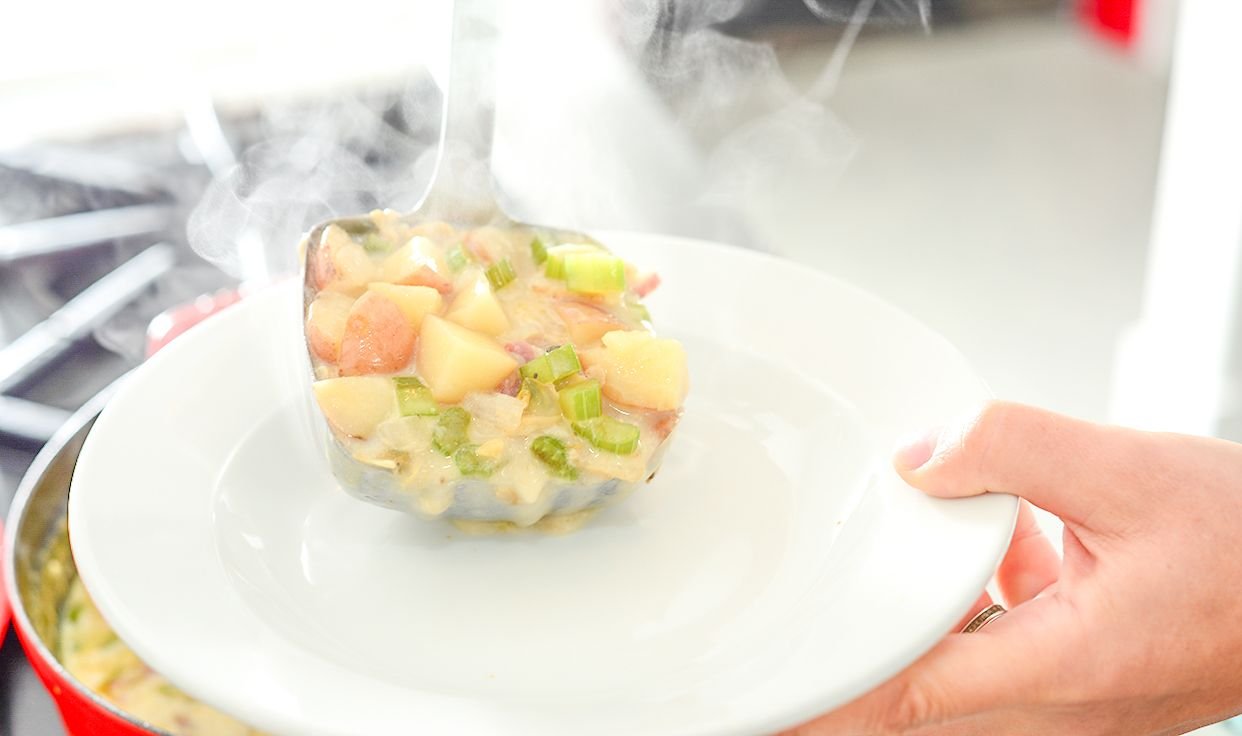
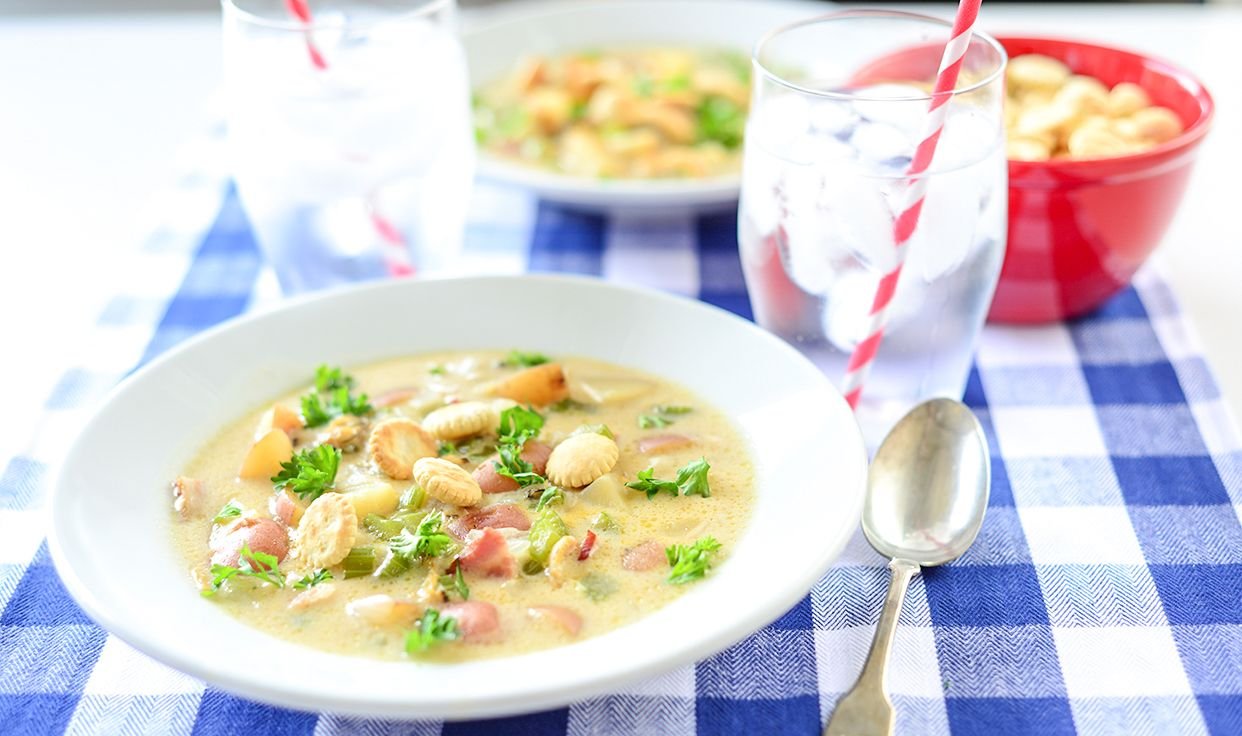
STEP 6
Serve with fresh parsley and oyster crackers on top.
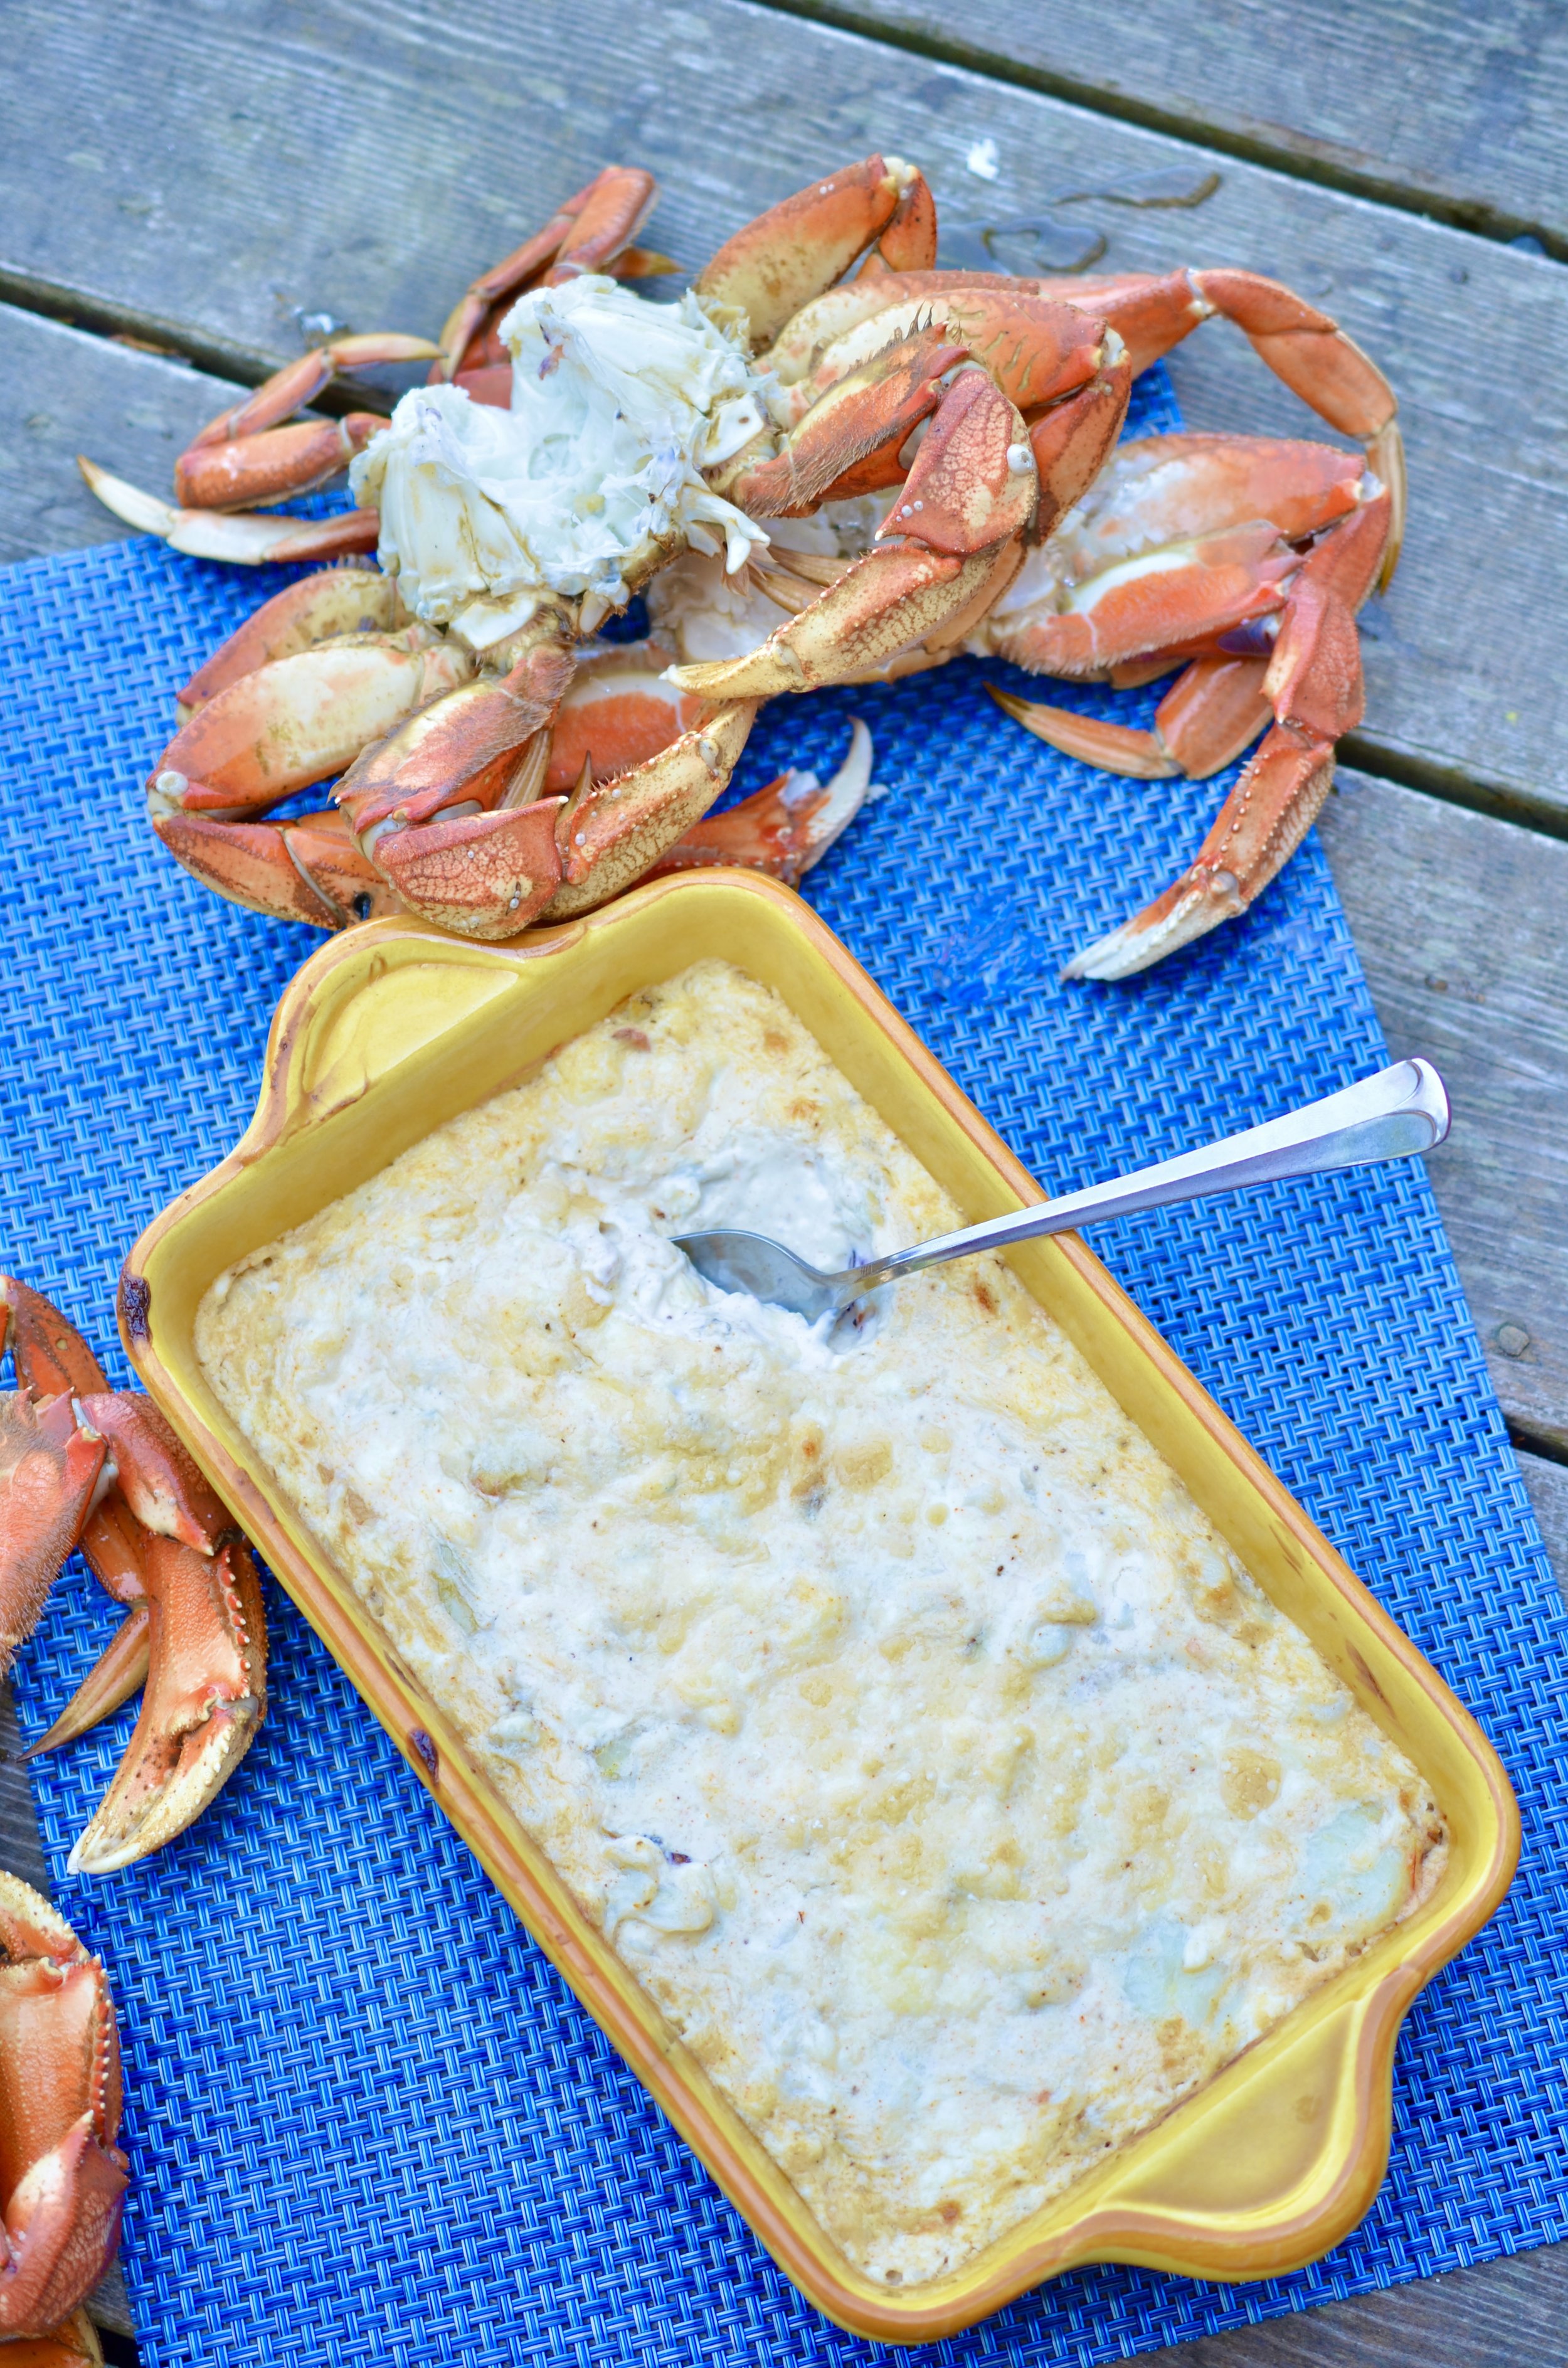
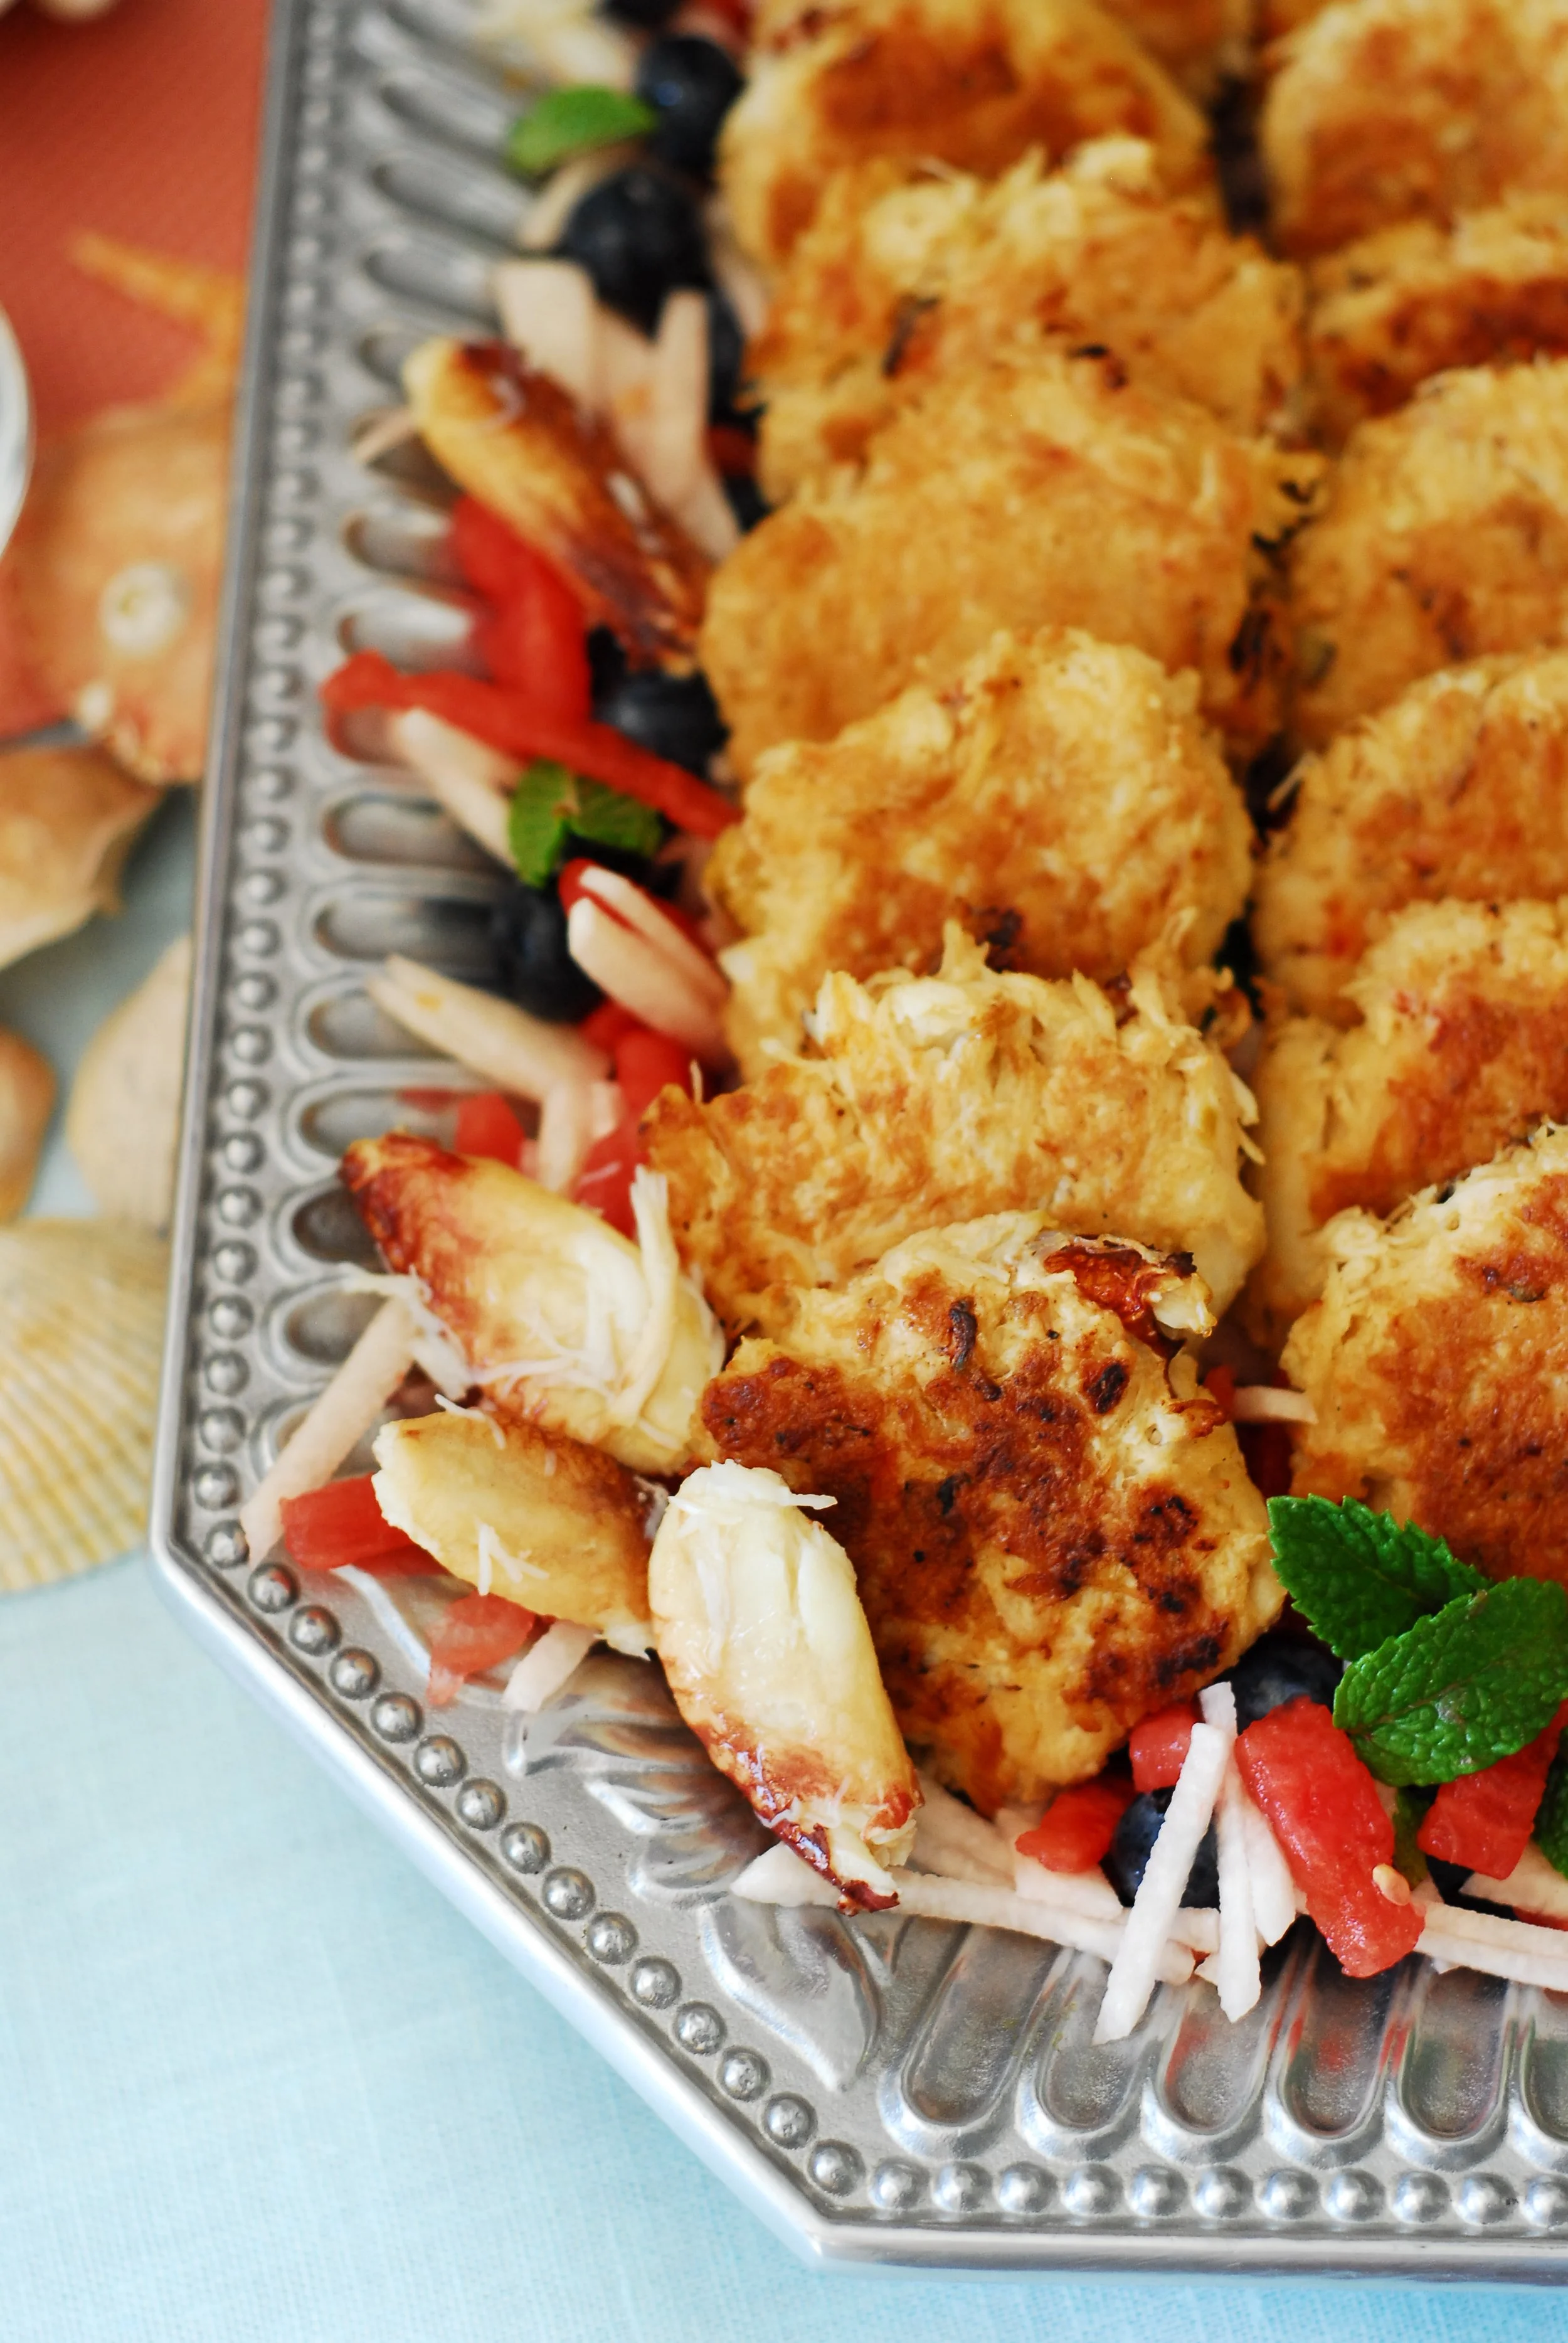
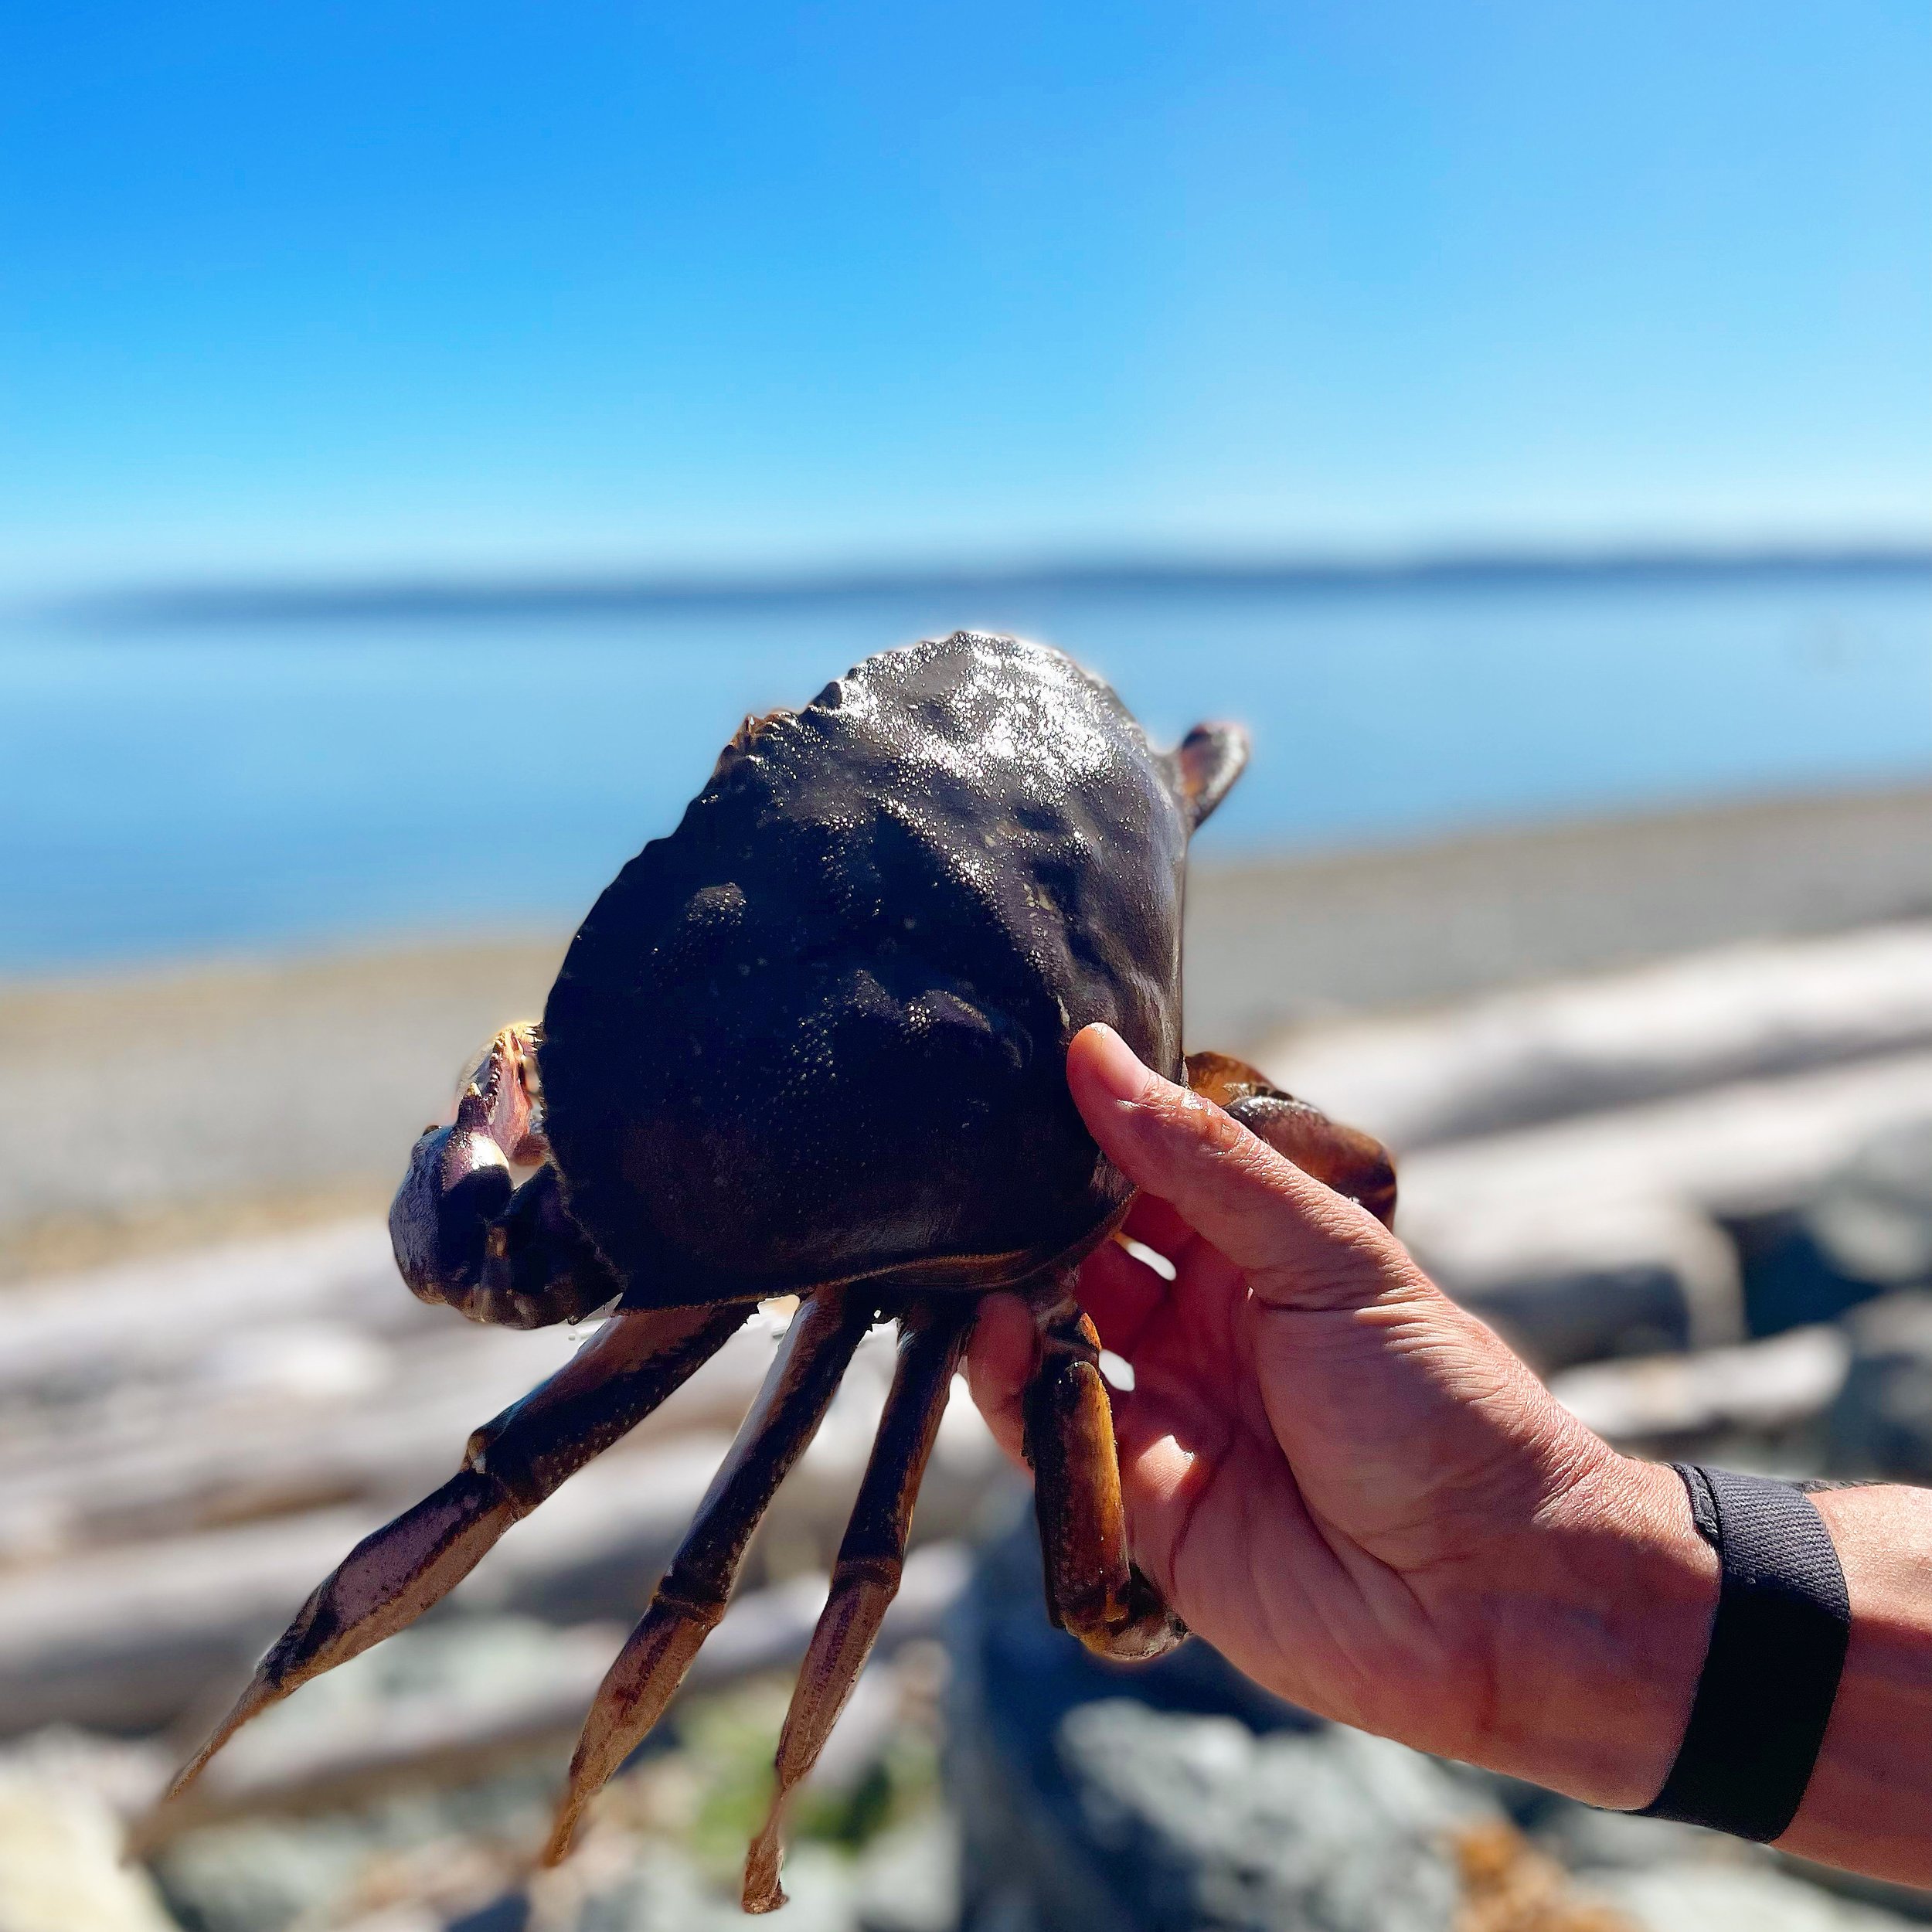
Gwen's Dungeness Crab Cakes
Every summer my mom makes her signature crab cakes. My cousins will happily sit and pick crab for hours if it means we get crab cakes for dinner. We all adore them. The secret is that it’s barely held together with anything - so it’s basically all crab. By letting them rest for a bit in the fridge - you can even leave them all day - they hold together a little better and cook a lot better.
Gwen’s Crab Cakes
serves 4-6
1 pound fresh cracked Dungeness crab
1 cup mayonaisse
1 egg, beaten
1 cup panko breadcrumbs
1 teaspoon Old Bay Seasoning
1 teaspoon dry mustard
1 teaspoon baking soda
juice of 1/2 lemon
salt and pepper
butter
STEP 1
Mix all ingredients together – except for the butter – add salt and pepper to taste. From the crab mixture into patties. Let them rest about 1/2 hour in the refrigerator.
STEP 2
Melt 1/2 tablespoon butter in a skillet over medium heat. Working in batches, place patties in the preheated pan and cook 3-5 minutes on each side until cakes are golden on each side and warmed throughout. Add more butter to the pan between each batch as needed.
STEP 3
To keep the crab cakes warm before serving, keep them on a cookie sheet in a 200 degree oven.


Farmer's Market Quinoa Salad
This is the ultimate mash up of everything good coming into farmer’s markets about now. Have you also seen the easiest way to make quinoa ever?? It’s microwaveable, won’t scorch, and is done in about five minutes.
I love putting almonds in this salad, but I am allergic. So when I pop them in, it’s for other people and not me. For myself, I put in sliced cashews, pecans, or walnuts. Pecans are my favorite, so they usually win out.


Farmer’s Market Quinoa Salad
Serves 4
1 cup uncooked quinoa, rinsed and drained
2 tbs chopped dill
¼ cup chopped basil
2 tbs chopped parsley
2 ears corn
½ pound green beans
½ pound snap peas
1 cup almonds, sliced
2 cups blackberries
½ cup plain yogurt
2 tablespoons champagne vinegar
4 ounces crumbled blue cheese
1 tablespoon chopped chives
1 tbs. milk
salt and pepper
STEP 1
Combine 2 cups water, quinoa, chopped herbs, and one teaspoon each salt and pepper in a microwaveable glass bowl that holds at least four cups. Cover with tight fitting plastic wrap. Pop into the microwave and cook for four minutes.
STEP 2
Remove plastic, stir, return to microwave for another four minutes – assuming all liquid has not been absorbed. Depending on the strength of your microwave, this may take anywhere from four to twelve minutes. Continue microwaving until most of the liquid has been absorbed. Let rest ten minutes covered.
STEP 3
Bring a large pot of water to a boil. Drop corn into water and cook 5 minutes. Remove from water and add beans. Cook 2-3 minutes until bright green and still crisp. Drop the green beans into a bowl of ice water immediately. Add the snap peas to the water and cook 2 minutes. Remove from the water and drop them into the ice water as well.
STEP 4
Drain beans and peas. Cut the corn off the cob. Toss all vegetables with quinoa, berries, and almonds.
STEP 5
In a small bowl, whisk together yogurt, vinegar, blue cheese, chives, and milk. Top the salad with dressing and toss again.

Heirloom Tomato Tart
I’ve seen several versions of this over the summer but all of them are smothered in cheese. If you are not a cheese eater - or non dairy completely - then it feels tricky. While I’m sure a cheese version is delicious, it’s not an option for my house so I used the saltiness of anchovy paste to stand in for cheese and it worked fabulously. Seriously, the dairy eaters in my house didn’t even notice it was missing anything. In fact, my teenager declared it “the best pizza ever.” So there’s that…
While it’s basically a pizza, it’s the fancy bougie kind made with fresh tomatoes and fresh basil. And a crispy crust that seems impossible outside of Italy. I hope you love it!

Heirloom Tomato Tart
1 sheet puff pastry
1/4 cup olive oil
1 tablespoon anchovy paste
1 clove garlic, grated
2 large heirloom tomatoes, sliced
1 egg, beaten
pinch of salt
chopped fresh basil
STEP 1
Preheat the oven to 350 degrees. Roll out the puff pastry until about a third larger. Fold over the edge all the way around to create a ‘crust.’
STEP 2
Whisk together the oil, anchovy paste and garlic. Spread it evenly over the top of the pastry, avoiding the crust.
STEP 3
Layer the tomato slices over the olive oil so the center of the tart is filled. Sprinkle the top of the tomatoes with salt. Brush the crust with the beaten egg and pop in the oven.
STEP 4
Bake 15-20 minutes until the crust is browned and the tomatoes are bubbly. Let cool a few minutes before cutting and serve warm. Sprinkle the top with fresh cut basil.
