Posts in Recipes
Aunt Carolann's Olive Bar Pasta Salad

When I was growing up, this was a staple at every family gathering. Aunt Carolann always made this salad. And if she didn’t, then my mom did. It was by far the best part of a potluck buffet - and because we knew either Aunt Carolann or mom made it, then we knew it was a safe option. You never really know what’s at a potluck…

As an adult, I realized why this was at every potluck - it’s actually the easiest thing ever to make. And usually we have the ingredients in the pantry. Keep a bottle of Kalamata olives, regular pimento olives and capers in the pantry and you are ready to mix this up anytime. It has served me well when someone says at the last minute, “hey, I need to take something to school/work/party tomorrow!” Boom. Pasta Salad.

Perfect Potluck Salad | Olive Bar Pasta Salad by Ali Hedin (and Aunt Carolann)

You can really use anything pickled or marinated in this salad. It’s not rocket science. The secret is to toss the hot pasta with the salad dressing. It immediately soaks it up and makes the noodles taste ‘marinated’ too. Which is critical; nothing is grosser than plain noodles in a salad.

Perfect Potluck Salad | Olive Bar Pasta Salad by Ali Hedin (and Aunt Carolann)

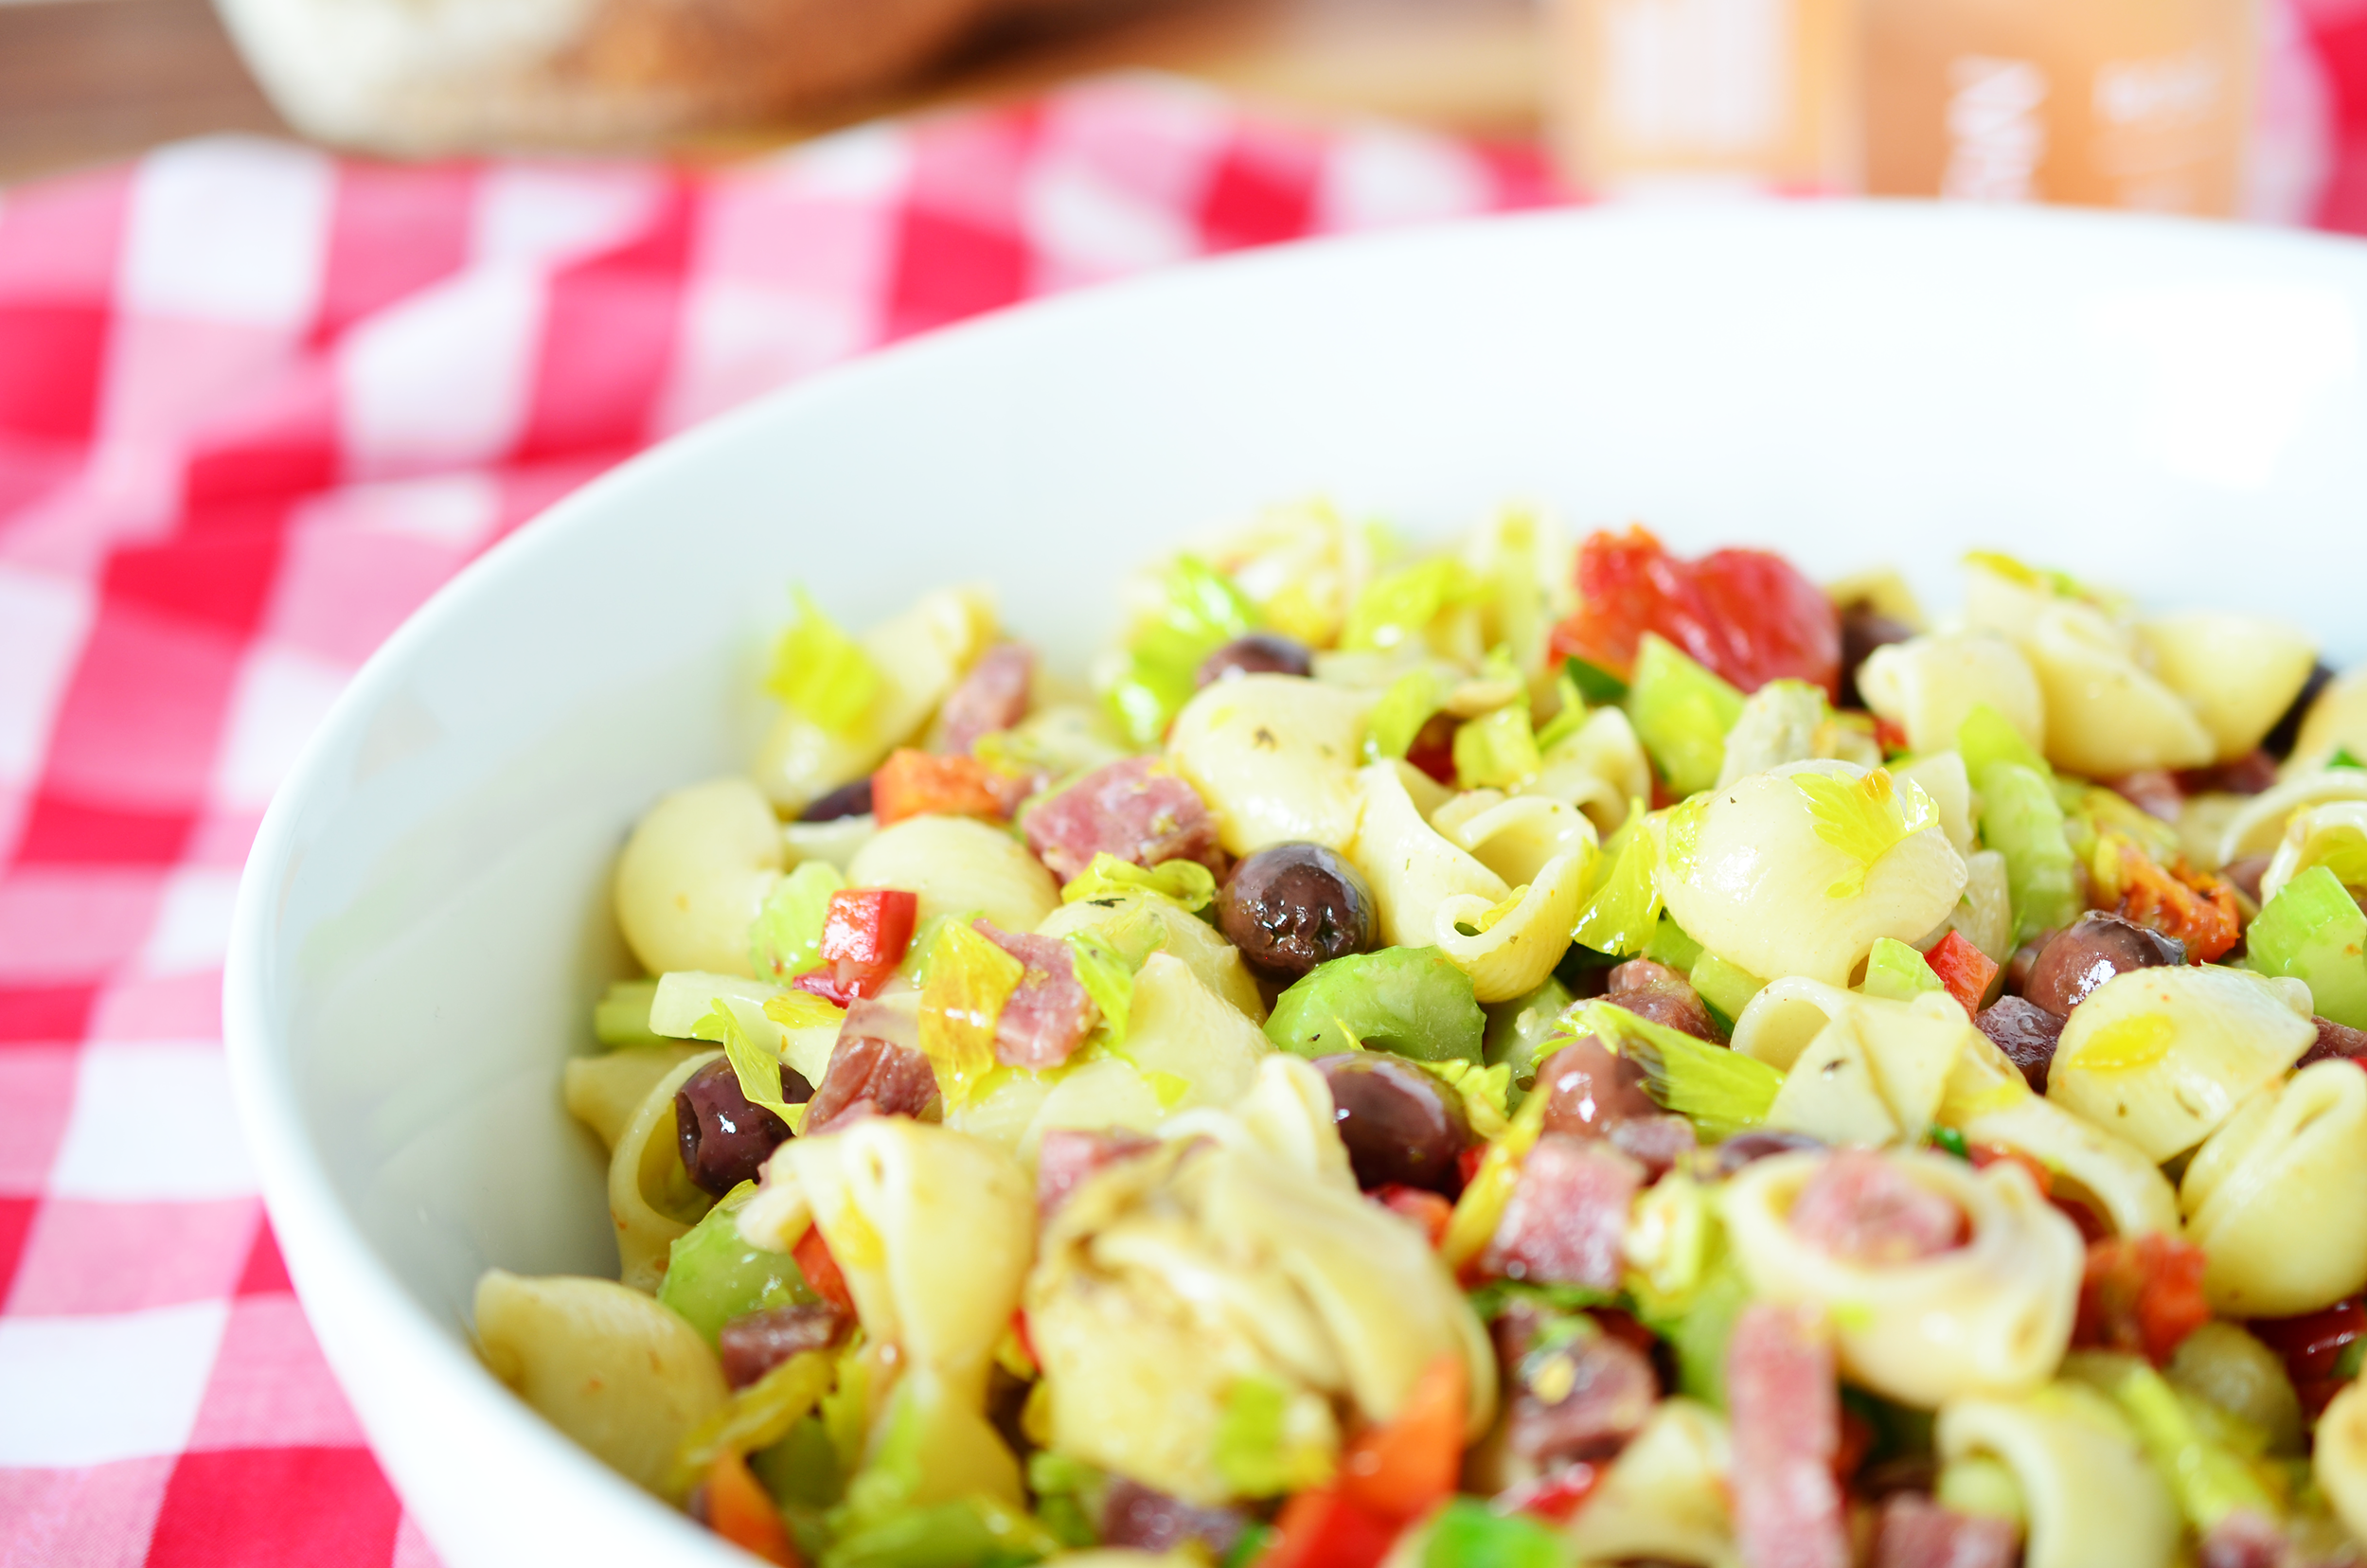
Aunt Carolann’s Olive Bar Pasta Salad

1/2 pound dried pasta (small twisty shapes are best)

1/2 cup Italian salad dressing

1/2 cup chopped celery

1/2 cup chopped bell pepper

2 green onions, chopped

1/2 cup chopped salami

1 1/2 cup chopped olive bar bits (olives, marinated artichoke hearts, marinated garlic cloves, pickled mushrooms, marinated tomatoes, etc.)

STEP 1

Cook the pasta to package directions. Drain and immediately toss with the salad dressing. Let cool with the lid off the pan.

STEP 2

Chop all of the bits and toss them into the pasta. Let rest in the fridge for at least an hour - ideally 4-6 hours.

Perfect Potluck Salad | Olive Bar Pasta Salad by Ali Hedin (and Aunt Carolann)

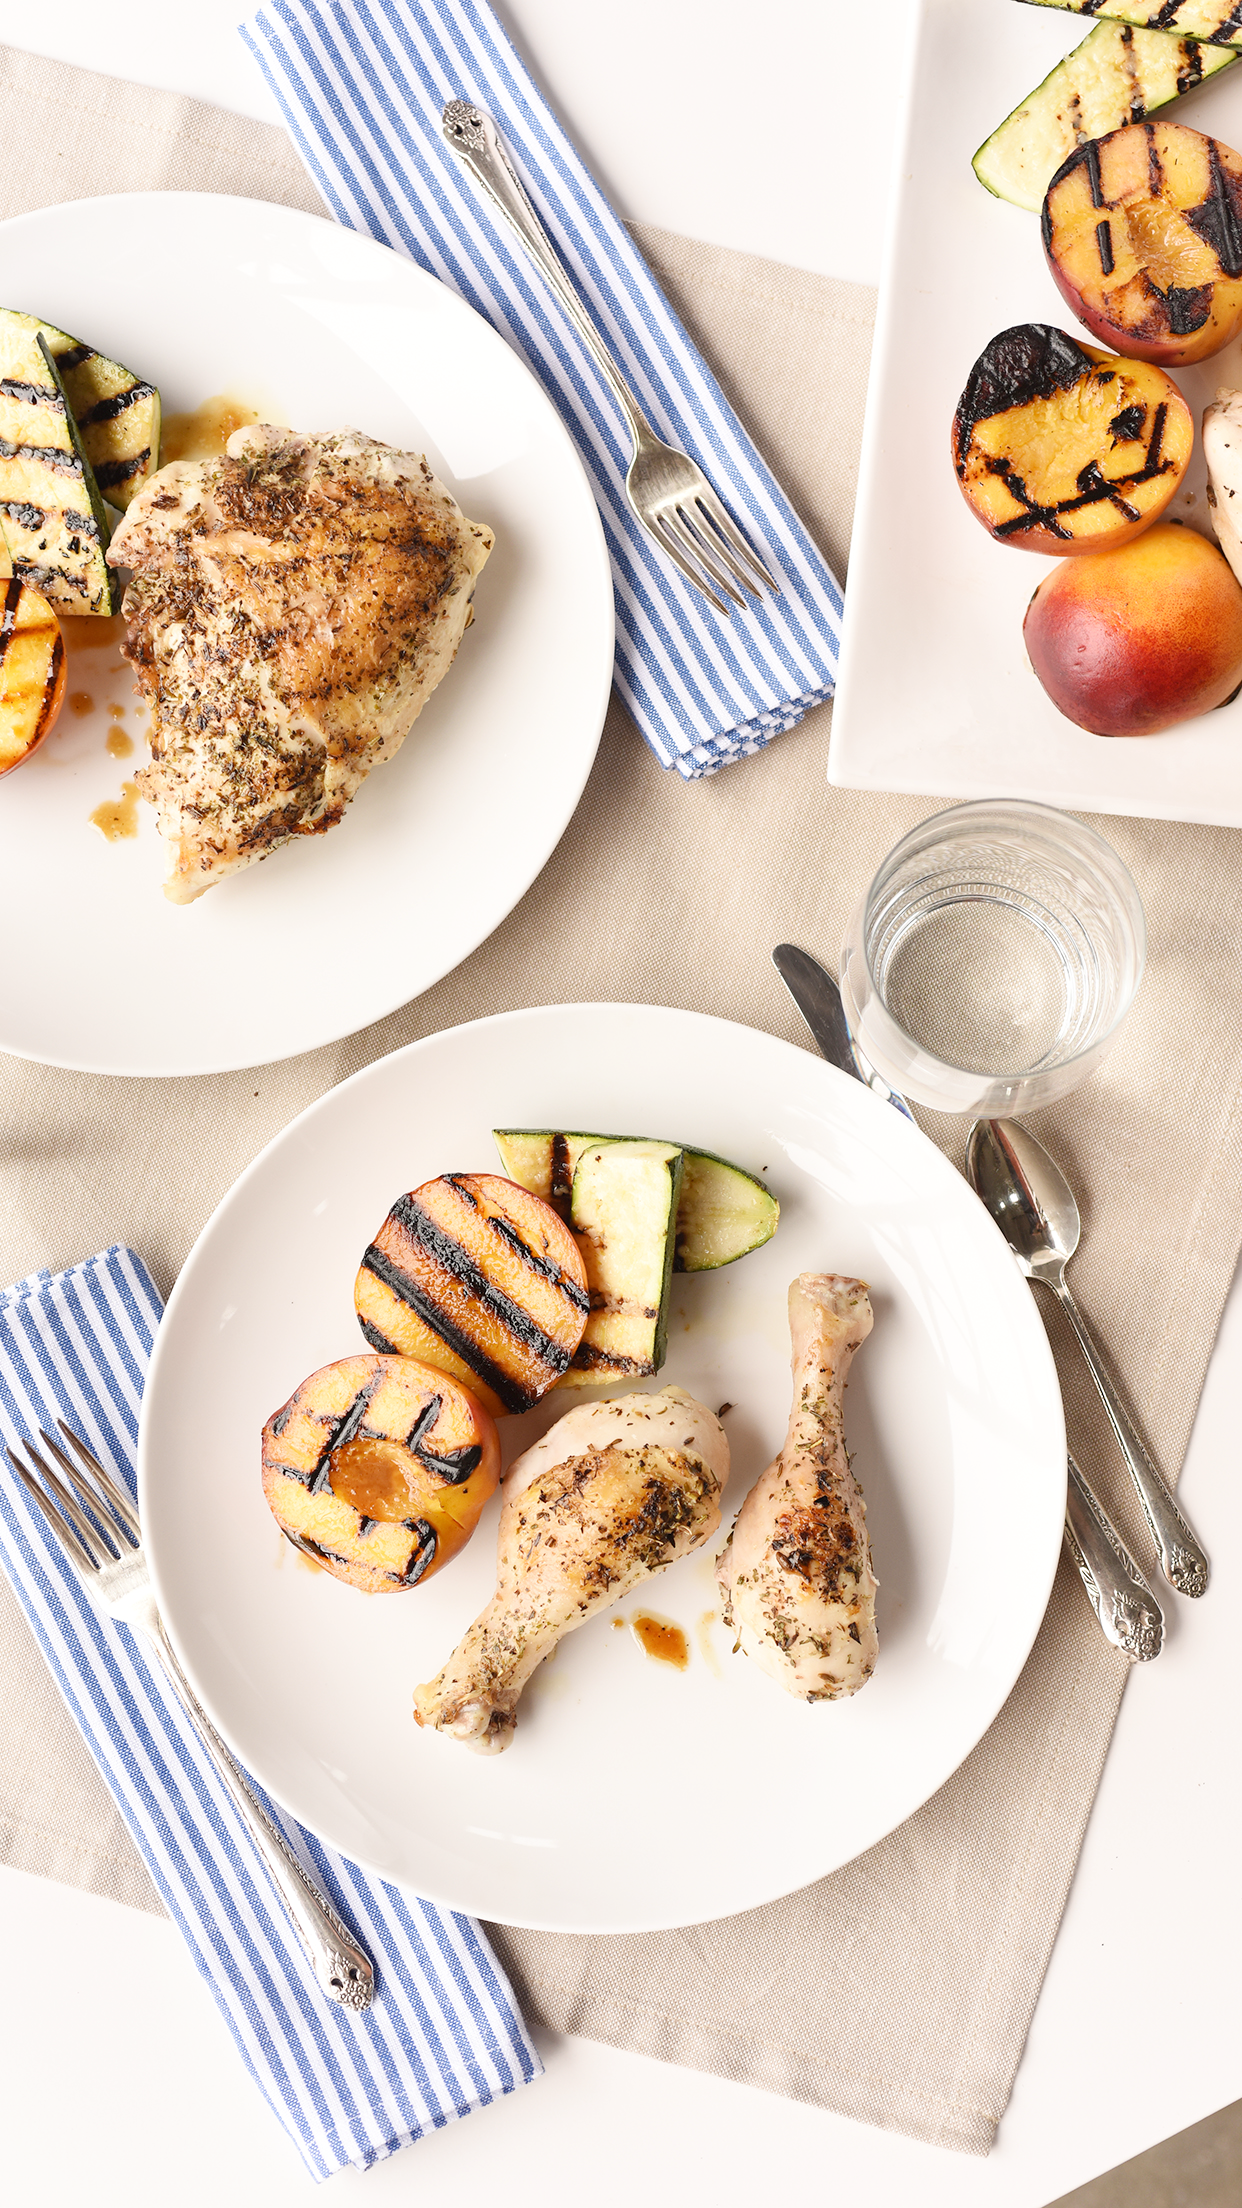
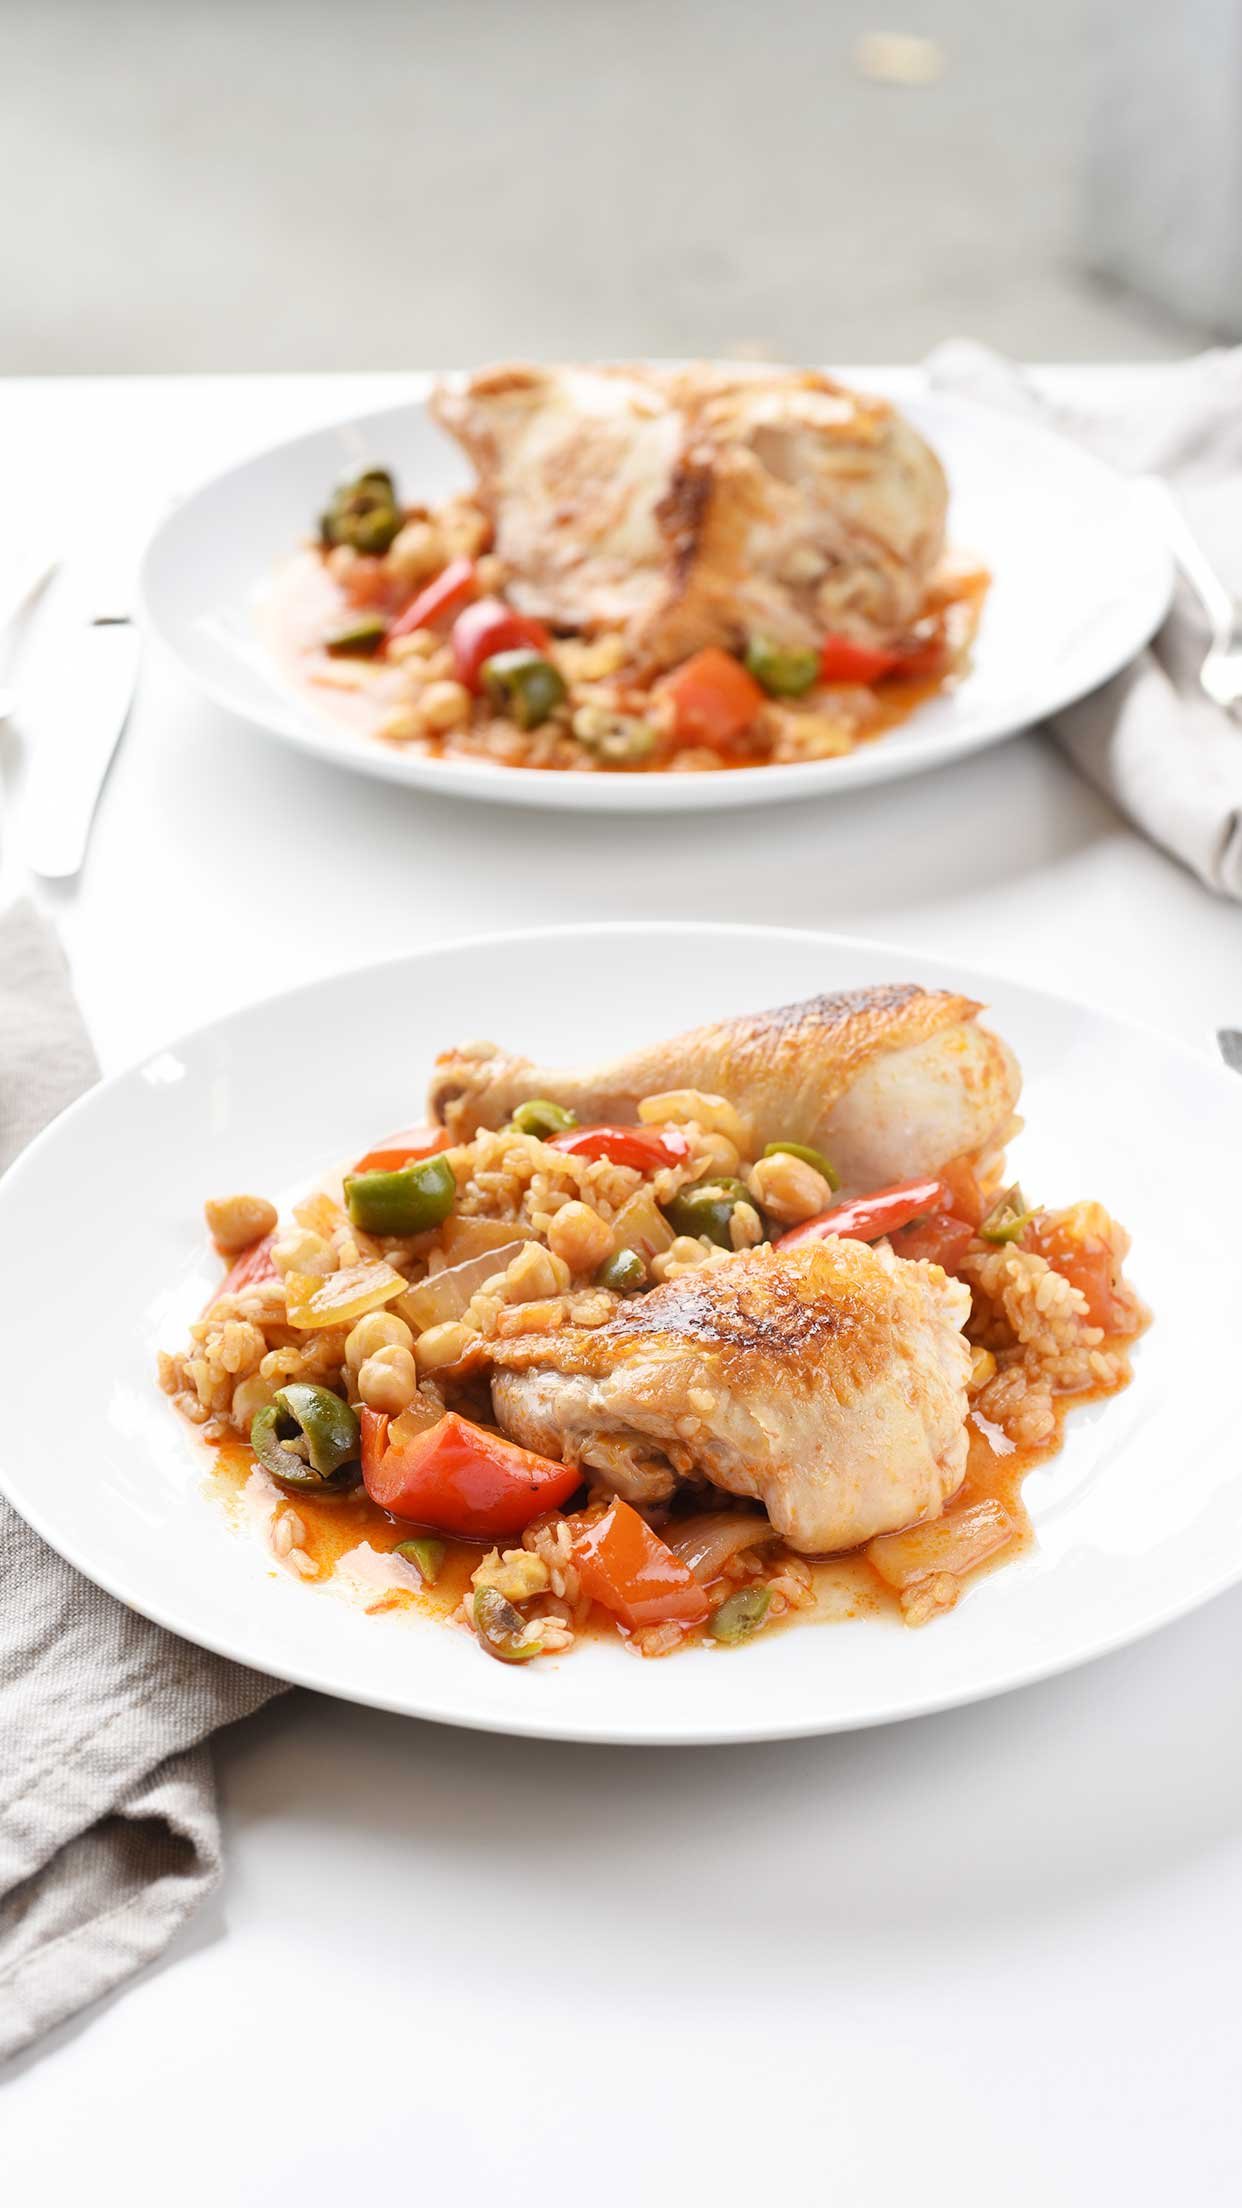
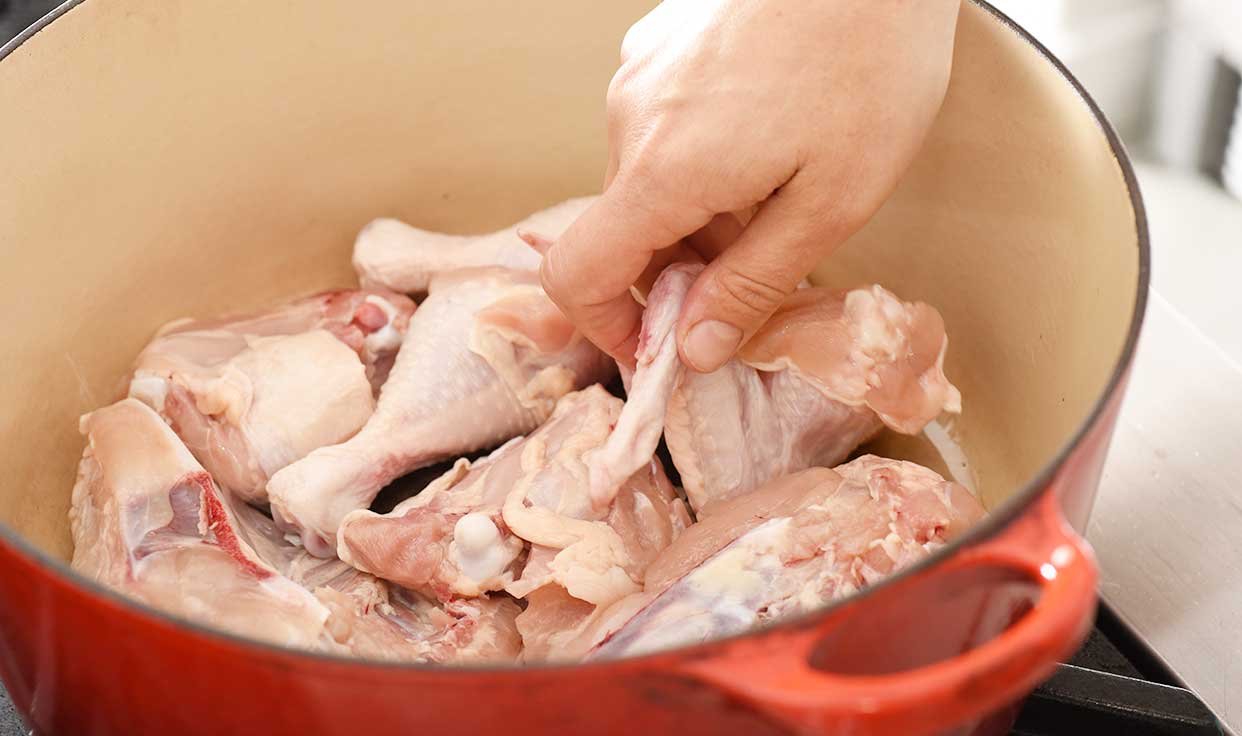
another oLIve Bar FAvorite

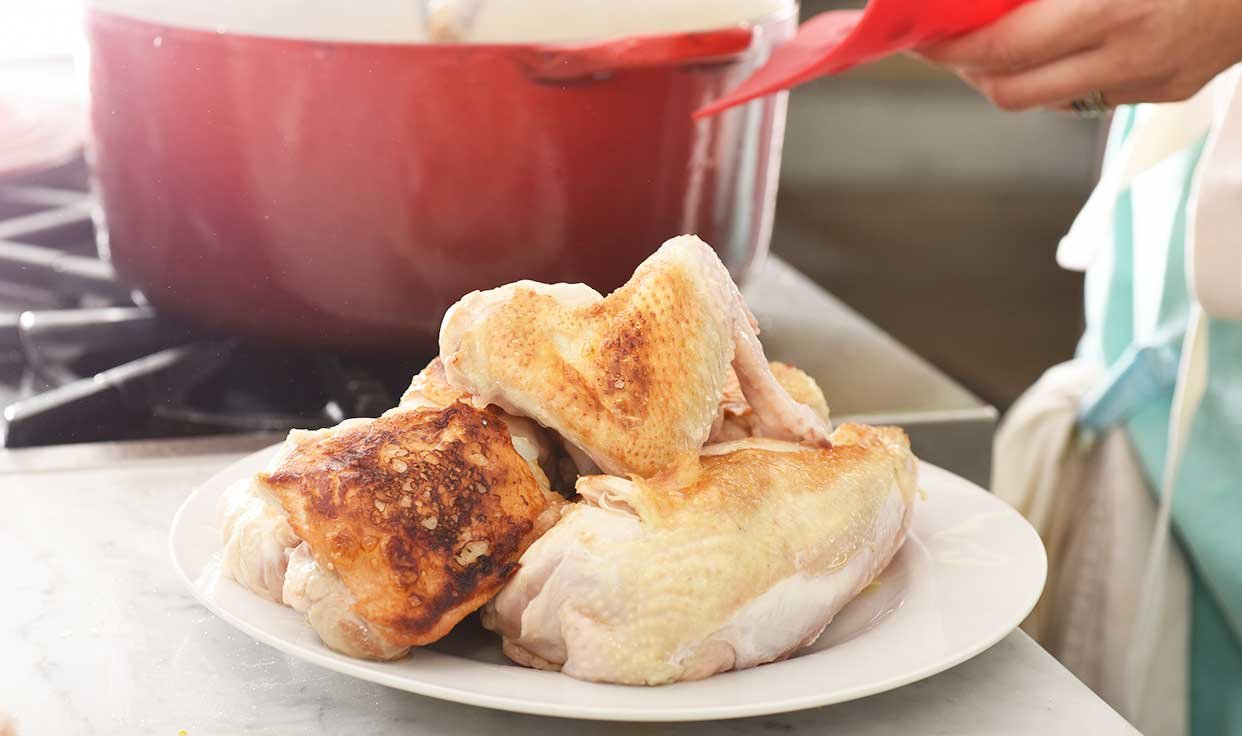
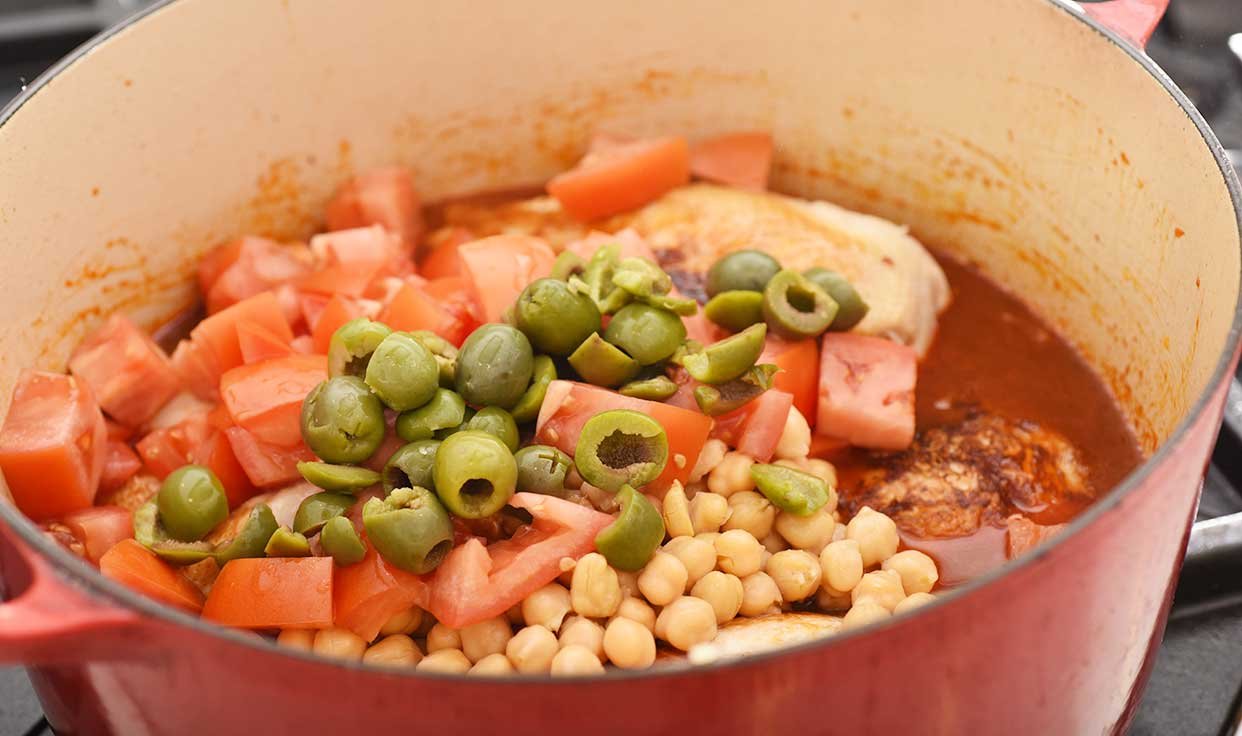
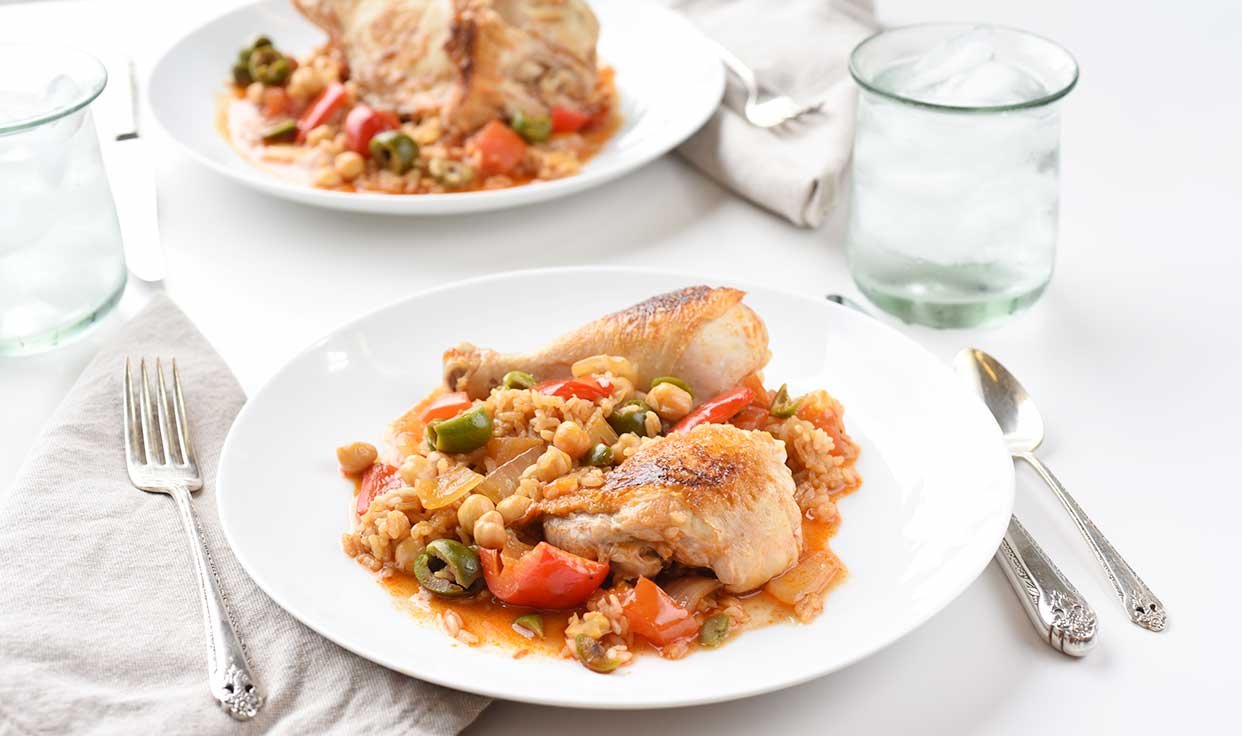
Baking a split fryer chicken in a medley of olive bar favorites makes a fabulous dinner!

Olive Bar Baked Chicken
Olive Bar Baked Chicken turns the best of the olive bar into a dinner | Ali Hedin

I’m obsessed with the olive bar at the grocery store. I almost always get a container, whether we need it at home or not. We used to do a snack dinner once a week and the olive bar was the main star. Now that my teenagers are eating way more than ever before, we can’t just do a snack dinner. The kids would end up eating an entire second dinner after snack dinner.

Olive Bar Baked Chicken turns the best of the olive bar into a dinner | Ali Hedin

It’s still my favorite dinner so I’m finding new ways to integrate olive bar into as many meals as possible. This is my latest favorite. You cannot beat this Olive Bar Chicken! I’m obsessed for a few reasons:

  • Olive Bar is the best part of grocery shopping

  • A split fryer is a cheap and easy way to feed your teenagers

  • You can’t over bake the chicken when the bone is in

  • Swap out what ever is your favorite on the olive bar! Some people love those marinated mushrooms and that would be perfect here too.

One of the secrets to making this dish is to use something heavy to bake it in. I love my Le Creuset because it’s thick and holds the heat nicely. You can also use a cast iron pan with a well fitting lid or lots of aluminum foil.

Olive Bar Baked Chicken

serves 4


1 split fryer chicken (that’s all the pieces, but cut into parts)

2 tablespoons olive oil

1 yellow onion, chopped

1 cup marinated artichoke hearts

1/2 cup sun-dried tomatoes in oil

1 cup kalamata olives (pitted)

1/4 cup olive tapenade

1 cup chicken stock

salt & pepper


STEP 1

Preheat oven to 400 degrees.

In the bottom of a large dutch oven, brown the chicken in the olive oil.


STEP 2

Turn off the heat and pour in the onion and all of the olive bar bits. Pour in the chicken stock and cover.


STEP 3

Pop the pan into the oven and bake 25-40 minutes until the chicken is done. Test it with a meat thermometer. How long it takes depends on how thick your chicken pieces are. Serve with bread and pasta!

Olive Bar Baked Chicken turns the best of the olive bar into a dinner | Ali Hedin

Classic Negroni

A classic Negroni is the perfect cocktail to go with this Italian flavored dinner!

Broccoli & Roasted Tomato Slaw

I bought a bag of broccoli slaw on a whim one day. I don’t normally buy the pre shredded or precut items, but time is at a minimum these days and those precut bags looked really inviting. Originally I planned on just tossing it with a slaw style dressing and calling it a day. But then I looked through the fridge and started brainstorming what else could be done to make it more interesting.

Since broccoli is Italian and I had purchased Italian sausages…. it only seemed natural to pair it all with Italian flavors. I grabbed oregano and basil from the herb garden and added some roasted tomatoes. A little vinegar, olive oil and salt & pepper and it was a surprisingly delicious

Broccoli & Roasted Tomato Slaw | Ali Hedin's perfect side dish

So I made it again. And again. And again. And then I thought you might like it too! It’s the perfect side dish for Memorial Day weekend. It holds for a few hours and it’s actually better if you let it sit for 1/2 hour so the broccoli bits soften.

We’re heading up to the beach this weekend and I will for sure be making this happen. Let me know if you make it too!

Broccoli & Roasted Tomato Slaw

1 bag broccoli slaw

1 pint cherry tomatoes

2-4 tablespoons fresh basil, chopped (a small handful)

2-4 tablespoons fresh oregano, chopped (a small handful)

1/4 cup olive oil

2 tablespoons red wine vinegar

salt & pepper

STEP 1

Preheat oven to 400 degrees. Pour out the tomatoes on a baking sheet and toss with 2 tablespoons olive oil and salt. Roast for about 10 minutes until the tomatoes pop.

STEP 2

Let the tomatoes cool slightly then pour over the broccoli slaw. Add vinegar and fresh herbs. Toss gently until coated in the oil. If it seems dry, add more olive oil. Season with salt & pepper.


All Amercian Burger

The perfect burger to go with your new favorite side dish!.

Sheet Pan Halibut Dinner

HALIBUT! Here in the Pacific Northwest, we get so excited for halibut season. We wait for this to happen. It comes in fresh from Alaska and is fished locally by friends in the San Juans. It’s unbeatable. And when it’s super fresh, it does not need a lot of seasoning to make it amazing. It actually only needs gentle cooking.

My best advice for cooking fish, is to be vigilant when it’s in the oven. Don’t let it over cook. Halibut is great for this because it’s so thick - and the butter on top helps to keep some moisture in - but if it goes over cooked, it gets dry and weird. You’re better off to pull it a little early then let it rest until it’s done. Remember, you can always pop it back into the oven, but you can’t fix overcooked fish!

This is also an easy dinner for any fish you have at the market. A thick piece of salmon is amazing in this situation!

Sheet Pan Halibut

with roasted vegetables

Serves 4


2 lb halibut

1 lb small white potatoes, cut in half

2 tbs olive oil

1 shallot, chopped

2 cloves garlic

2 lemon, 1 juiced and zested and one sliced.

1 bunch asparagus

4 tbs butter, room temperature

salt and pepper


STEP 1

Preheat oven to 450 degrees.  Toss potatoes in olive oil and pop into the oven.  Bake until roasted, about 15 minutes.


STEP 2

Pull potatoes out of the oven and make room in the center for fish.  Arrange fish, asparagus, and shallot on a baking sheet with the potatoes.  Top with lemon juice and zest and season with salt and pepper.  Top fish with butter and slices of lemon.


STEP 3

Place in oven and bake another 15 minutes. 


STEP 4

Remove from the oven and tent the pan with foil.  Let rest 5 minutes then serve on a big platter.


Pull it off

1.     Toss the potatoes in oil and get them into the oven.

2.     Slice the shallots and trim the asparagus.

3.     Pull the pan from the oven and arrange fish and vegetables.

4.     Pop the pan back into the oven.

5.     Set the table.

6.     Serve with white wine.


Harissa Baked Chicken

One pot dinners are THE BEST DINNERS! It sounds like most people I know switch out the cooking duty and the cleaning duty with their partner or kids - but isn’t it still delightful when only one pan is used?

This is like a sheet pan dinner, only it’s a pot dinner. Is that a thing? Sheet pan dinners have been a hit because you pop it in the oven and walk away. Same-zies here. The chicken gets browned the sauces, vegetables and rice gets added and boom. You’re off the hook for the next 25 minutes to do homework, etc.

The secret here is harissa paste. I’m a major fan of anything that can be added and it brings literally ALL of the flavor. If it saves me time, I’m in. When you pair it with the green olives and fresh vegetables it’s suddenly an epic weeknight dinner. It’s also an amazing Sunday night dinner idea.

Harissa Baked Chicken & Rice

Serves 4


4 lb bone-in split fryer chicken

4 tbs olive oil

2 large tomatoes, cut into chunks

½  cup chopped Green Olives

1 onion, sliced

1 red bell pepper, sliced

¼ cup Harissa paste

1 cup rice

2 ¼ cups chicken stock

1 can undrained garbanzo beans


STEP 1

Preheat oven to 400 degrees.


Heat a large Dutch oven over high heat.  Add 2 tbs olive oil and brown the chicken, skin side down.


STEP 2

When the chicken is browned on the skin, remove from the pan and set aside.


STEP 3

Add the remaining olive oil to the pan and cook onions and bell pepper until soft.  Stir in harissa to coat.


STEP 4

Pour in rice, top with chicken, stock, tomatoes, garbanzo beans and olives.  Cover and pop into the oven.


STEP 5

Bake in the oven for 25 minutes or until a meat thermometer reads 160 when inserted. 


 How to pull it off

1.     Preheat the oven and start chopping vegetables.

2.     Brown the chicken.

3.     While the chicken is browning, measure out the rice and chicken stock.

4.     Add the harissa, vegetables, stock, olives, and beans.

5.     Cover and pop into the oven.

6.     Set the table and pour a glass of wine.

7.     Serve hot straight from the pot!


Grapefruit Rose Seltzer

The perfect inspired mocktail for a harrisa dinner.

Strawberry Chia Pudding

My kids call this spider eggs. But I can’t tell you how much I like it. It’s also really good for you. Chia is packed with fiber so it helps with digestion and keeps you filling fuller longer. Fiber is also supposed to do amazing things for your heart and what not too. Bottom line, nothing but good news when you eat chia seeds. Unless, of course, your children call them spider eggs in which case it makes them a little less appealing.

Ali Hedin | Strawberry Chia Breakfast Pudding for a healthy start

I’ve never talked about my daily eating pattern before because it seems really boring to me - but I do get asked questions so here goes…

I take a handful of supplements in the morning - for my hair, my stress, and a probiotic - but I cannot tolerate anything in my stomach without food in there too. So I have a bowl full of chia pudding with my supplements. This time of year I mix in fresh strawberries to jazz things up a bit. Plain old chia seeds are not delicious. In a few weeks I’ll switch to raspberries but for now - strawberries are the best.

I like to go with chia pudding first thing because I know it will fill my stomach, give the supplements something land on, and give the probiotics something to work with. It’s also a healthy start to the day and if I start healthy, I find I do better throughout the rest of the day. Or I at least know I started healthy so if things fall off, then I at least tried.

Strawberry Chia Pudding

1 1/2 cups milk alternative

1/2 cup chia seeds

1/4 cup smashed strawberries

1 teaspoon vanilla

STEP 1

Smash the strawberries in a large measuring cup or a small bowl.

STEP 2

Add the milk alternative and vanilla and stir.

STEP 3

Stir in the chia seeds and refrigerate at least one hour but ideally overnight. Stir every 15 minutes for the first hour. Serve with sliced strawberries and granola.


Fresh Thai Inspired Chicken & Noodles

I’ve been marinading chicken thighs in the morning and then cooking them in time for dinner. Sometimes I’ll cook them around noon and pop the chicken in the fridge. Then at dinner I can just slice it. Especially on something like this. This is totally something you can serve up cold or hot.

Which does mean you could make it for baseball night! It’s a perfect dinner to have in the bleachers. Or if you’ve made the chicken ahead, you can whip up the rest as soon as you walk in the door. Sometimes you just want to eat at home - even after a long baseball game, sometimes especially after a long baseball game.

Ali Hedin's quick dinner with Thai Chicken and Noodles

I’m kind of obsessed with this dinner right now. I even made it for Mr. Hedin’s lunches this week. I think you’ll love it too. Adding the sriracha on the side is a perfect way to zip up dinner for the grown ups.

Ali Hedin's quick dinner with Thai Chicken and Noodles

Fresh Thai Inspired Chicken & Noodles

serves 4

For the marinade:

2 pounds chicken thighs

2 tablespoons soy sauce

2 tablespoons sesame oil

1 tablespoon brown sugar

1 tablespoon rice vinegar

1 tablespoon fish sauce

2 cloves garlic, chopped

1 teaspoon fresh ginger, grated

1 jalapeño, sliced

For the noodles:

7 ounces rice noodles

2 tablespoons sesame oil

1 tablespoon rice vinegar

1 tablespoon soy sauce

1 teaspoon sriracha

2 tablespoons reserved pasta water

1 cucumber, thinly sliced

1 red bell pepper, thinly sliced

1/4 cup chopped fresh basil

2 tablespoons chopped fresh cilantro

STEP 1

Mix all marinade ingredients into a shallow dish and pop the chicken on top. Flip the chicken around in the marinade to really coat it. Let it rest about one hour or up to overnight.

STEP 2

Preheat the barbecue to medium heat - no hotter than 300 degrees. Pop the chicken on the grill and let it cook slowly. Flip occasionally cooking until it’s done throughout. It takes about 20 minutes.

STEP 3

While the chicken cooks, bring water to a boil. In a small bowl, mix together the sauces for the noodles. Cook the noodles then toss them in the sauce in the bowl. Add the pasta water as needed to keep the noodles from sticking together. I use tongs to pull the noodles out of the pasta water and then I can use them to toss the noodles around. Add the vegetables and toss them in too.

STEP 4

Divide the noodles among four bowls and top with chopped chicken. Sprinkle basil and cilantro across the top. Serve with extra sriracha.

Ali Hedin's quick dinner with Thai Chicken and Noodles

Basil Martini

Toast your dinner night with a perfectly basil martini - it’s so simple because you barely need any ingredients!

Lemon Caper Chicken with Orzo

The combination of lemon and capers is a family favorite. When I was growing up we loved it - and it turns out it’s genetic. This is easily a comfort dinner around our house. The sauce is perfectly pickled with the capers and a little of the caper brine and cut with the lemon zest and butter.

We are a dairy free/dairy light family so I use fake butter when I do this. And then this is a dish that would probably be epic with parmesan cheese. I’ve tried it - it is epic. But it’s not something I can serve our family. If you are a cheese family, blend a little in when you add the spinach and then top with more! You won’t regret it, unless you are dairy free and it wreaks havoc on your system!

Lemon Caper Chicken with orzo is the perfect weeknight dinner  |  Ali Hedin

Lemon Caper Chicken with Orzo

serves 4

4 chicken breasts, pounded to even thickness (about 2 pounds)

2 tablespoons butter

2 tablespoons flour

1/2 cup white wine

zest of 1/2 lemon

juice of 1/2 lemon

2 tablespoons capers

1 clove garlic

1 tablespoon caper brine

1 1/2 cups chicken stock

1 cup orzo

2 cups spinach

olive oil

salt and pepper

parsley to garnish

STEP 1

Bring a pot of water to a boil. Brown the chicken on both sides and remove from pan. Don’t worry about cooking through. You’ll do that later.

STEP 2

Lower the heat and melt the butter in the pan and add the flour. Whisk until combined. Pour in the white wine. Whisk until thickened. Add the capers, lemon zest. lemon juice, and stock. Season with salt and pepper to taste. Stir.

STEP 3

Return chicken to the pan, keep the heat on low/medium and cover. Cook until the chicken is cooked through. It takes about 20 minutes. While that’s cooking - boil the orzo.

STEP 4

When the chicken is done, remove from the pan. Drain the orzo and toss it into the chicken pan - add the spinach and season with salt & pepper. Pour out into a serving bowl. Slice the chicken and serve it on top. Garnish with parsley freshly chopped.

*optional to top with parmesan cheese!


Homemade Cracker Jacks

I spend every weekend at the baseball field watching back to back baseball games. And several days a week at the batting cages watching batting practice. I started batting practice by reading a book and now I watch each swing to remind him to keep his front foot down; to keep his head down; to watch his wrists; to compare lengths we think the last ball went. We are a baseball family. I am a baseball mom. So it only seemed appropriate that I try to make America’s favorite snack for America’s favorite pastime. CRACKERJACKS!

It’s basically caramel corn with peanuts. It’s super simple and makes a huge batch so you can take it to your next game - double header - or batting practice - and share it with everyone!

Baseball Mom Ali Hedin makes delicious Homemade Cracker Jacks

Homemade Cracker Jacks


12 cups air popped pop corn (about 1/2 cup kernels)

1 ½ cups tightly packed brown sugar

¾ cup light corn syrup

¾ cup butter

1 teaspoon vanilla

1 cup spanish peanuts


STEP 1

Preheat oven to 300 degrees. Spread popcorn out on a lined baking sheet.  Line with either a sil-pat or buttered parchment paper. 

STEP 2

Place sugar, corn syrup, butter, and vanilla in a heavy bottomed sauce pan over medium heat and bring to a boil, stirring constantly until sugar dissolves.  Cook until a candy thermometer reaches 250 degrees.

STEP 3

Remove from heat and stir in the popcorn and peanuts. Spread out on a lined baking sheet and sprinkle the top with coarse salt.

STEP 4

Pop into the preheated oven and bake 50 minutes, stirring every 15 minutes, until caramel is set. Break into pieces and store in an airtight container for up to one week. 

Baseball Mom Ali Hedin makes delicious Homemade Cracker Jacks

Any Fruit Muffin

I make these muffins all the time. They are super simple and a fan favorite. They are literally the perfect muffin. We often have a big crowd at the beach over the summer and a dozen muffins fills a hole at breakfast. They are also great for menu planning for the week!

I started making these with berries that I had around. Then it turned to fall and I tried it with apples and cinnamon - totally worked great. So I kept trying all of the other fruits that I had on hand. It totally works every time. You cannot go wrong with these muffins! I gave some ideas for mix ins at the bottom so you can see what all of your options are!

The perfect muffin you can make with any fruit | Ali Hedin

Options:

  • Apples + 1 teaspoon cinnamon

  • Blueberries + 1 teaspoon lemon zest

  • Strawberries

  • Clear out the fridge of all different berries

  • Raspberries

  • Blackberries + 1 teaspoon lemon zest

Any Fruit Muffin

makes one dozen


1 1/2 cups flour

1/2 cup sugar

2 teaspoons baking powder

1/3 cup canola oil

1 egg

1 teaspoon vanilla

1/2 cup milk

1/2 cup chopped fruit

1 cup sour cream or plain yogurt

2 tablespoons big chunky sugar of your choice


STEP 1

Preheat oven to 325 degrees. Grease the muffin tins. Combine together the flour, sugar and baking powder.


STEP 2

Whisk together the egg, oil, milk and vanilla. Combine the flour mixture with the egg mixture. Then fold in the yogurt.


STEP 3

Add the fruit and carefully stir in. Scoop evenly into the muffin tins.


STEP 4

Sprinkle the top with the crusty sugar of your choice and bake 15-20 minutes until a toothpick comes out clean.