Pizza Tots

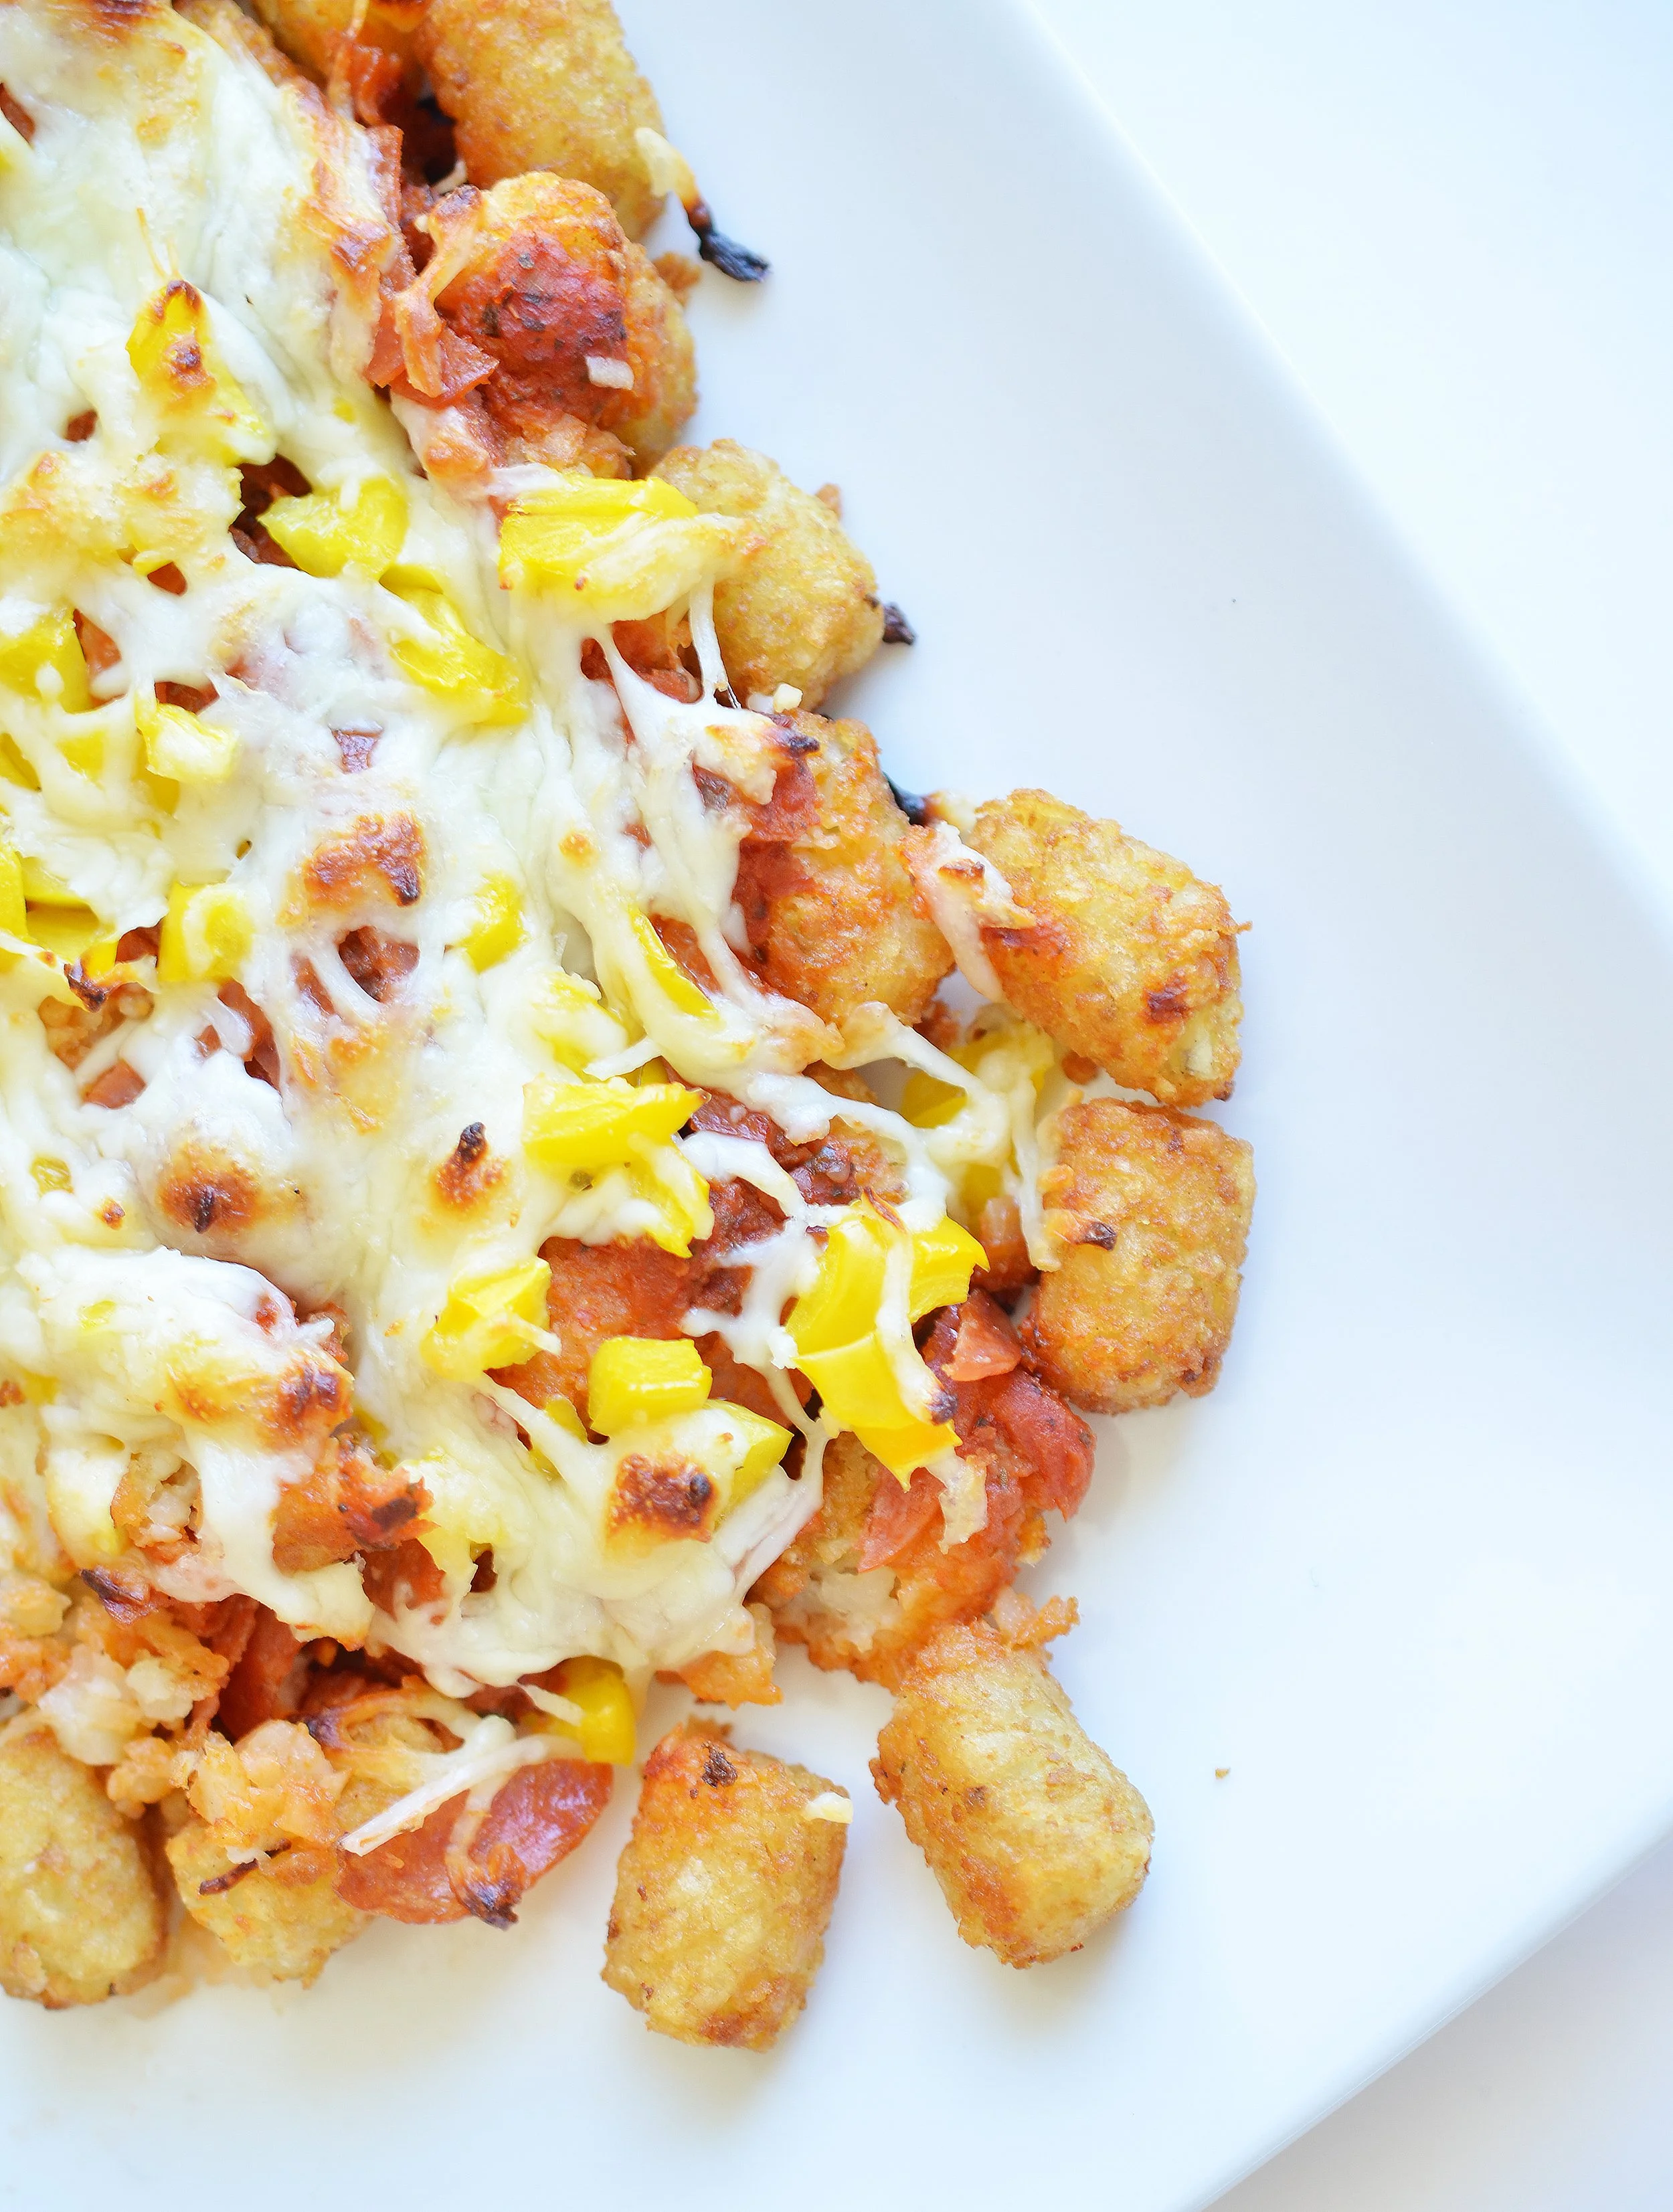
I cannot get enough of loaded tots. Loaded with pizza toppings seemed like a perfect new way to try out my favorite tots! What I had in the house was yellow bell pepper, pepperoni, cheese and pizza sauce. If I had black olives or green bell pepper, I might have gone with that instead. Or sausage. Or caramelized onions. You literally can’t go wrong with pizza toppings on anything and you can’t go wrong topping tots! It’s a win win.

Pizza Tots

1 package frozen tater tots

1/2 cup pizza sauce

8 oz shredded mozzarella

1/2 cup chopped pepperoni

1/2 cup chopped bell pepper

any other pizza toppings

STEP 1

Preheat oven to 450 degrees. Pour tots in one layer on a baking sheet. Bake 15-20 minutes until crispy.

STEP 2

Top the tots with with pizza sauce first then add your toppings until they feel loaded. Make sure cheese is on top.

STEP 3

Bake the tots until the cheese is bubbly and slightly brown. Serve hot!


Perfect Picnic Sandwiches

It’s Labor Day week How are you celebrating the last long weekend of summer? School already started for our family but not for all of my children. One last child starts school after Labor Day so we’re living the weekend up with as many summer things as we can think of before our weekends are full of football games and kid activities. Assuming the weather holds up, we’ll probably even take the boat out! This sandwich is the perfect solution for the weekend. It’s great on a picnic (which is why I named it that) but also great on the boat, in the park, on a drive, at the beach or just something you can make in the morning and have done in the afternoon.

Enjoy your last week of summer! Let’s live it up.

Picnic Sandwiches

Serves 4


1 large loaf crusty bread

8 ounces fresh mozzarella

1 pound fresh sliced salami

1 large bunch basil leaves

1 jar roasted bell peppers in oil

1 large bunch arugula

1 cucumber, thinly sliced

2 cups green olives, roughly chopped

olive oil

salt and pepper


STEP 1

Slice the top off of the loaf of bread.  With a spoon, hollow out as much of the inside of the bread as is possible.  Brush the inside of the bread with olive oil


STEP 2

Layer each ingredient in a single layer on top of each other.  Continue stacking ingredients until the loaf of bread is full. 


STEP 3

Replace the top on the bread and press down with something heavy.  Let rest for at least 10 minutes.  Serve with potato chips.


Heirloom Tomato Tart

I’ve seen several versions of this over the summer but all of them are smothered in cheese. If you are not a cheese eater - or non dairy completely - then it feels tricky. While I’m sure a cheese version is delicious, it’s not an option for my house so I used the saltiness of anchovy paste to stand in for cheese and it worked fabulously. Seriously, the dairy eaters in my house didn’t even notice it was missing anything. In fact, my teenager declared it “the best pizza ever.” So there’s that…

While it’s basically a pizza, it’s the fancy bougie kind made with fresh tomatoes and fresh basil. And a crispy crust that seems impossible outside of Italy. I hope you love it!

Heirloom Tomato Tart

1 sheet puff pastry

1/4 cup olive oil

1 tablespoon anchovy paste

1 clove garlic, grated

2 large heirloom tomatoes, sliced

1 egg, beaten

pinch of salt

chopped fresh basil

STEP 1

Preheat the oven to 350 degrees. Roll out the puff pastry until about a third larger. Fold over the edge all the way around to create a ‘crust.’

STEP 2

Whisk together the oil, anchovy paste and garlic. Spread it evenly over the top of the pastry, avoiding the crust.

STEP 3

Layer the tomato slices over the olive oil so the center of the tart is filled. Sprinkle the top of the tomatoes with salt. Brush the crust with the beaten egg and pop in the oven.

STEP 4

Bake 15-20 minutes until the crust is browned and the tomatoes are bubbly. Let cool a few minutes before cutting and serve warm. Sprinkle the top with fresh cut basil.


Zucchini Prosciutto Pasta

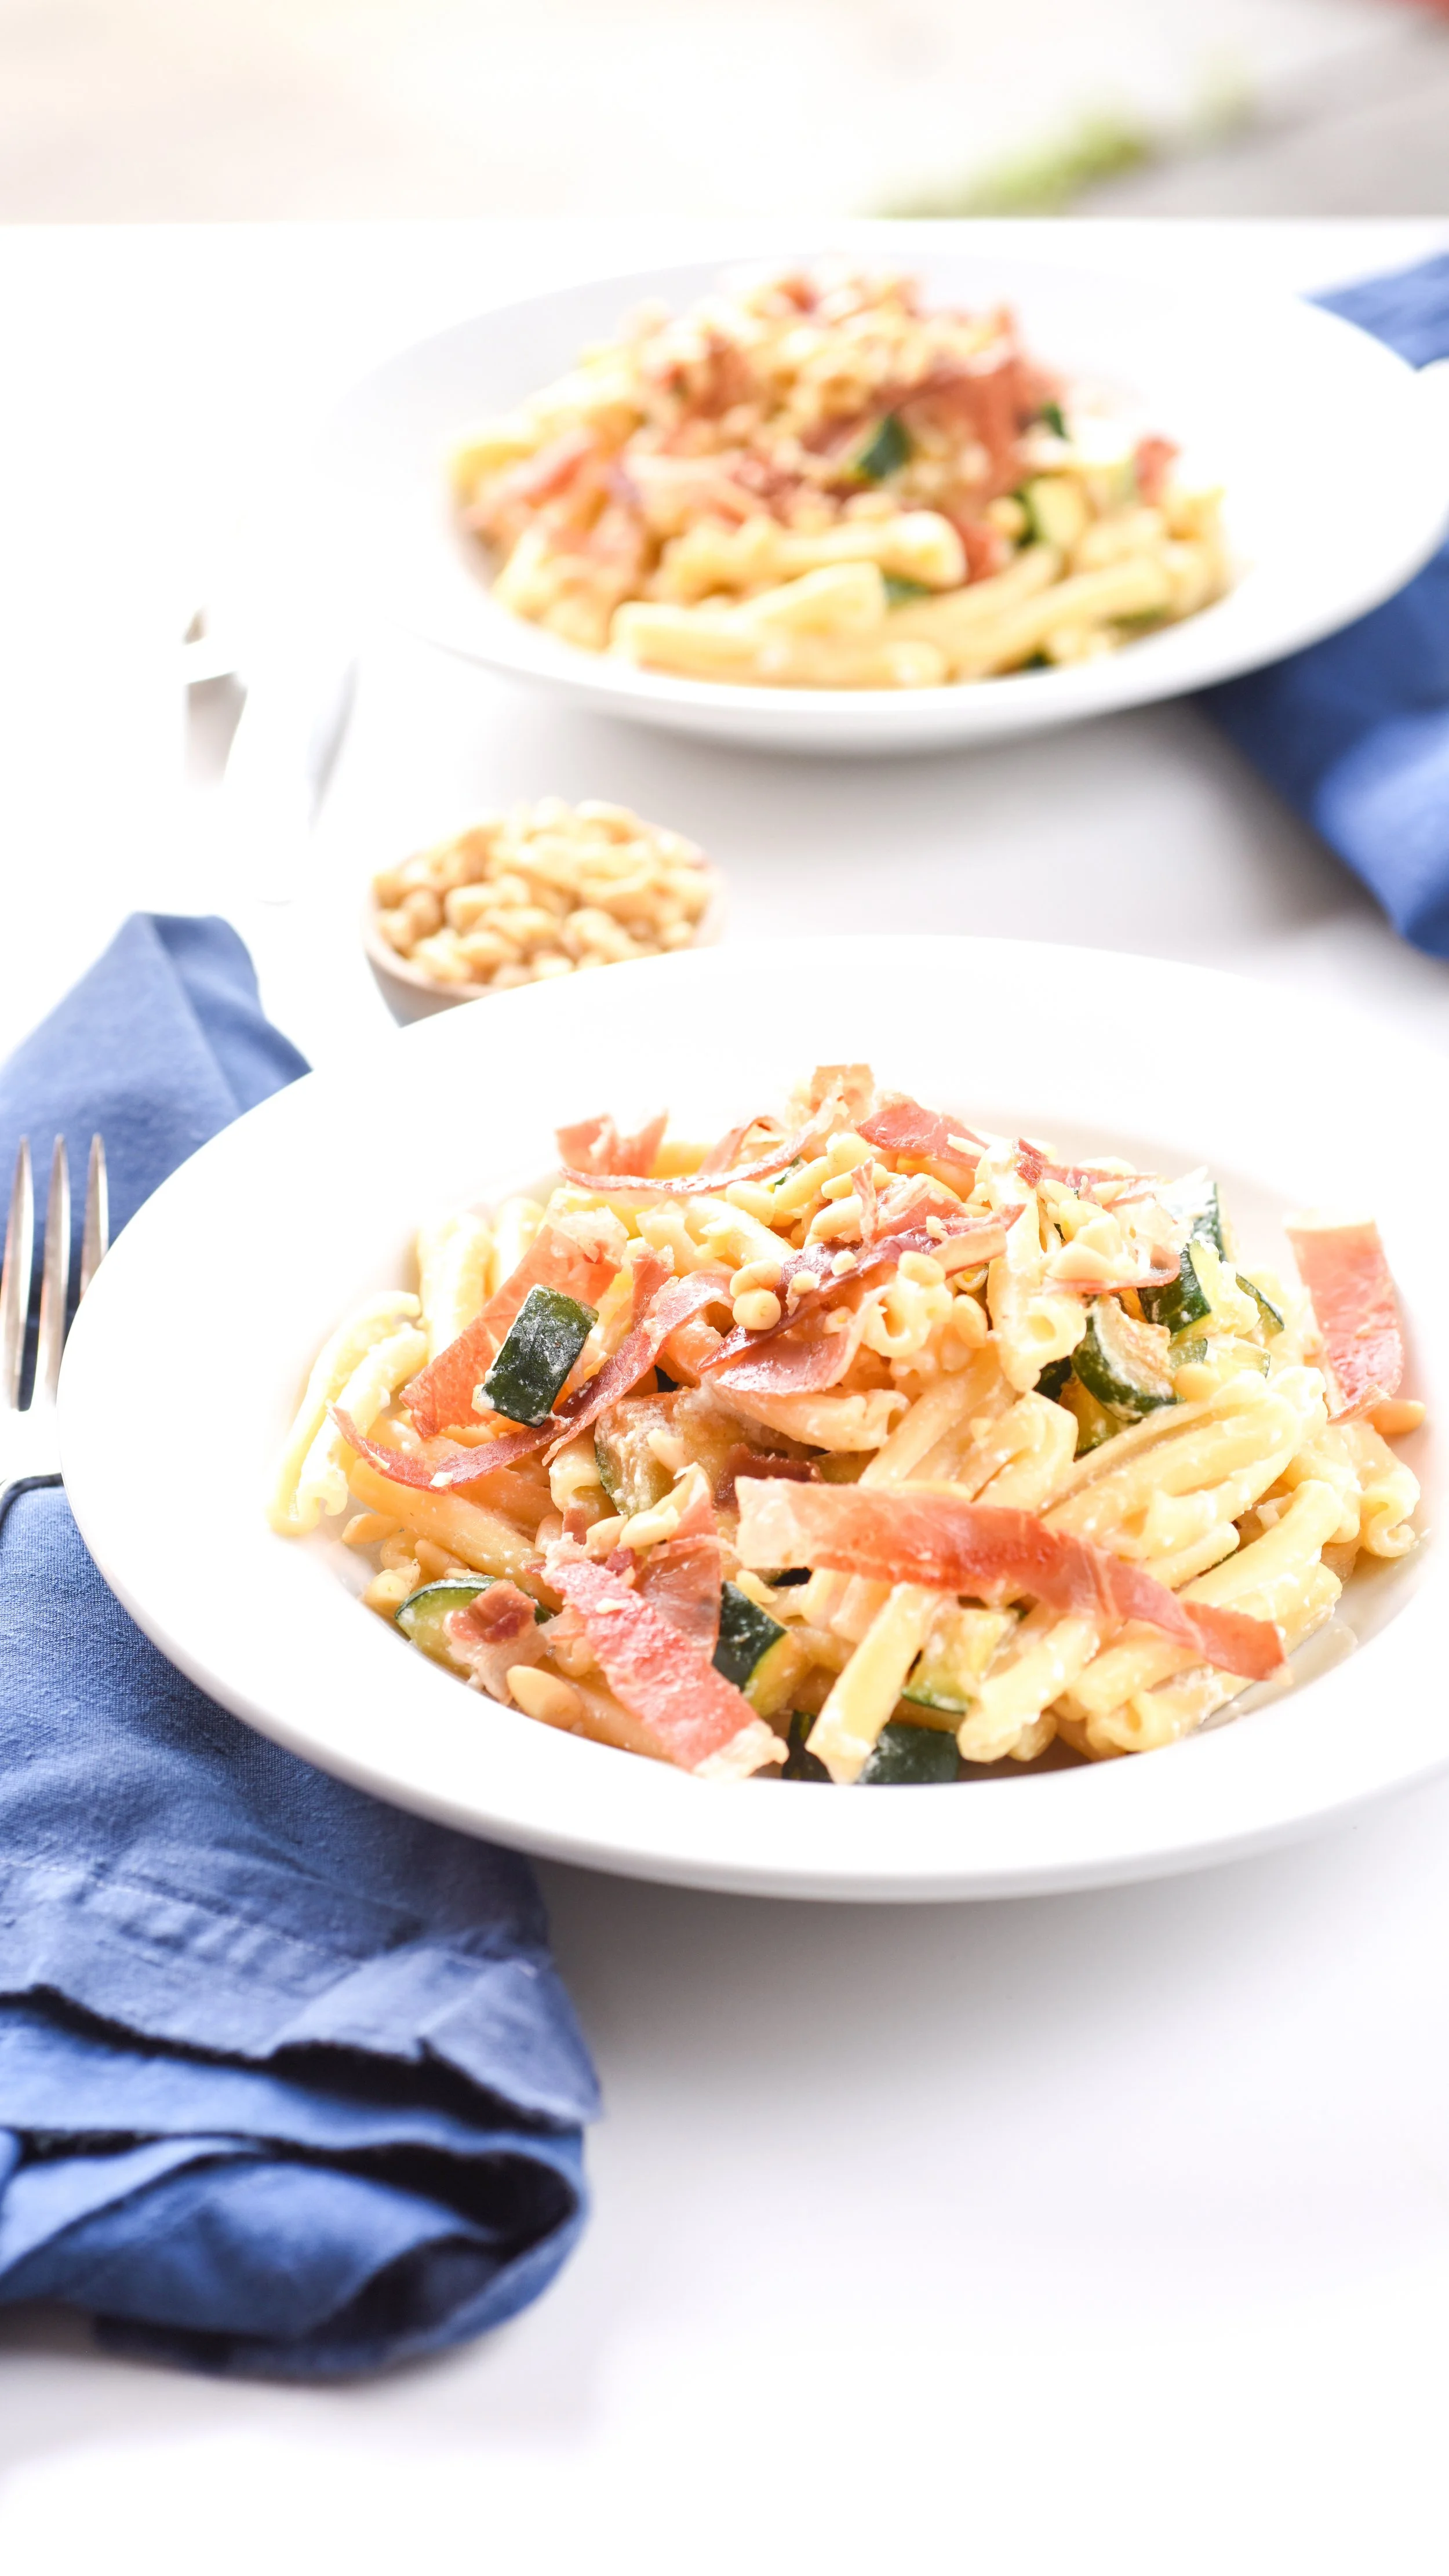
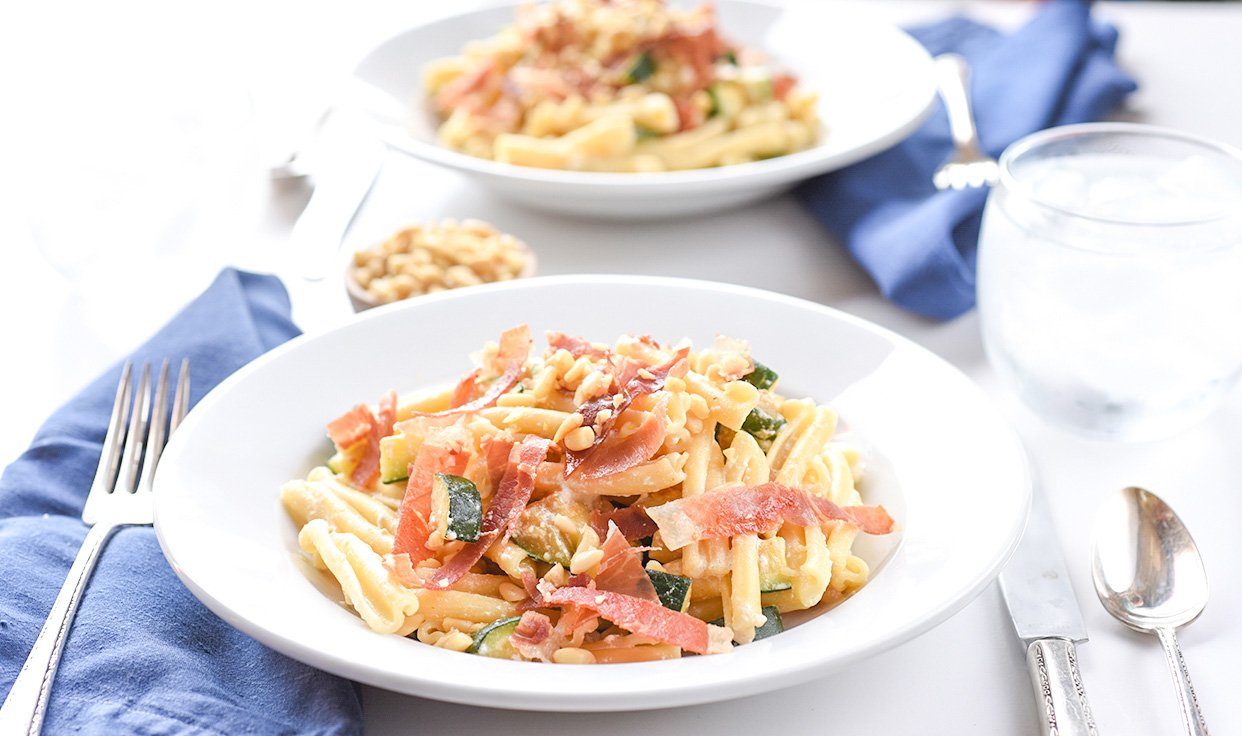
This time of year the zucchini starts showing up in gardens all over Seattle and we’re all looking for ways to use it up! This pasta feels fresh and cozy while highlighting the zucchini. This is best with the small zucchini fresh off the vine!

Also, use good quality prosciutto. When you only have a few ingredients it’s critical to use the best you can find!

Zucchini Pasta

With crispy prosciutto

Serves 4

3 oz prosciutto

1 medium zucchini, about 2 cups chopped

2 cloves garlic

¼ tsp red pepper flakes

4 cups penne

½ cup fresh ricotta

¼ cup chopped pine nuts

STEP 1

Cook prosciutto until crispy then remove from the pan.

Bring a pot of water to a boil.

STEP 2

Cook the pasta in the boiling water. Strain pasta reserving 1 cup starchy pasta water.

STEP 3

Cook zucchini, garlic, and red pepper flakes in the pan until slightly browned - about two minutes

STEP 4

Whisk in ½ cup starchy water and ricotta cheese.

STEP 5

Add cooked noodles to the pan and stir to coat with the sauce. Add more starchy water if needed.

STEP 6

Serve with crumbled prosciutto and pine nuts on top.


Kim Chi Burger

We got to spend time in Korea when I was a kid. It was a lovely way to learn about other cultures and flavors at an early age. Korean flavors have been my favorite ever since. I love mixing Korean flavors into different places - a burger seemed like the perfect spot to start! I can’t wait to hear what you think!

Kim Chi Burger

Serves 4


1 ½ lb ground beef

4 eggs

2 tbs fresh grated ginger

4 tbs mayonnaise

2 tbs soy sauce

4 brioche buns

4 leaves romaine lettuce

1 ½ tbs gochuchang

2 cloves grated garlic


STEP 1

In a Ziploc bag, combine together beef, gochuchang, garlic, ginger, and soy sauce.  Mash around and let rest. 


STEP 2

Heat the barbecue or grill pan to medium high heat.  Form the meat into patties and pop on the grill.


STEP 3

Cook the burgers 5-7 minutes until done through.  Butter the buns and toast them alongside the burgers.


STEP 4

Fry each egg.  Let the burgers rest while the eggs cook.


STEP 5

Spread mayonnaise on toasted buns.  Top with burger patty, kim chi, lettuce and the fried egg.


Beer Steamed Mussels

This is one my my top ten favorite dinners. We make this all the time in the summer - and you should too! A giant bowl of fresh mussels is one of the most amazing summer dinners.  Here in the Pacific Northwest we are so lucky to be surrounded by waters filled with delicious, plump mussels.  Grab a loaf of crusty bread, gather your family and enjoy a casual dinner together!

Beer Steamed Mussels

Serves 4


4 lb mussels, scrubbed and beards removed

2 8-ounce beers (light ones like Rainier)

2 strips bacon

½ onion, diced

½ cup basil, ripped

¼ cup chives, chopped

2 tbs butter

1 tsp sea salt

1 lemon, zested and juiced

1 tsp red pepper flakes

2 cloves garlic


STEP 1

In a large skillet, cook together bacon and onions until soft and bacon has rendered at least one tablespoon of fat.


STEP 2

Add butter, basil, chives, garlic, and red pepper flakes.  Stir to soften for about 1 minute


STEP 3

Pour in beer and mussels.  Cover with a tight fitting lid and let steam over medium heat until mussels have opened. 


STEP 4

Discard any mussels that haven’t opened and serve with crusty bread.


Shop | Italian Travel

Here’s a snapshot of what I’m taking to Italy!

Italy out of Hand

If you’ve been to Italy before and you don’t need the basics, I love this guide. It’s enough of the “big spots” but with charming information from experts in their field.

Family Passport Holder

With five people, I cannot have everyone in charge of their own passport. That just seems like disaster. This has slots for all of the passports plus a zipper case on the side for lounge passes and cash.

Convertible Backpack Bag

I love a travel backpack when it can not be a backpack all the time. This bag has all the pockets you need and converts from a tote to a backpack.

Travel Dress

It’s going to be over ninety degrees in Italy while we are there. Summer isn’t the time to travel, but it’s when the kids are available. A breathable and packable dress is mandatory!

Travel Sun Hat

See above. If I squint, I will end up with major lines on my forehead. With sun like we are going to find, a hat is the only solution. And this one rolls up for travel.

Cute Luggage

I can’t help it. A practical bag that is cute to look at makes waiting in TSA lines seem better.

Non tank-tank top

Thin, but not too thin, and “tank” but not too revealing, this is the perfect tank. I bought every color that would look good on me (not yellow).

Non short shorts

Flattering shorts can be hard to find. Look no further, I found them!


Fig & Proscuitto Pizza

Summer dinners are the best dinners - light and refreshing. I happen to think a homemade pizza with a little salad is a great summer dinner. This is especially simple if you skip making your own pizza dough and pick up one in the refridgerated case at the grocery store.


Fig & Prosciutto Pizza + arugula salad

Serves 4


For the pizza dough

1 package active dry yeast

1 tablespoon sugar

1 cup very warm water

2 ½ cups flour

2 tablespoons olive oil

1 teaspoon salt


½ cup Fig Jam

2-4 Figs

2 oz Prosciutto

4 oz Blue Cheese

4 cups Arugula

1 cup Blackberries

2 tbs Lemon juice

¼ cup Olive oil

2 tbs white wine vinegar

1 tsp Dijon mustard

1 ounce Shreds of Parm


STEP 1

Preheat oven to 450 degrees.


In a small bowl, combine yeast, sugar, and water.  Let sit 10 minutes until foamy.  Stir flour and salt together and add yeast mixture and olive oil to dry ingredients.  Combine until smooth dough has formed.


STEP 2

Remove dough from bowl and divide in half. Roll into rounds and let rest for about 20 minutes.


STEP 3

Roll out pizza dough and spread a thin layer of fig jam.  Top with slices of prosciutto, sliced figs, and crumbled blue cheese.


STEP 4

Pop into the oven and cook 8-10 minutes until crust is crispy. 


STEP 5

In a jar or small bowl combine oil, white wine vinegar, lemon juice, and mustard.  Mix dressing well.  In a bowl, combine arugula and blackberries and toss with dressing.  Top with flakes of parmesan cheese.


Cocktailing | Espresso Martini

I always thought the espresso martini was super bougie, but now I know it was made for Kate Moss in 1983, I’m more convinced than ever that this is the bougie drink for me. She famously asked the bartender to “wake me up and f*#k me up.” A pull of espresso and a shot of vodka & it was bottoms up! The 90’s resurgence is back in a serious way and it brought with it a cocktail that’s here to stay. Dotted on top with three coffee beans; health, wealth, and happiness is what that means. Cheers to the closest Kate Moss came to food and cheers to a drink that’s really good.

Espresso Martini

2 ounces vodka

1.5 ounces espresso

.5 ounce coffee liquer

Pour all ingredients in a cocktail shaker. Fill with ice and shake well. Strain into a martini glass and top with three coffee beans. Cin cin!


Cocktailing | Gin Rickey

Who hasn’t heard of a classic Gin Rickey? It’s a refreshing drink that’s made in a quicky. Created in D.C. in the campaign season of 1883, this refreshing way to cool off was created by campaign manager Colonel Rickey. Originally made with rye and not gin, mixed with lime juice and soda they both seem like a win. But the gin version took off and it’s been a hit since then, this is basically the drink I order again and again.

GIN RICKEY

3 oz gin

1 1/2 oz lime juice

4 oz soda water

lime wedge


In a tall glass, stir together gin and lime juice. Add ice, and top with soda water. Garnish with a lime wedge.


The best gin to use for this is a subtle gin like Malfy. I really like Hendrick’s in this too. Usually I choose Tanqueray, but not for this drink. Cin cin!