Posts in Recipes
Bacon Mac & Cheese

This time of year we start thinking about eating healthier and cutting out some foods.  This would be a food lots of people may cut out – however, let me make a case for it.  If this February is anything like last February, we should have at least one snow day!  Can you think of anything more comforting on a snow day than Bacon Mac & Cheese?  We can return to healthy eating after the snow melts.

This is the ultimate comfort food. Had a bad day? Bacon + cheese. Feeling sad? Bacon + cheese. Still dreary outside? Bacon + cheese. I make this regularly for my kids and I made it for the Robotics team last week - they devoured it. Once a week I make the high school Robotics team dinner and every week I try to outdo myself. So far I made ribs, pulled pork, and meatballs - but this is going to be the winner. I can feel it.
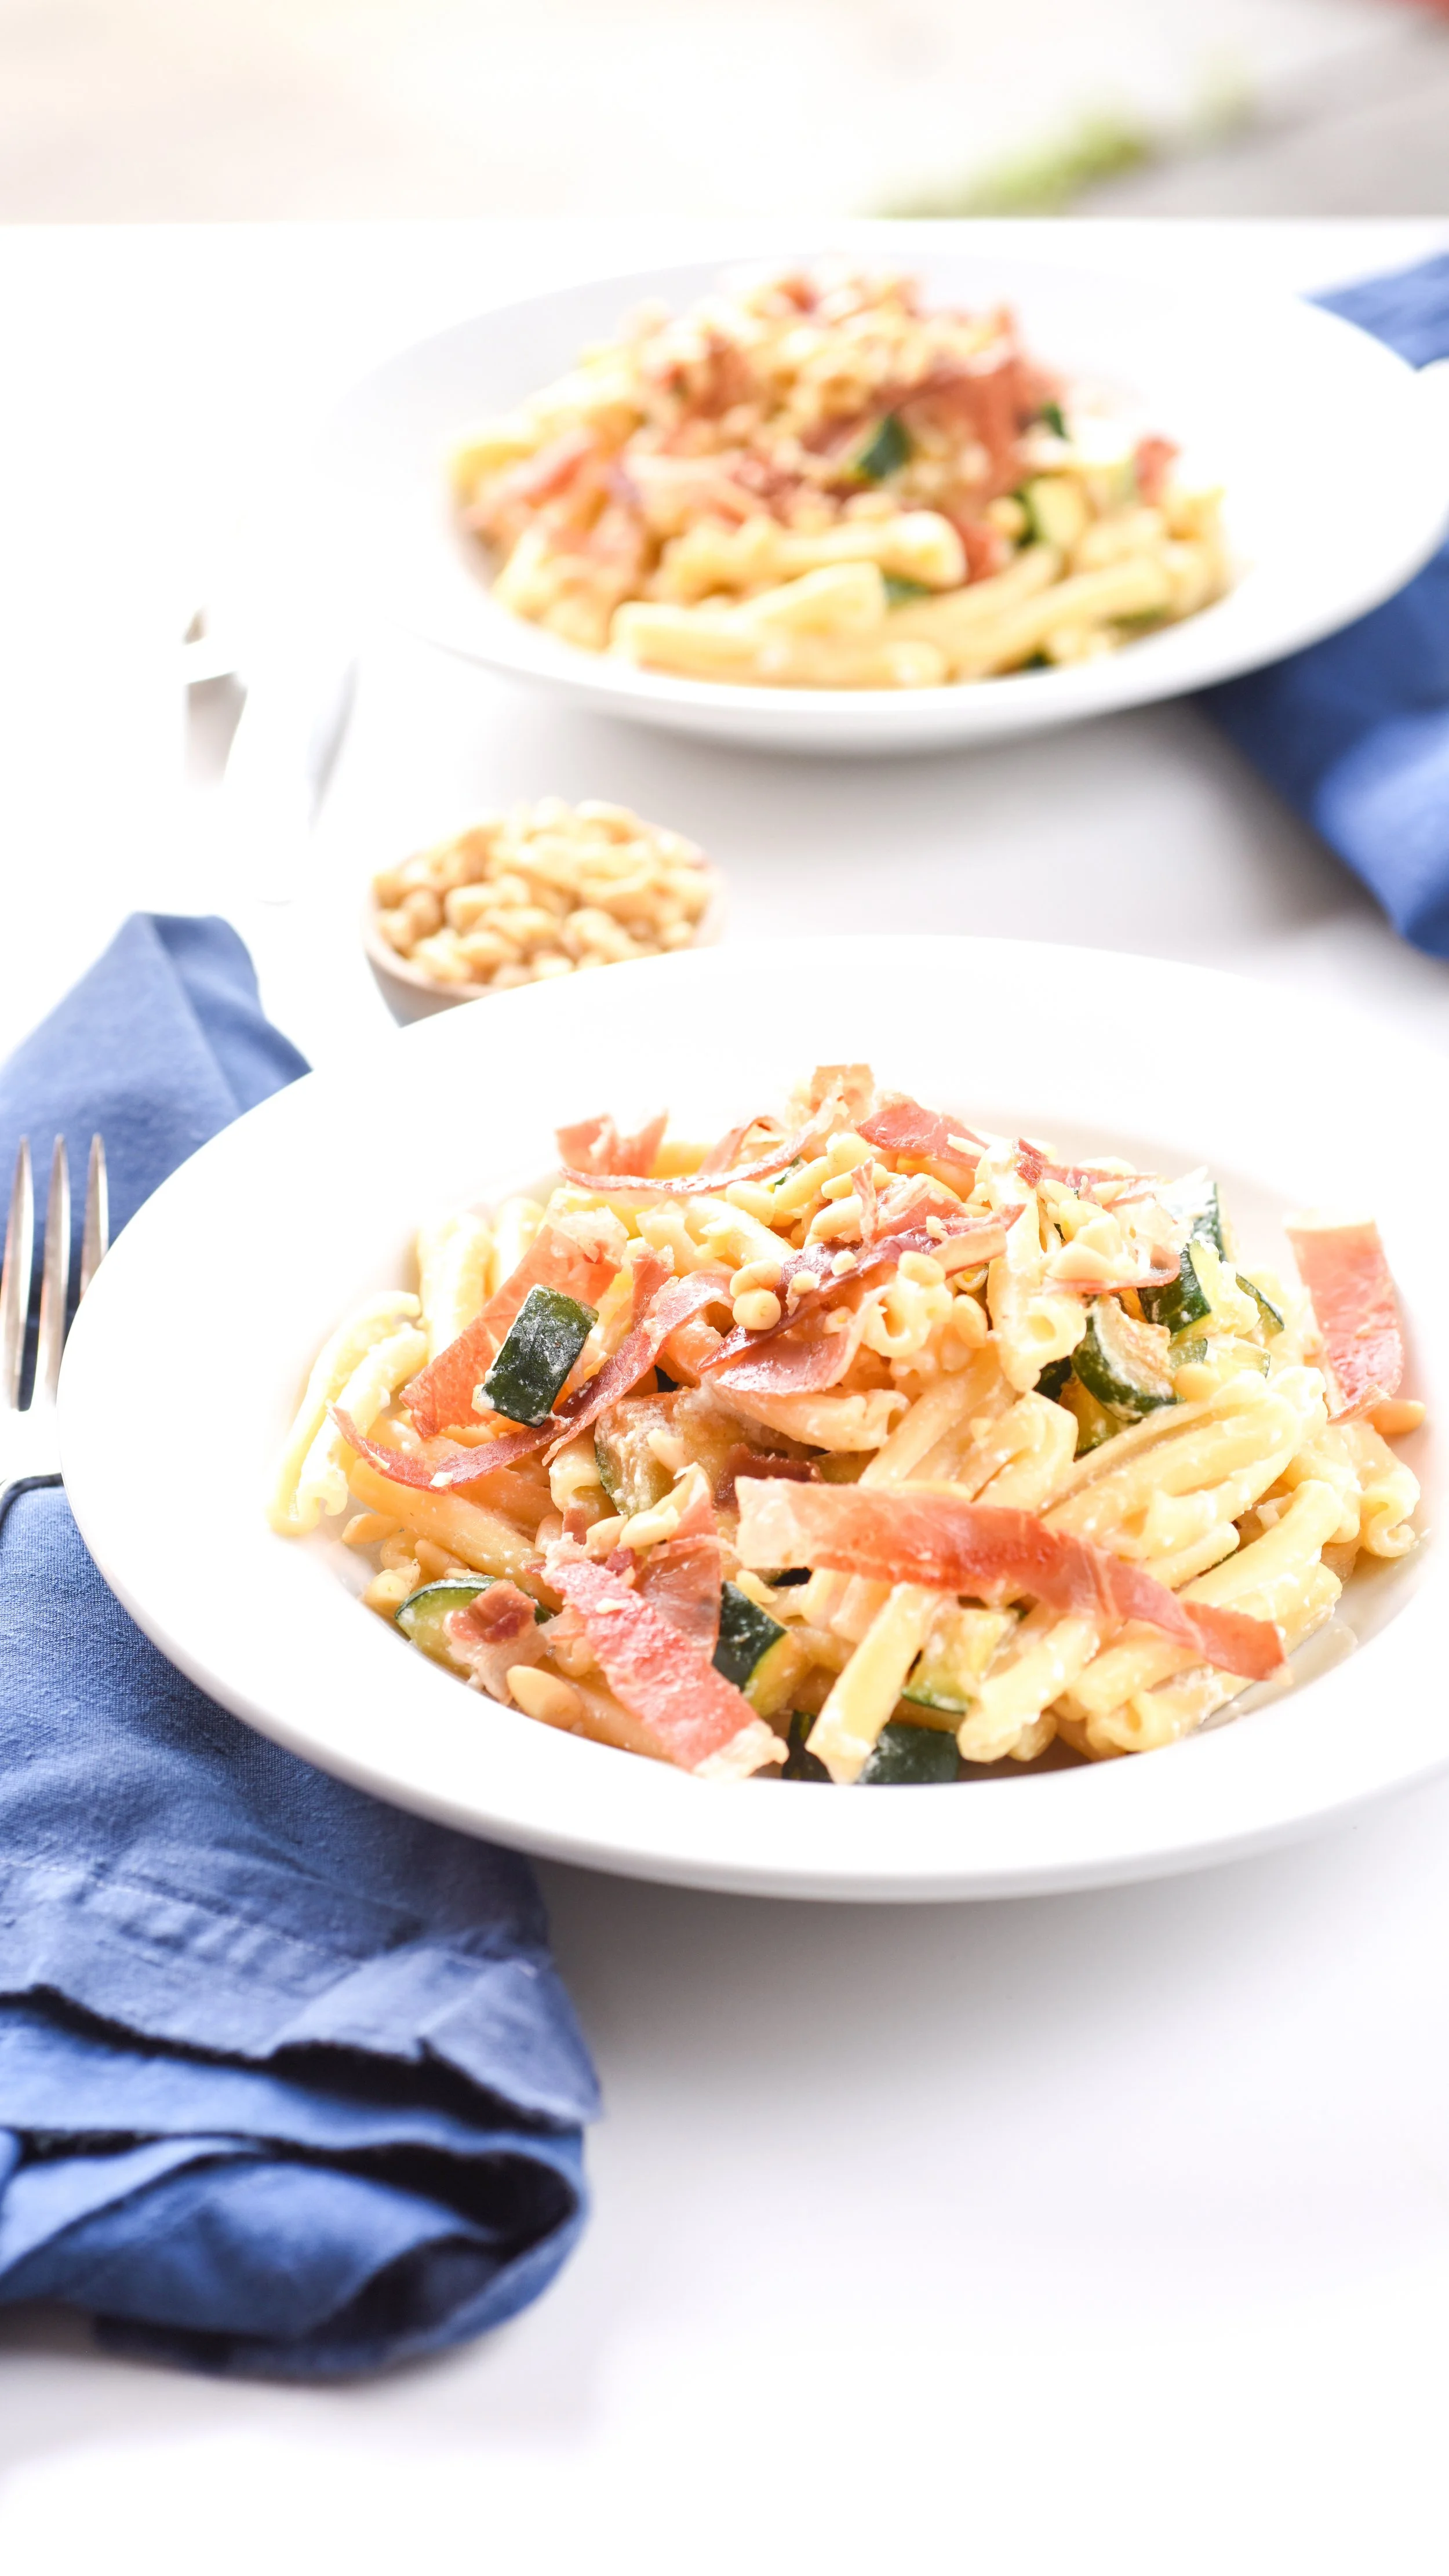
Ali Hedin makes decadent Bacon Mac & Cheese

Bacon Mac & Cheese

serves 4


6 slices bacon

2 tbs flour

1 cup milk

1 cup cheddar cheese, shredded

½ cup parmesan cheese, grated

Salt & pepper

1 pound cooked noodles


STEP 1

Cook bacon over medium in a small skillet.  Pull it out when crispy and let it cool on paper towel.  Reserve 2 tbs of the bacon fat.


STEP 2

In a sauce pan over medium heat, whisk together 2 tbs bacon grease and flour.  Pour in milk and continue whisking until the sauce thickens. 


STEP 3

Pour in cheeses and whisk until they are melted.  Add pasta and stir until completely covered in sauce.  Crumble bacon over top. 


Serve hot with extra parmesan cheese.


As long as we’re in comfort mode

Make these Brown Butter Salted Chocolate Chip Cookies and go for broke. It’s the ultimate comfort pairing!

Calzone Waffles
Ali Hedin | Making kid food look elegant!  Calzone waffles for the win.

This is 1000% a kid dinner. But sometimes that’s exactly what you need. It’s a huge hit - especially if you have everyone choose their own toppings. Go more elegant with prosciutto and pesto - or keep it basic with pepperoni and black olives. All that’s really needed is the sauce and cheese - everything else is up to you!

When layering up the waffles, the size of your waffle maker will determine a lot. I used this Belgian maker that has really deep wells. The deeper the wells, the more filling I can get into the waffles and the more batter I can use. If yours has shallow wells, just use slightly less batter.

I also push down super gently and let it cook and melt as I push. If you get too forceful, the hinge will break and then you’re out of luck.

Don’t forget to serve with extra sauce! The best part is dipping bites into the sauce!

Ali Hedin | Making kid food look elegant!  Calzone waffles for the win.

Calzone Waffles

serves 4


2 cups flour

2 tbs sugar

1 tbs Baking powder

½ tsp salt

2 cups buttermilk

8 tablespoons butter

2 eggs, beaten

½ cup grated parmesan cheese

1 cup Pizza sauce

¼ cup olive tapanade

¼ lb sliced Salami

2 cups Shredded mozzarella


STEP 1

Preheat your waffle maker.  Mix together buttermilk, melted butter and eggs.


STEP 2

In a separate bowl, mix together flour, sugar, baking powder, salt and cheese.  Pour in wet ingredients and stir until just combined.  Let rest 5 mins. 


STEP 3

Place ¼ cup waffle batter on the hot waffle maker.  Top with pizza sauce, salami, tapenade, shredded mozzarella, and another scoop of pizza sauce.  Cover everything with another ¼ cup of waffle batter.


STEP 4

Press waffle maker top down and cook 10 minutes or until waffle is done. Serve with more tomato sauce on the side.


Homemade (3 ingredient!) Danishes

Ok - so these aren’t really a Danish. Not like the amazing Danishes you can get at a fancy bakery, but these are the kind of Danishes that you can make quickly on a Sunday morning with three ingredients! So they pass. My kids love them. I often have them make their own and fill them with what ever they want - which becomes a fun way to breakfast. Unless it’s a weekday and then I just pop these out so we can dash off to school.

Three Ingredient Danish for a super fast breakfast | Ali Hedin

Not that I’m making these on a weekday morning regularly. These are more of an “I couldn’t sleep last night and I’ve been up for hours and I’m bored” type breakfast.

There are so many options with how to fill these. When I do cream cheese, I just do cream cheese. I personally like the savory with just a little sugar on top. I’ve seen other recipes where the cream cheese is whipped with powdered sugar. That’s also delicious. It takes a minute or two longer which I’m not always into also.

Homemade Danish

makes 16

One package puff pastry sheets

jams, cream cheese, fresh fruit

one egg, beaten

sugar


STEP 1

Unroll the pastry dough on a floured cutting board. Roll out gently to about 18”x 12”. Cut into eight squares.


STEP 2

Slice in on each corner of each square, leaving the center uncut. Pop a spoonful of filling into the uncut center. One tablespoon of filling does the trick. You can combine fillings depending on what you want to eat.


STEP 3

Pull up every other corner of the pastry to form a little pinwheel. Brush the top of each pinwheel with beaten egg. Sprinkle the top with your favorite sugar.


STEP 4

Bake 20 minutes until browned on top. Remove from the baking sheet and cool. Serve slightly warm with coffee.


Smoked Salmon Risotto with fresh peas

When my kids were little they called risotto “parmesan rice.” They loved it. It’s salty and creamy - what’s not to love? As they got older, I added more and more ingredients to make it a lot more adult. The best part of making this very adult version, is that you can leave out the salmon and peas or serve them on the side for your kids, depending on what they will (and won’t) eat.

The trick with risotto is to just keep stirring. Some will tell you the broth needs to be warm too - I’ve found that if it’s room temperature, it works just fine. Which means, you can use a new broth from the pantry and don’t worry about warming it up.

Smoked Salmon Risotto with fresh peas

serves 4


1 leek, whites thinly sliced

1 cup freshly shelled peas

¼ cup butter, divided

¼ cup olive oil, divided

1 cup Arborio rice

½ cup white wine

4 cups room temperature chicken stock

1 cup parmesan cheese

4 oz smoked salmon

1 tablespoon fresh dill, chopped

salt and pepper


STEP 1

Heat 2 tablespoons of butter and 2 tablespoons of olive oil over medium heat.  Add the leek and cook 3 minutes until slightly browned and tender.  Add peas and cook an additional 2-3 minutes until tender.  Remove from the pan and set aside.


STEP 2

Add two more tablespoons olive oil and rice - stir until coated with oil.  Pour in ½ cup white wine and cook until all liquid is absorbed.  Then add one-cup chicken stock and stir until completely incorporated.  When most of the stock has dissolved, add another cup of stock.  Continue until all of the stock has been added. 


STEP 3

Remove from heat and stir in remaining butter, Parmesan cheese, and peas and salmon

Notes

  • When I make this dairy free, I use only olive oil to melt the leeks. Then at the end, I’ll add a drizzle of a really good olive oil and skip the butter and parmesan. Since half of us do eat dairy, the parm is on the side.

  • This is just as delicious with crab! Swap out for your favorite smoked fish too if you don’t have salmon. In the Northwest, we have loads of salmon but also trout. And smoked trout is awesome.


Classic Paloma

A bright citrusy cocktail is perfect right now because grapefruit is perfectly in season!

Chicken Meatballs with Cacio e Pepe Orzo

Comfort meals are a win for our family. I’m sure they’re a win for your family too. This is one of our favorites. I like it because I can make the meatballs ahead and warm them up with the sauce when it’s time to get dinner on the table. AND when you need late plates, this is perfect for that too!

The meatballs are obviously not traditional meatballs. I like to use ground chicken - I am constantly trying to create dinners that are a little healthier and chicken helps with that. I’m not going for authentic here - I’m going for comfort food that’s just a little healthier.

There are two ways to do the meatballs. You can pop them out of the oven and straight into the sauce. Leave them there to stay warm. Or, put the meatballs on top of the sauce when you serve - it looks a little more elegant and it shows off the crispy edges the meatballs get.

Chicken Meatballs with Cacio e Pepe Orzo

serves 4

2 lb ground chicken

1/2 cup breadcrumbs

1 egg

1/4 cup Italian seasoning mix, divided

4 cloves garlic

2 tablespoons olive oil

1/2 onion, chopped

1-28 ounce can diced tomatoes

1-15 ounce can tomato sauce

1 cup orzo

2 tablespoons really good olive oil

salt & pepper

grated parmesan cheese


STEP 1

Preheat oven to 350 degrees. Begin boiling a large pot of water.

In a dutch oven, heat olive oil and cook the onions and two peeled and chopped garlic cloves in it. Cook over low-ish heat until the onions are translucent.


STEP 2

While the onions cook, combine together the meat, egg, breadcrumbs, 2 tablespoons seasoning, and the remaining cloves of garlic. If the mixture is still stiff like the raw meat, add a few tablespoons of cold water. I usually use 2-4 tablespoons of water no mater what. Form the meatballs into rounds. If the meat sticks to your hands, get your hands wet and try again.


STEP 3

Pop the meatballs in to the oven and let bake about 15 minutes until they are done all the way through.

Pour tomatoes all into the onion mixture and add the remaining Italian seasoning. Cover the pot and let cook on medium until everything else is done.


STEP 4

Pour the orzo pasta into the boiling water and let cook. Drain when it’s al dente and return to the hot pan. Stir in olive oil, salt & pepper and about 1/4 cup parmesan cheese. Go heavy with all three.


STEP 5

Serve hot meatballs and sauce over the orzo. Make sure there’s more parmesan cheese on the side.


Negroni Cocktail

Every good meal needs a good cocktail. And this dinner is so kid friendly that you can’t help but want a cocktail!

30 minute Flaky Tapenade Bites
Ali Hedin's 30 minute Flaky Tapenade Bites | perfect for your next cocktail party

These are actually the perfect appetizer. I had forgotten about them for years and then I was scrambling for the perfect appetizer for a party and remembered I used to make these all the time. Like ALL THE TIME. The first time I made them for a group people - twenty years ago - everyone was RAVING about them. And that was one of the critical moments in my life when I realized food was my special skill.

These are not hard. My go-to ingredients are tomato paste + tapenade. It’s salty, mostly premade, simple, and kind of tastes like pizza. But I also use pesto when that’s what I have. I have tried fresh vegetables - spinach, tomato, even fresh basil leaves and that doesn’t work. It’s too liquid-y and it makes the pastry all weird. You’re always welcome to try it, but I tried it for you.

Ali Hedin's Fast Cocktail Party Appetizer that looks like a million bucks

Flaky Tapenade Bites

makes 2 dozen


1 package puff pastry

1/2 cup tomato paste

1/2 cup tapanade


STEP 1

Preheat oven to 350 degrees.

Unroll the puff pastry sheet onto a floured cutting board and roll out slightly until you can’t see the lines anymore.


STEP 2

Use half of the tomato paste on each roll. Spread it out evenly over the sheet. Top with the tapenade in an even coat. Roll up the pastry and slice into 1/2 inch pieces.


STEP 3

Pop each slice on a lined baking sheet. Bake 20 minutes until puffed and crispy. Remove from the baking sheet and cool on a cooling rack.

Serve warm or room temperature.


Americano Cocktail

Delightfully simple and totally refreshing. Simple enough to make a batch of them, and a perfect compliment with the flaky tapenade bites!

Salmon Creole

In New Orleans I ordered shrimp creole at almost every restaurant. I wanted to try it everywhere we went. One thing was clear - it’s amazing. I didn’t just order it because I wanted to test it, but also because it was my favorite thing on almost every menu.

Bringing it home, it didn’t make sense to make it with shrimp. We don’t really have that here. Crab would be epic, but it’s out of season, and then I saw a gorgeous piece of wild caught salmon and BOOM. This is perfect. It’s northwest - and it’s creole - all together. It’s the perfect marriage of two places.

The best thing I learned about making this sauce is that it’s virtually the exact same recipe no matter where you look. The secret to making it the best version is to keep cooking it. Can you make it this morning? That will be your best sauce. Can you make it yesterday? Even better. You will not regret spending a few extra minutes on this sauce.

I doubled the sauce when I made it. And then froze it. Then when I need a quick-ish dinner, this is ready to go. If you bring the sauce to a boil and pop in frozen shrimp, you’ll have a fab dinner on the table in no time.

Salmon Creole

serves 4

1 cup chopped celery

2 cups chopped onion

1 cup chopped green bell pepper

2 cloves garlic, minced

1 teaspoon thyme

1 teaspoon oregano

2 teaspoons freshly ground pepper

1 teaspoon paprika

1/2 teaspoon cayenne pepper

2 cup chicken or seafood stock

2 bay leaves

1 - 28oz can crushed tomatoes

1/2 tablespoon worchestershire

juice of 1/2 lemon

2 pounds salmon

2 tablespoons olive oil

salt & pepper

long grain rice

fresh parsley

STEP 1

Preheat oven to 425 degrees.

In a large stock pot, melt together onion, bell pepper, celery and garlic. Cook for a while over low heat until everything is translucent. Season with salt & pepper.

Add herbs and stir to coat.

STEP 2

Pour in stock and add bay leaves. Bring to a low simmer for 10 minutes until things start to smell good.

STEP 3

Add tomatoes, Worcestershire and lemon. Stir and let simmer. Let this cook as long as possible. The longer, the better. Season with salt & pepper. But at a minimum, cook for 20 minutes.

STEP 4

Pat the salmon dry. Drizzle the top with olive oil and season with salt and pepper. Place the filet on a baking sheet lined with foil. Bake 10 minutes or until flaky.

STEP 5

Serve fish hot over rice smothered with the creole sauce. Top with fresh parsley.


Pour the perfect cocktail

A Hurricane cocktail on the side transports you to New Orleans!

Swedish Meatballs | just like Ikea

For a while, Ikea meatballs were a regular in the freezer and a quick dinner on nights I couldn’t think of what else to do. It made such a simple dinner AND they sell little packets of gravy so it’s so stinking simple!

I haven’t talked about it a lot, but there are twelve allergies in my family. TWELVE. Some are normal (hazelnuts) and some are weird (yeast) but all make for weird cooking patterns. If you notice on this blog, I tend to cook dinners that are healthy, dairy free or dairy light, and filled with good ingredients. The reason is simple, we can’t eat out a lot.

Ikea meatballs contain yeast, a nutritional yeast that boosts the flavor - vegans use it all the time to replace cheese - it’s totally normal, unless you have an allergy. So we had to scrap the freezer full of meatballs and if we wanted them, I need to make them myself.

Obviously, I’m cool with that. I love the challenge of making things myself. So here they are! My hot tip for them is to bake until they get a little crispy on the edges. I love that little crunch and I know you will too!

If you throw a pan of little chopped potatoes into the oven at the same time, then you have a dinner on the table in literally half an hour. I’ve done mashed potatoes too - but really the key is any kind of a potato. Oh, and the lingonberries. You can’t skip the lingonberries - buy a jar at Ikea and keep it on the shelf.

Swedish Meatballs

serves 4


1 pound ground pork

1 pound ground beef

1 cup panko breadcrumbs

1/2 onion, grated

1 clove garlic

1 egg, beaten

1/4 teaspoon allspice

1/4 teaspoon nutmeg

1 teaspoon oregano

1 cup water

salt & pepper


STEP 1

Preheat oven to 425 degrees.

In a mixing bowl combine all of the ingredients and stir to combine. I use my hands because that’s easier, but some people are grossed out by that.


STEP 2

Form the meat into balls. I use a scoop to get the right size, then make them look nicer with my hands. If your hands are damp, the meat won’t stick to you.


STEP 3

Pop the meatballs in the oven and bake 15-20 minutes until cooked through. Serve with potatoes, lingonberries, and a vegetable.


Thom Collins

A refreshing cocktail on the side is perfect! If you add a 1/2 shot of Elderflower liquor, it becomes a little bit Scandinavian.

Teriyaki Chicken Dinner

There’s a story that says Seattle is the birthplace of takeout teriyaki dinner as we all know it now. That Japanese immigrants brought some of their recipes, etc. and turned it into the take out classic we all know and love. Teriyaki arrived in the US sometime in the 1940’s but the big takeout craze came in the 1970’s - that’s the credit Seattle gets - we get the takeout craze. You’re welcome.

The best part of making your own teriyaki is that it takes less time than ordering it. And you can make a batch of the sauce and keep it for a week or so. I usually make this with chicken breast because I prefer it - I’m doing my best to eat a little healthier with small choices every day. But a classic teriyaki chicken dinner is made with chicken thighs. That’s how to go authentic. You choose what you want. It’s done the same no matter what!

Hot tip - make double the teriyaki sauce. It keeps in the fridge for about a week (or two?) and makes an even EASIER dinner down the road.

Teriyaki Chicken Dinner that's better than take out!  | Ali Hedin

The secret to getting this dinner nailed is the side salad. It’s always a bit of iceberg lettuce, a slice of tomato and a miso ginger salad dressing. It seriously makes the entire thing work.

Teriyaki Chicken Dinner that's better than take out!  | Ali Hedin

Teriyaki Chicken Dinner

serves 4

1/4 cup soy sauce

6 ounces pineapple juice

2 cloves garlic, minced

1 tablespoon brown sugar

1 teaspoon ginger

1 tablespoon mirin

1 tablespoon sesame oil

2 tablespoons very cold water + 3 teaspoons cornstarch

2 lbs chicken breast

2 tablespoons olive oil

rice

lettuce + tomato + miso ginger dressing

STEP 1

Preheat oven to 350 degrees

In a sauce pan, combine soy sauce, pineapple juice, garlic, brown sugar, ginger, mirin, and sesame oil. Let is simmer gently for a few minutes.

STEP 2

While the sauce is warming, bring the oil to a medium heat and pop the chicken into the pan. Let it sit there for a few minutes until the chicken releases from the pan. Flip the chicken over and put the pan into the oven.

Bake in the oven 10-15 minutes until the chicken is cooked through.

STEP 3

Whisk together the water + cornstarch and then add it to the sauce already cooking on the stove. Whisk until it all comes together and remove from the heat. The sauce will thicken up as the cornstarch heats.

STEP 4

Remove the chicken from the oven and chop it up. Toss the chicken in the sauce and serve over rice with a salad on the side!

Teriyaki Chicken Dinner that's better than take out!  | Ali Hedin

Gin Rickey

A light and refreshing cocktail is perfect with the Teriyaki chicken!

Korean Steak Wraps with 'quickles'

Korean food is my comfort food. I adore it. It’s what I choose for my birthday almost every year. I can’t stop. Won’t stop. Pop kimchi on it and I’m in heaven. I make a version of this with ground beef, but I realized a few days ago - mostly because I had some steak hanging around - that this would be delicious with thin sliced thin. So here we go!

It’s so fast. It’s perfect for a weeknight dinner when you’re running from one practice/game/tryout to the next. It’s also on the healthier side of things - steak, vegetables, kimchi for probiotics….

The best dinners are also ones that can make a good late plate. This makes a great late plate. I make a giant plate for the late arrivals and let them heat up the rice and meat and leave everything else on the side.

Korean Steak Wraps

serves 4

1 cucumber

1/2 cup white vinegar

1/2 cup rice vinegar

2 tablespoons salt

2 tablespoons brown sugar

4 peppercorns, cracked

1 teaspoon red pepper flakes

1 pear, grated

1/4 cup soy sauce

1 tablespoon brown sugar

2 tablespoons gochuchang

2 cloves garlic, grated

1 teaspoon grated ginger

2 tablespoons sesame seeds

2 pounds hanger steak, thinly sliced

butter lettuce

kimchi for serving

rice

STEP 1

In a small skillet bring to a low boil the white vinegar, rice vinegar, salt, brown sugar, peppercorns and red pepper flakes. To ‘crack’ the peppercorns you can use a mortar and pestle or smash them with the back of a knife. No peppercorns? Use fresh ground pepper - about 1/2 teaspoon or less.


STEP 2

Slice the cucumbers into large chunks then smash them with the side of a knife to break them apart. Pop them into a bowl or a pint jar. Once the vinegar mixture has come to a low boil (just a few bubbles on the sides and the sugar is melted) pour it over the cucumbers. Let rest until it’s time to eat.

STEP 3

In a large bowl, combine the pear, soy sauce, brown sugar, gochuchang, garlic, ginger, and sesame seeds. Add the sliced steak and let it marinade for 20 minutes or as long as an hour.

STEP 4

In a large wok or giant skillet, cook the steak quickly. Use the highest heat you can to get a good crisp on the sides and cook it fast. As soon as it’s cooked through, remove from the heat and serve!

STEP 5

Serve with rice, kimchi, and ‘quickles’ over cups of butter lettuce. Eat it up like a taco.


How about a cocktail to go along with it?

A little mandarin flavor turns this into something a little more special.