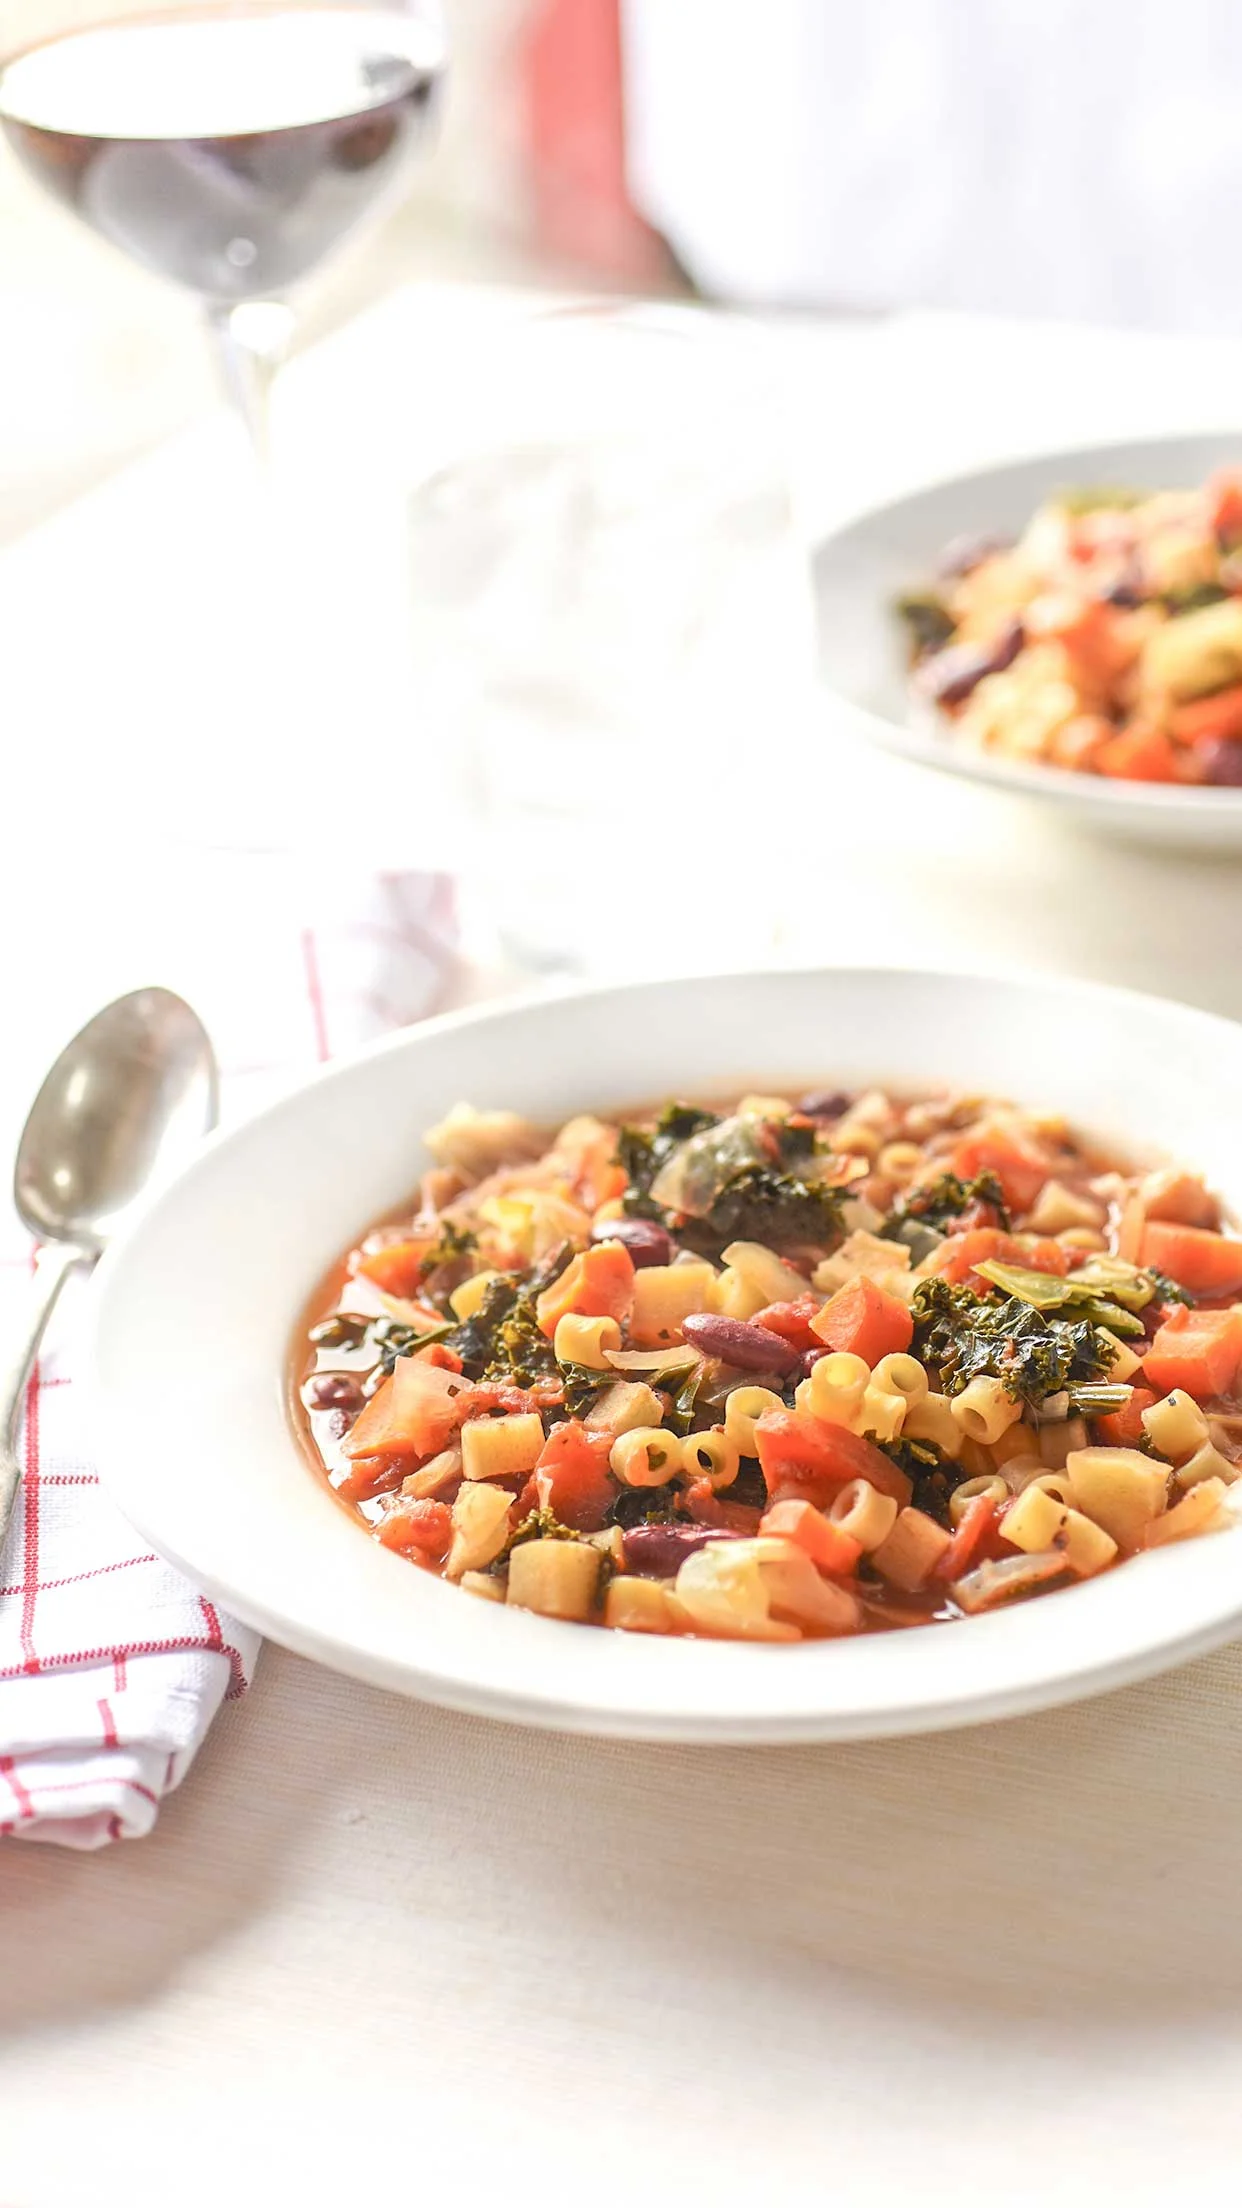
Winter Minestrone

When I was a little girl, my aunt made a minestrone soup for every big family event.  It was her thing.  And it was so good.  As I got older, I realized that most of the soup was cans of things; cans of beans, cans of tomatoes, cans of vegetables etc. and I don't love cans of things.  There is no way to avoid a few of the cans but I can add more vegetables - like real ones - and bulk up the health factor.  

Ali Hedin | Winter Minestrone

This time of year I'm in the mood to eat healthier but I feel like the weather is constantly challenging me.  When it is cold and grey and rainy in Seattle, all I want is a giant bowl of something hot and creamy that comes with a side of bread.  That's not the best way to make my body feel healthier - and let's be honest, my spring Palm Springs trip is coming up fast and my winter body is not exactly a bikini body.  A soup that's filled with vegetables gets me over that craving and feeling better about myself.  Only four months to Palm Springs!

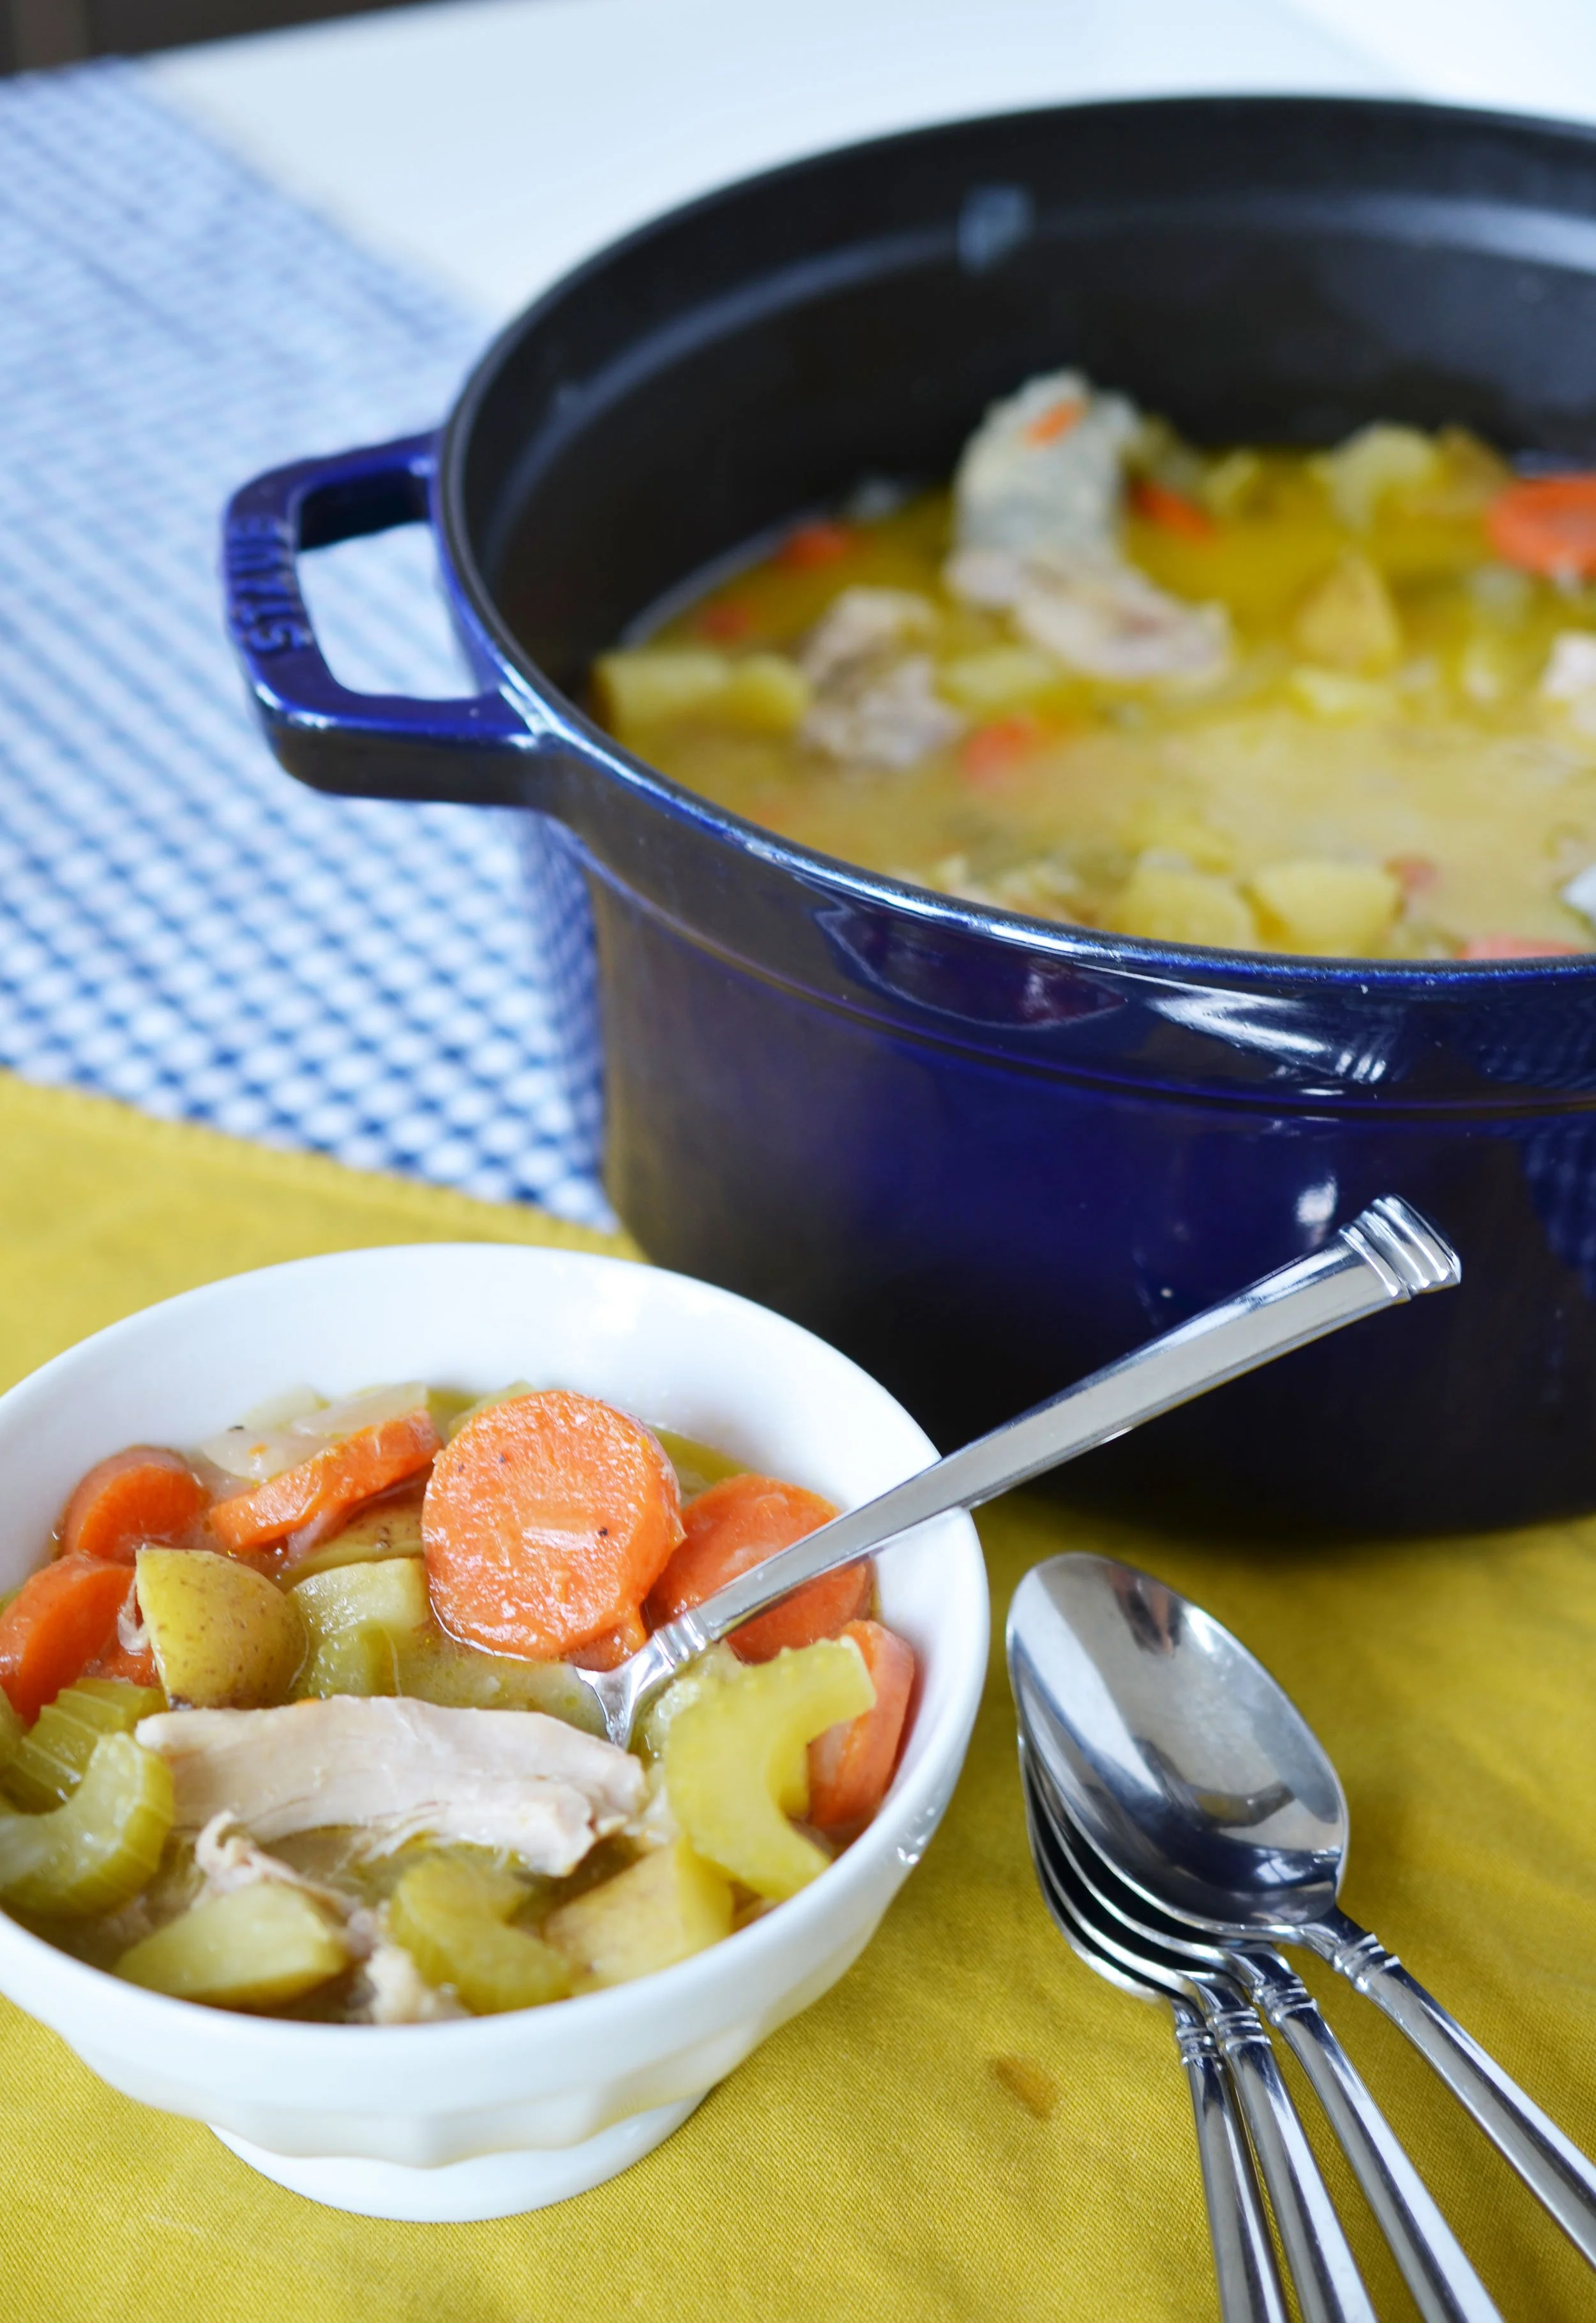
This makes a boat load of soup.  It's a recipe I wrote for four people and it's what I make for 4-6, but realistically, you've got lunch for days.  And it's easily frozen.  

Ali Hedin | Winter Minestrone

WINTER MINESTRONE SOUP

Serves 4


STEP 1

In a large stock pot, cook onion, parsnips, carrots, 2 cloves garlic until onions are is soft.


STEP 2

Add tomatoes & beans & spices.  Stir to incorporate


STEP 3

Pour in stock and bring to a boil.


STEP 4

Add noodles, kale and cabbage and cook until noodles are done.  Season with salt and pepper. Serve with parmesan cheese on top.


1 onion

2 parsnips

3 carrots

2 cloves garlic

2 cups kale, chopped

2 cups cabbage, chopped

1 15oz-can kidney beans

1 15oz-can garbanzo beans

1 28oz-can diced tomatoes

6 cups vegetable stock

2 tsp dried oregano

2 tsp dried basil

2 cups noodles

salt and pepper

½ cup parmesan cheese


Ali Hedin | Winter Minestrone

Coconut Lime Sugar Cookies

Continuing the tropical theme this January…. the ultimate coconut sugar cookies. These with a little spike of lime zest make for a little ray of sunshine in the middle of this very grey, very rainy, very cloudy month. I brought them to my kids as they got out of school today - it was the end of finals week - any they were loved. Well, mostly - I got some “input” too. Kids are great!

You’re going to love these incredible sugar cookies even more than my teenagers did. I promise.

Coconut Lime Sugar Cookies

2 cups flour

1 cup ground coconut

1 teaspoon baking soda

1 cup butter, room temperature

1 1/2 cups sugar

2 eggs

1 teaspoon lime juice

1/2 teaspoon coconut extract

1/2 teaspoon vanilla extract

1 teaspoon lime zest

STEP 1

Preheat oven to 350 degrees.

Cream together butter and sugar until smooth. Then add the eggs, vanilla, coconut extract, and lime zest. Beat until fluffy.

STEP 2

Add the flour, coconut, and baking soda. If you wish to mix them in a small bowl first, you may. I just mix them together in the bowl to make sure the soda is evenly distributed.

STEP 3

Scoop onto a lined baking sheet. Press each scoop down slightly and sprinkle the top with sanding sugar or turbinado sugar. Bake 12 minutes until just browned on the edges. Let cool before eating.


Buffalo Chicken Tots

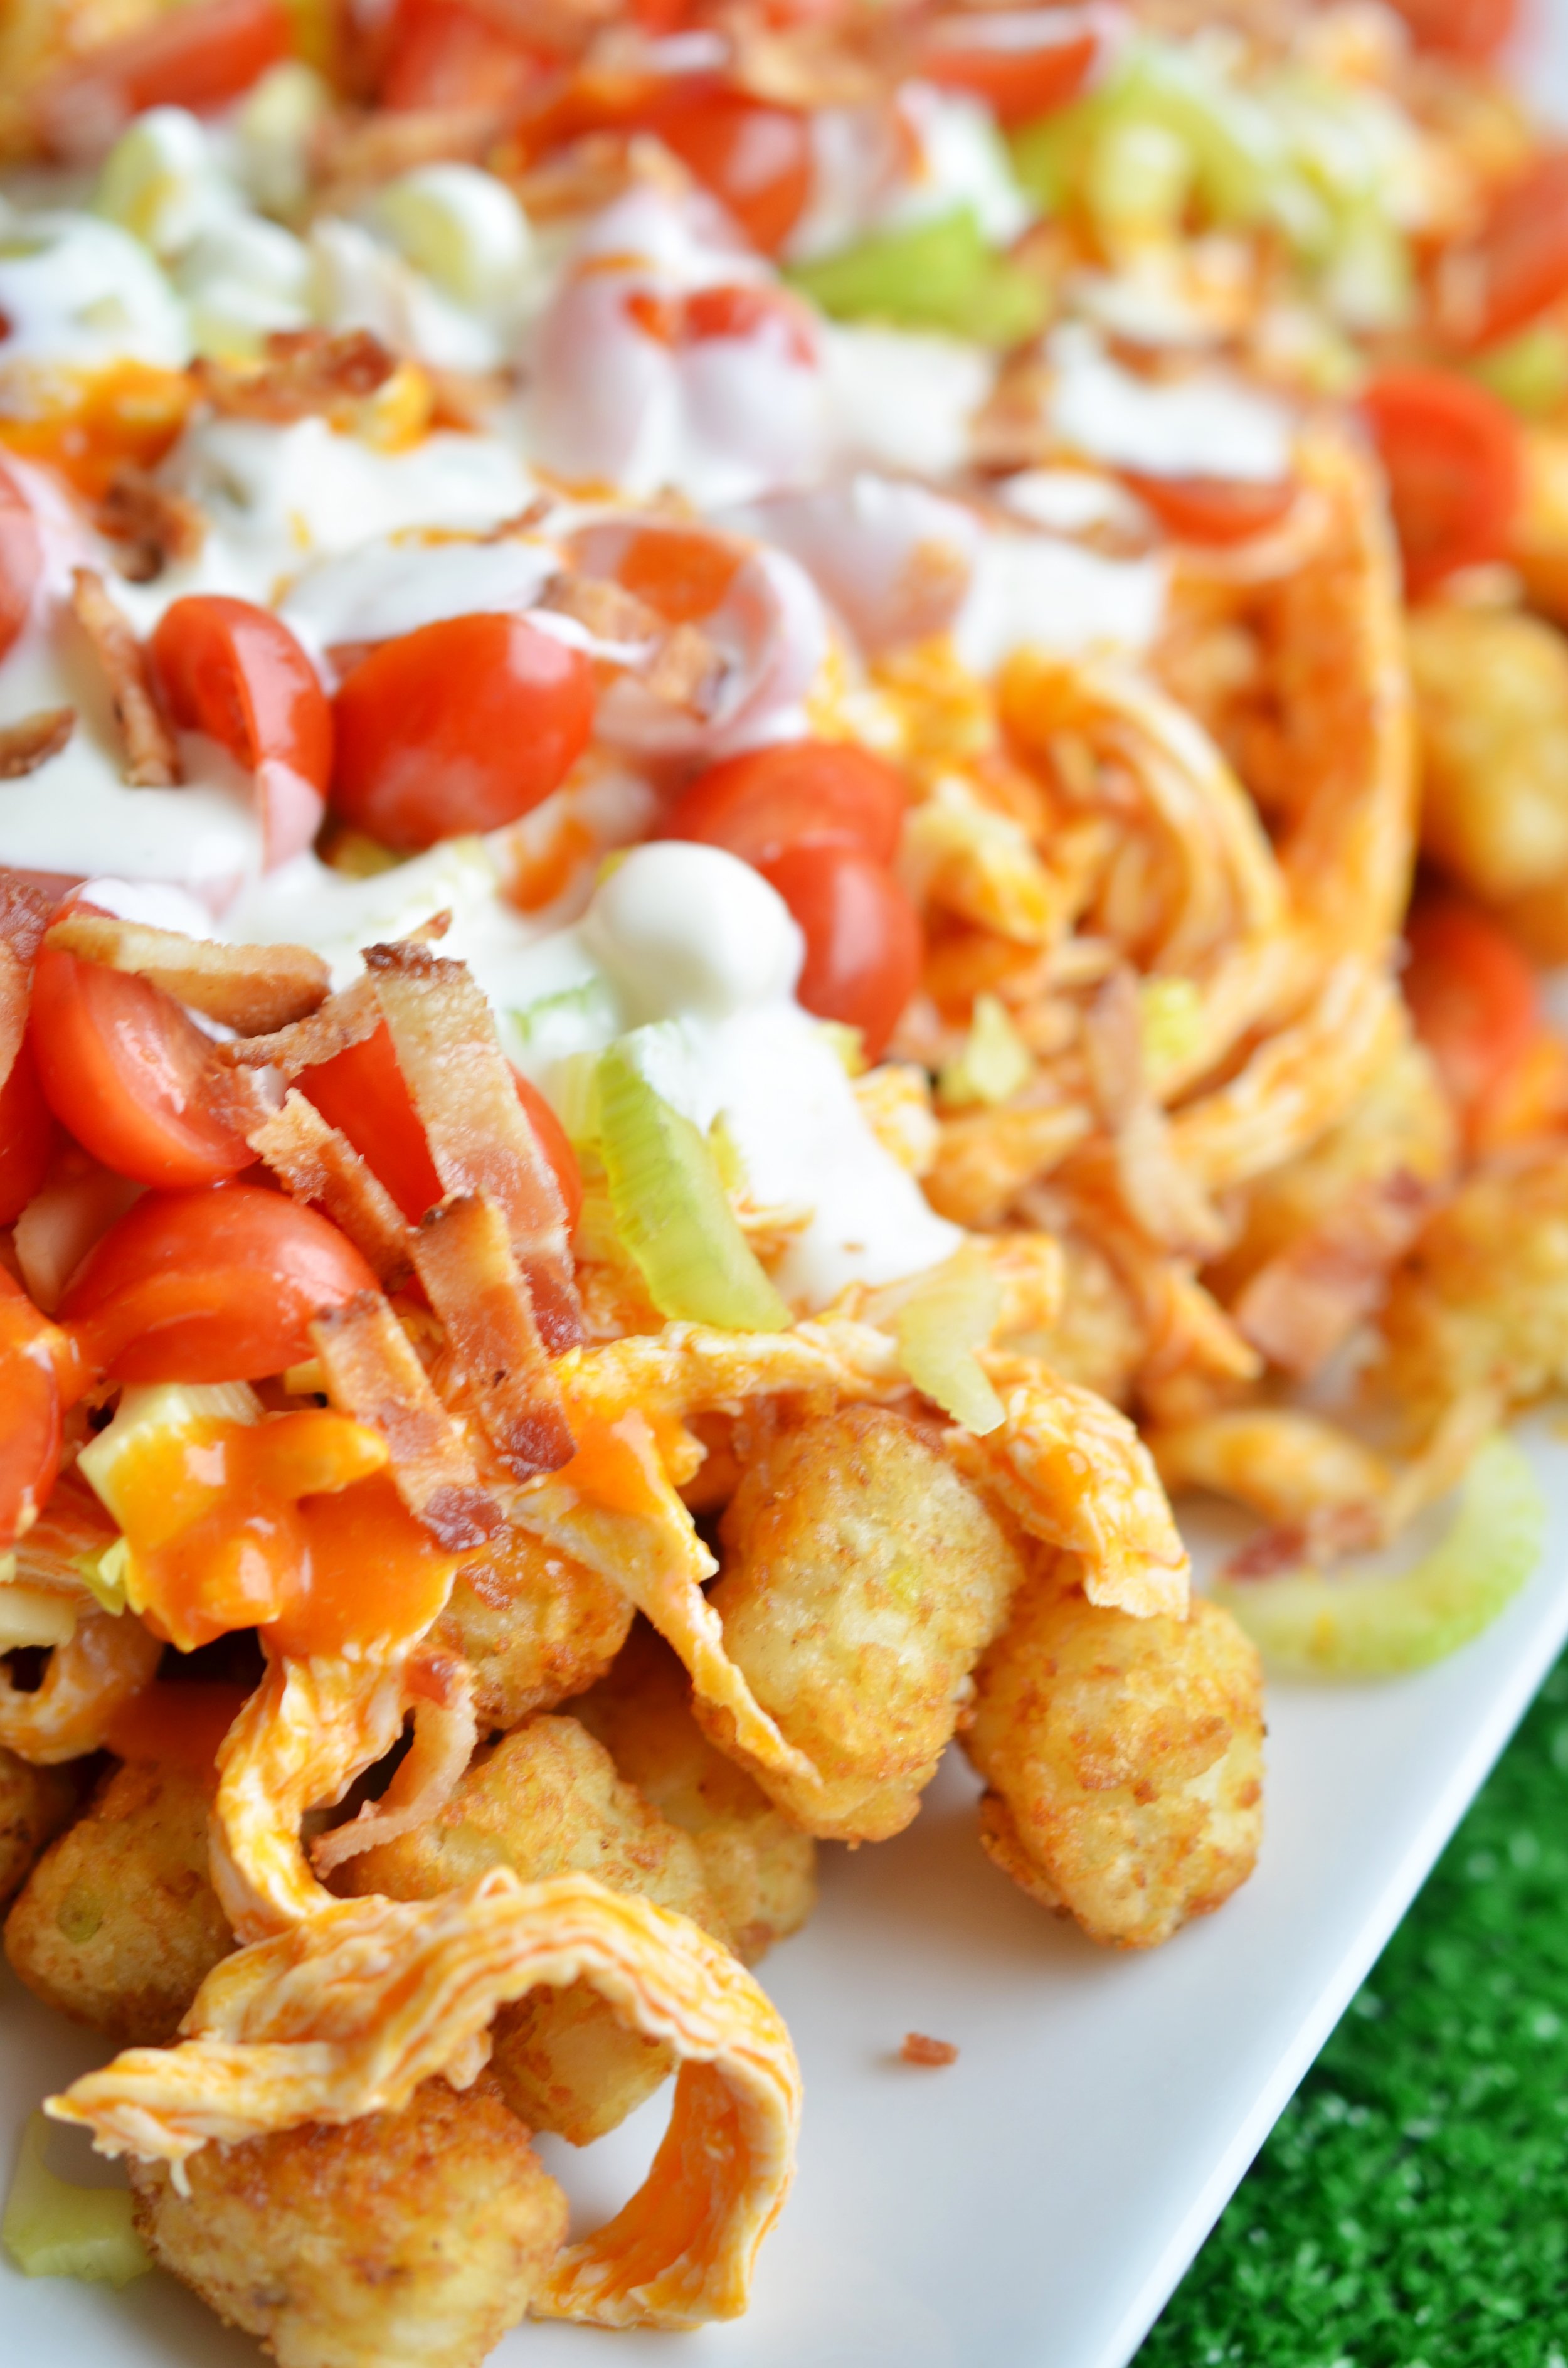
I cannot believe I haven’t shared these tots before! I am obsessed with tater tots AND obsessed with buffalo wings. It’s the perfect football snack - and this weekend the Seahawks have a very big game so you’ll need something to eat. Here it is. This is the best mash up of football snacks ever.

Pearl and I devoured this batch of them as soon as I made them. The real trick is to get the tots extra crispy. If you have an air fryer, use that! If you don’t, make sure our tots are on one even layer when you put them in the oven- and make sure your oven is extra hot (like 450 degrees). The crispier the tots, the longer you have with these being delicious. If your tots are soggy to start, then they will only get mushier as you serve them.

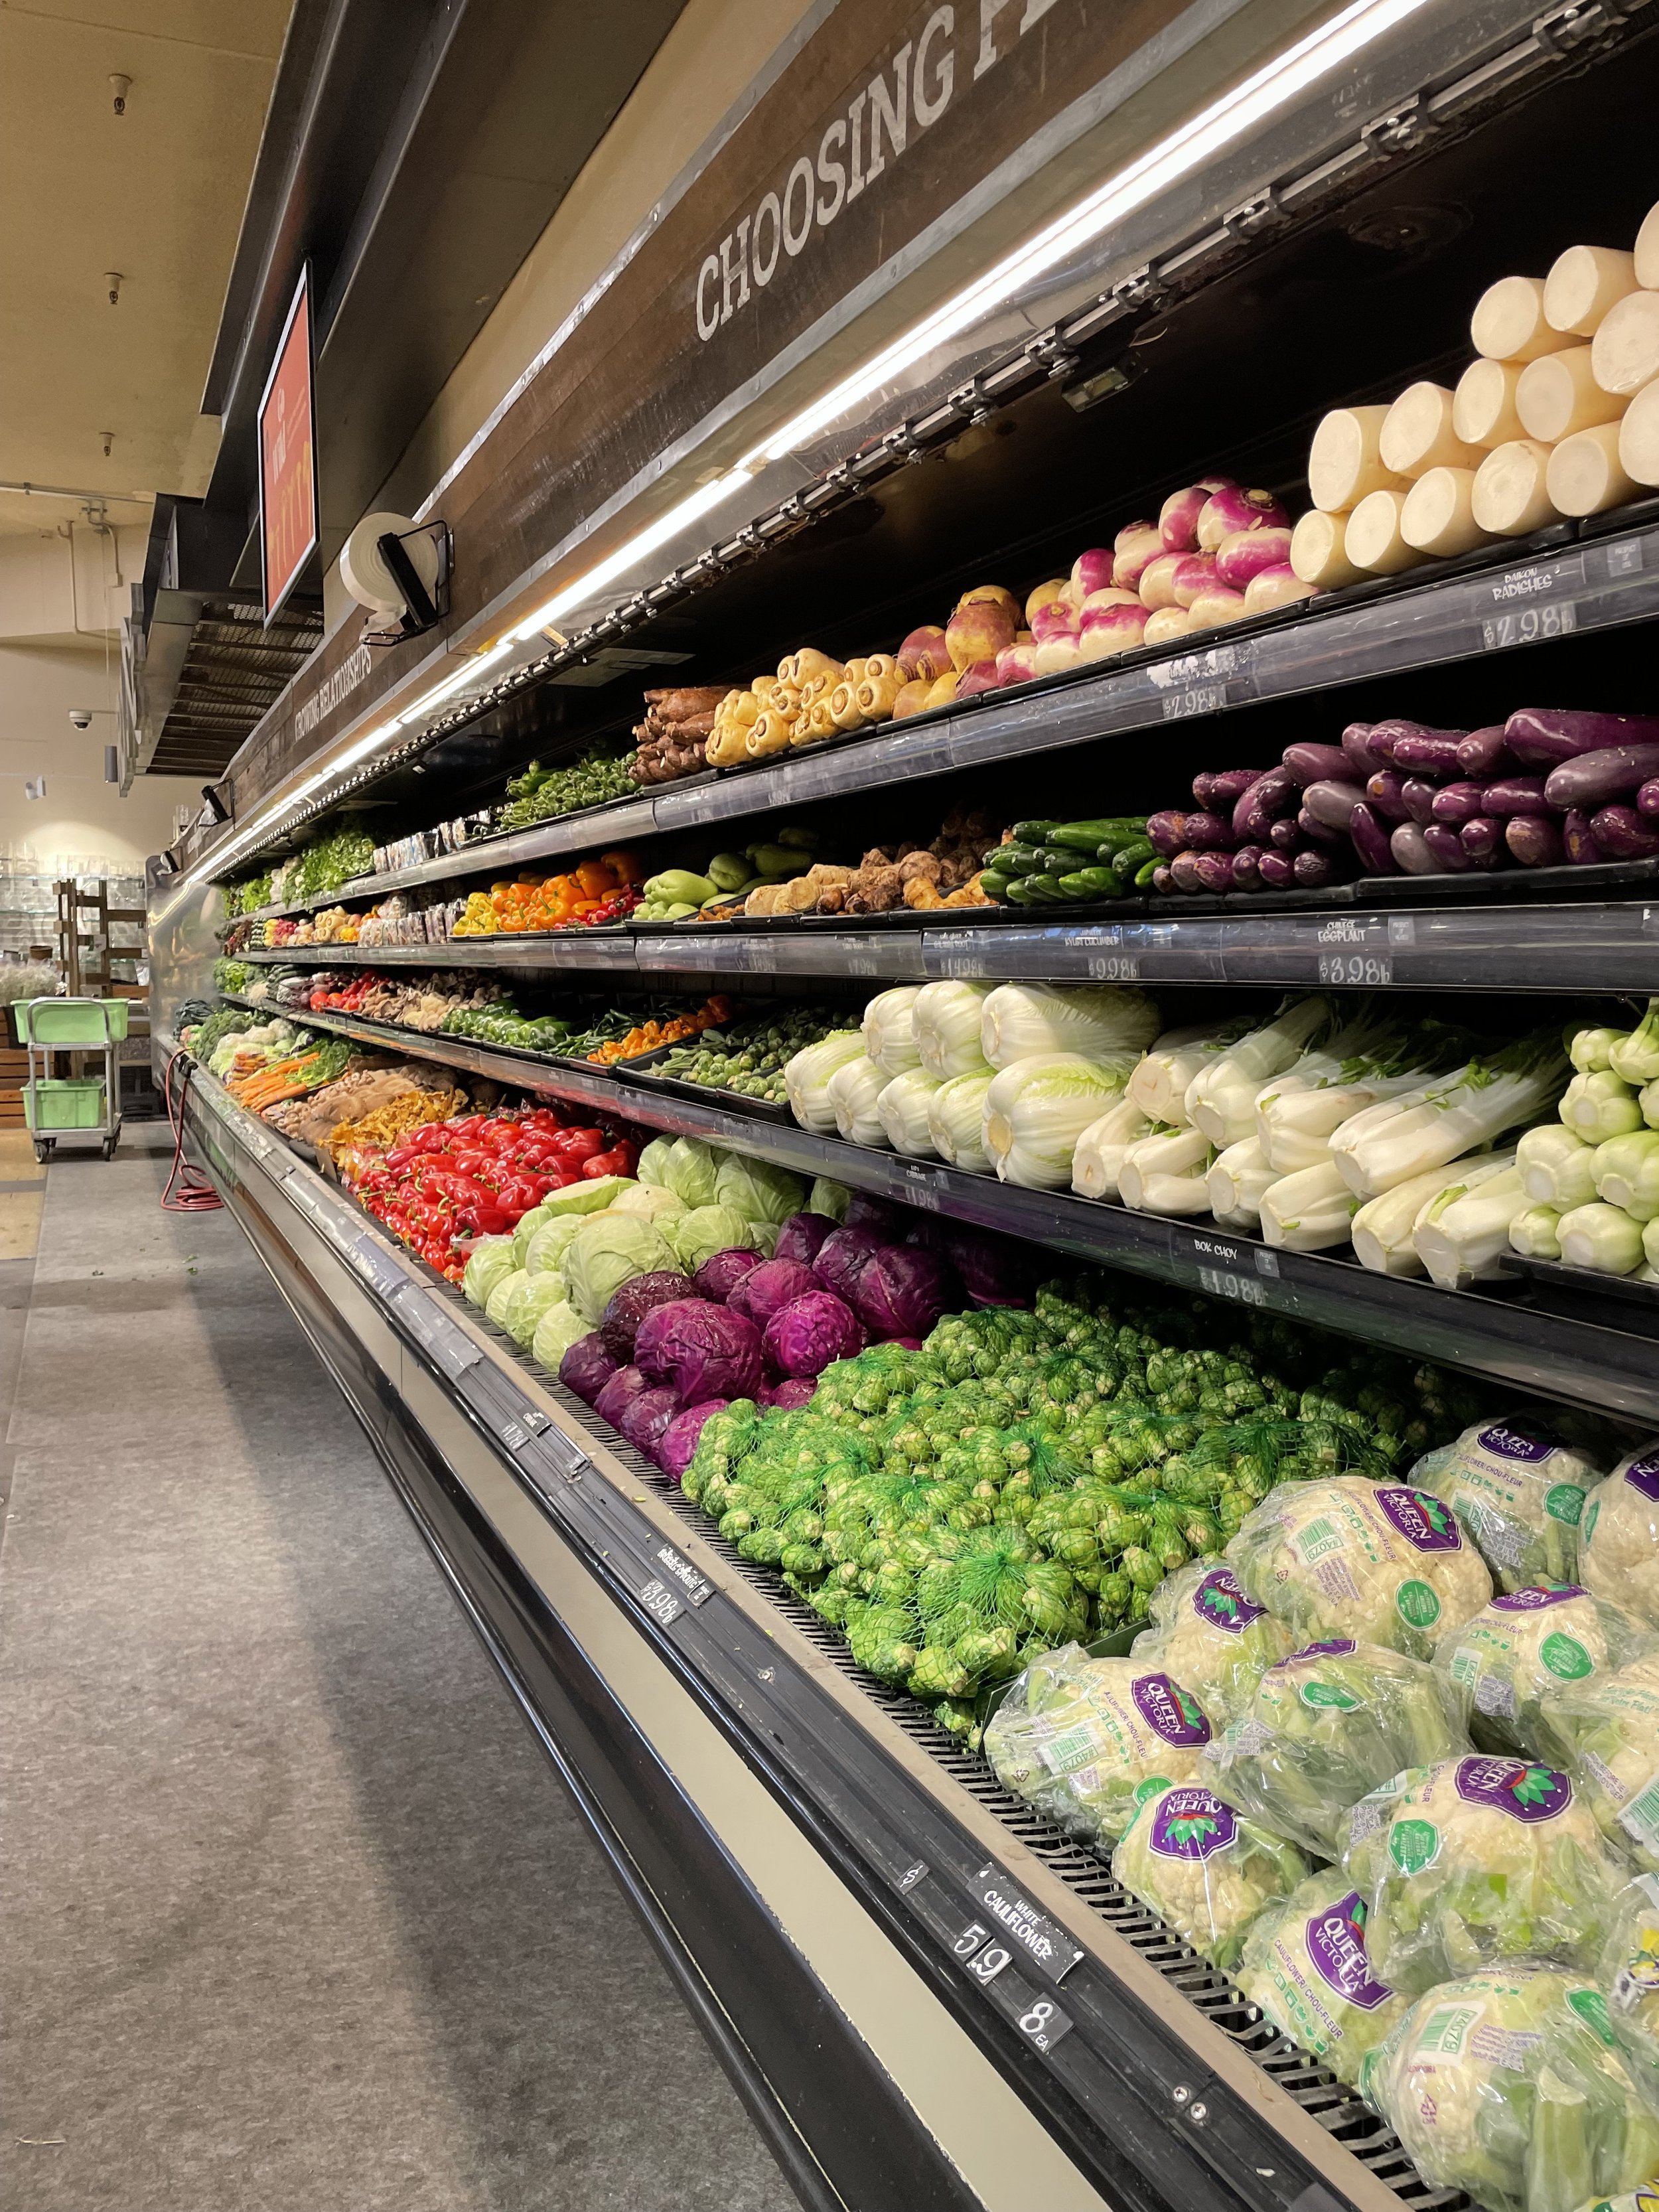
These are so great on a football game day because they take almost no time to pull together. I started at Town & Country stores for the groceries - it’s one of my favorite new stores.

I am obsessed with grocery stores. It’s actually my favorite activity when we’re on vacation, in a new city, or if I have time to kill. I love to see what other cities have on their shelves. I love to see local products. I love the adventure of finding new things.

Town & Country does not disappoint. It’s such a great store!

It’s also really fun in this big city we live in to travel across town and see the store that is totally different from the store down the block. I found a few things at Town & Country that I now exclusively drive across town to find! Let me know what your favorite grocery store find is and where you find it!

Buffalo Chicken Tots

1/2 cup buffalo wing sauce (I use Frank’s)

1/2 cup butter

2 cups shredded chicken (I buy rotisserie and shred it)

2 celery stalks, chopped

2 green onions, chopped

Blue cheese dressing

Blue cheese crumbles

STEP 1

Cook the tots in the air fryer until very crispy but not burned.

STEP 2

Melt together butter and wing sauce in a large pan. Toss in shredded chicken and cook until warmed.

STEP 3

Spread the tots out on a serving platter. Top with the chicken and pour any extra sauce on top. Sprinkle over celery, onion, and blue cheese crumbles. Drizzle blue cheese dressing on top and serve hot!

Baked Coconut Shrimp

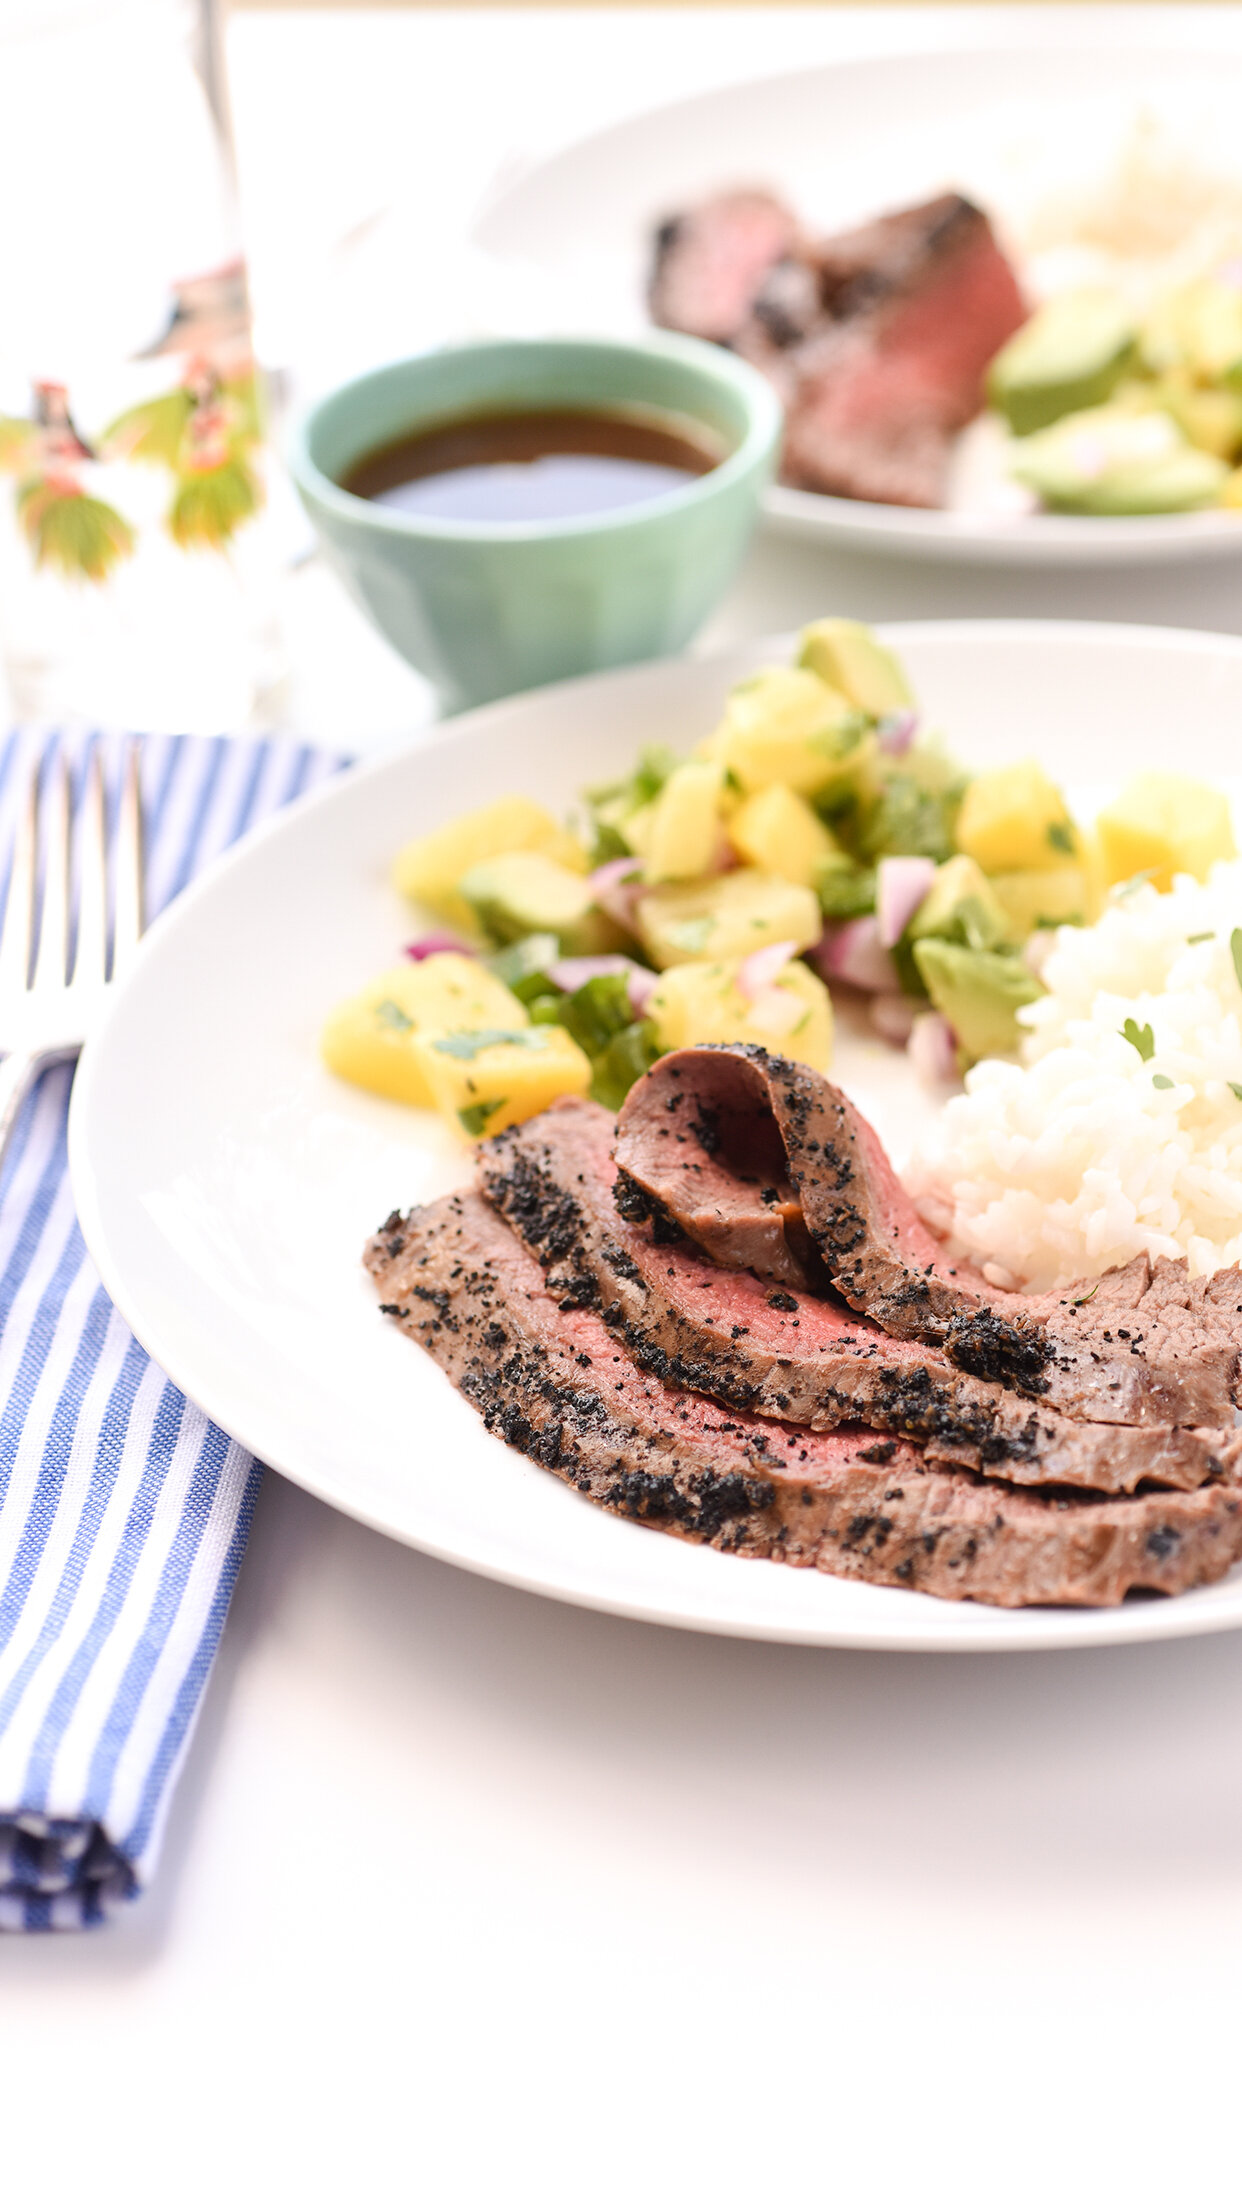
I don’t know why, but January is always the time when I want tropical drinks, tropical foods, and I love to set up my tiki bar! How about you? Let’s start with some baked shrimp that are like your favorite tiki bar appetizer, only with baking instead of frying which makes it slightly (actually a lot) better for you. Same great flavor - same great coconut - just less oil.

And don’t forget the sauce, it’s totally mandatory.

Baked Coconut Shrimp

Serves 4


1 lb shrimp, raw and deveined

1 egg, beaten

1 clove garlic, grated

½ cup shredded coconut

½ cup panko breadcrumbs

salt and pepper

4 tbs melted butter

1 cup rice

2 tbs mayo

2 tbs honey

½ tsp sriracha

juice of 1 lemon (2 tbs)

1 bunch cilantro for serving


STEP 1

Preheat oven to 400 degrees. 


In a saucepan with a lid combine rice and water.  Bring to a boil.  As soon as it boils, reduce the heat to low and cook – covered – 20 minutes.  Remove from heat and fluff with a fork.


STEP 2

Mix bread crumbs and coconut in a zip top bag


STEP 3

Beat egg in a large bowl with the grated clove of garlic.  Toss shrimp with the egg until well coated. Remove shrimp from the bowl using a slotted spoon so any extra egg stays behind in the bowl.  Add the shrimp to the coconut mixture.  Toss to coat.

STEP 4

Brush a baking sheet with 1-2 tbs melted butter.  Pour out shrimp on to the sheet.  Drizzle remaining butter on top of the shrimp.  Pop in the oven and bake 10-15 minutes until totally pink and crispy on top.


STEP 5

Whisk together mayonnaise, honey, sriracha, and lemon juice.  Serve shrimp over rice with sauce on the side.  Sprinkle cilantro over the top to serve!


Cocktailing | Tomatillo Bloody Mary
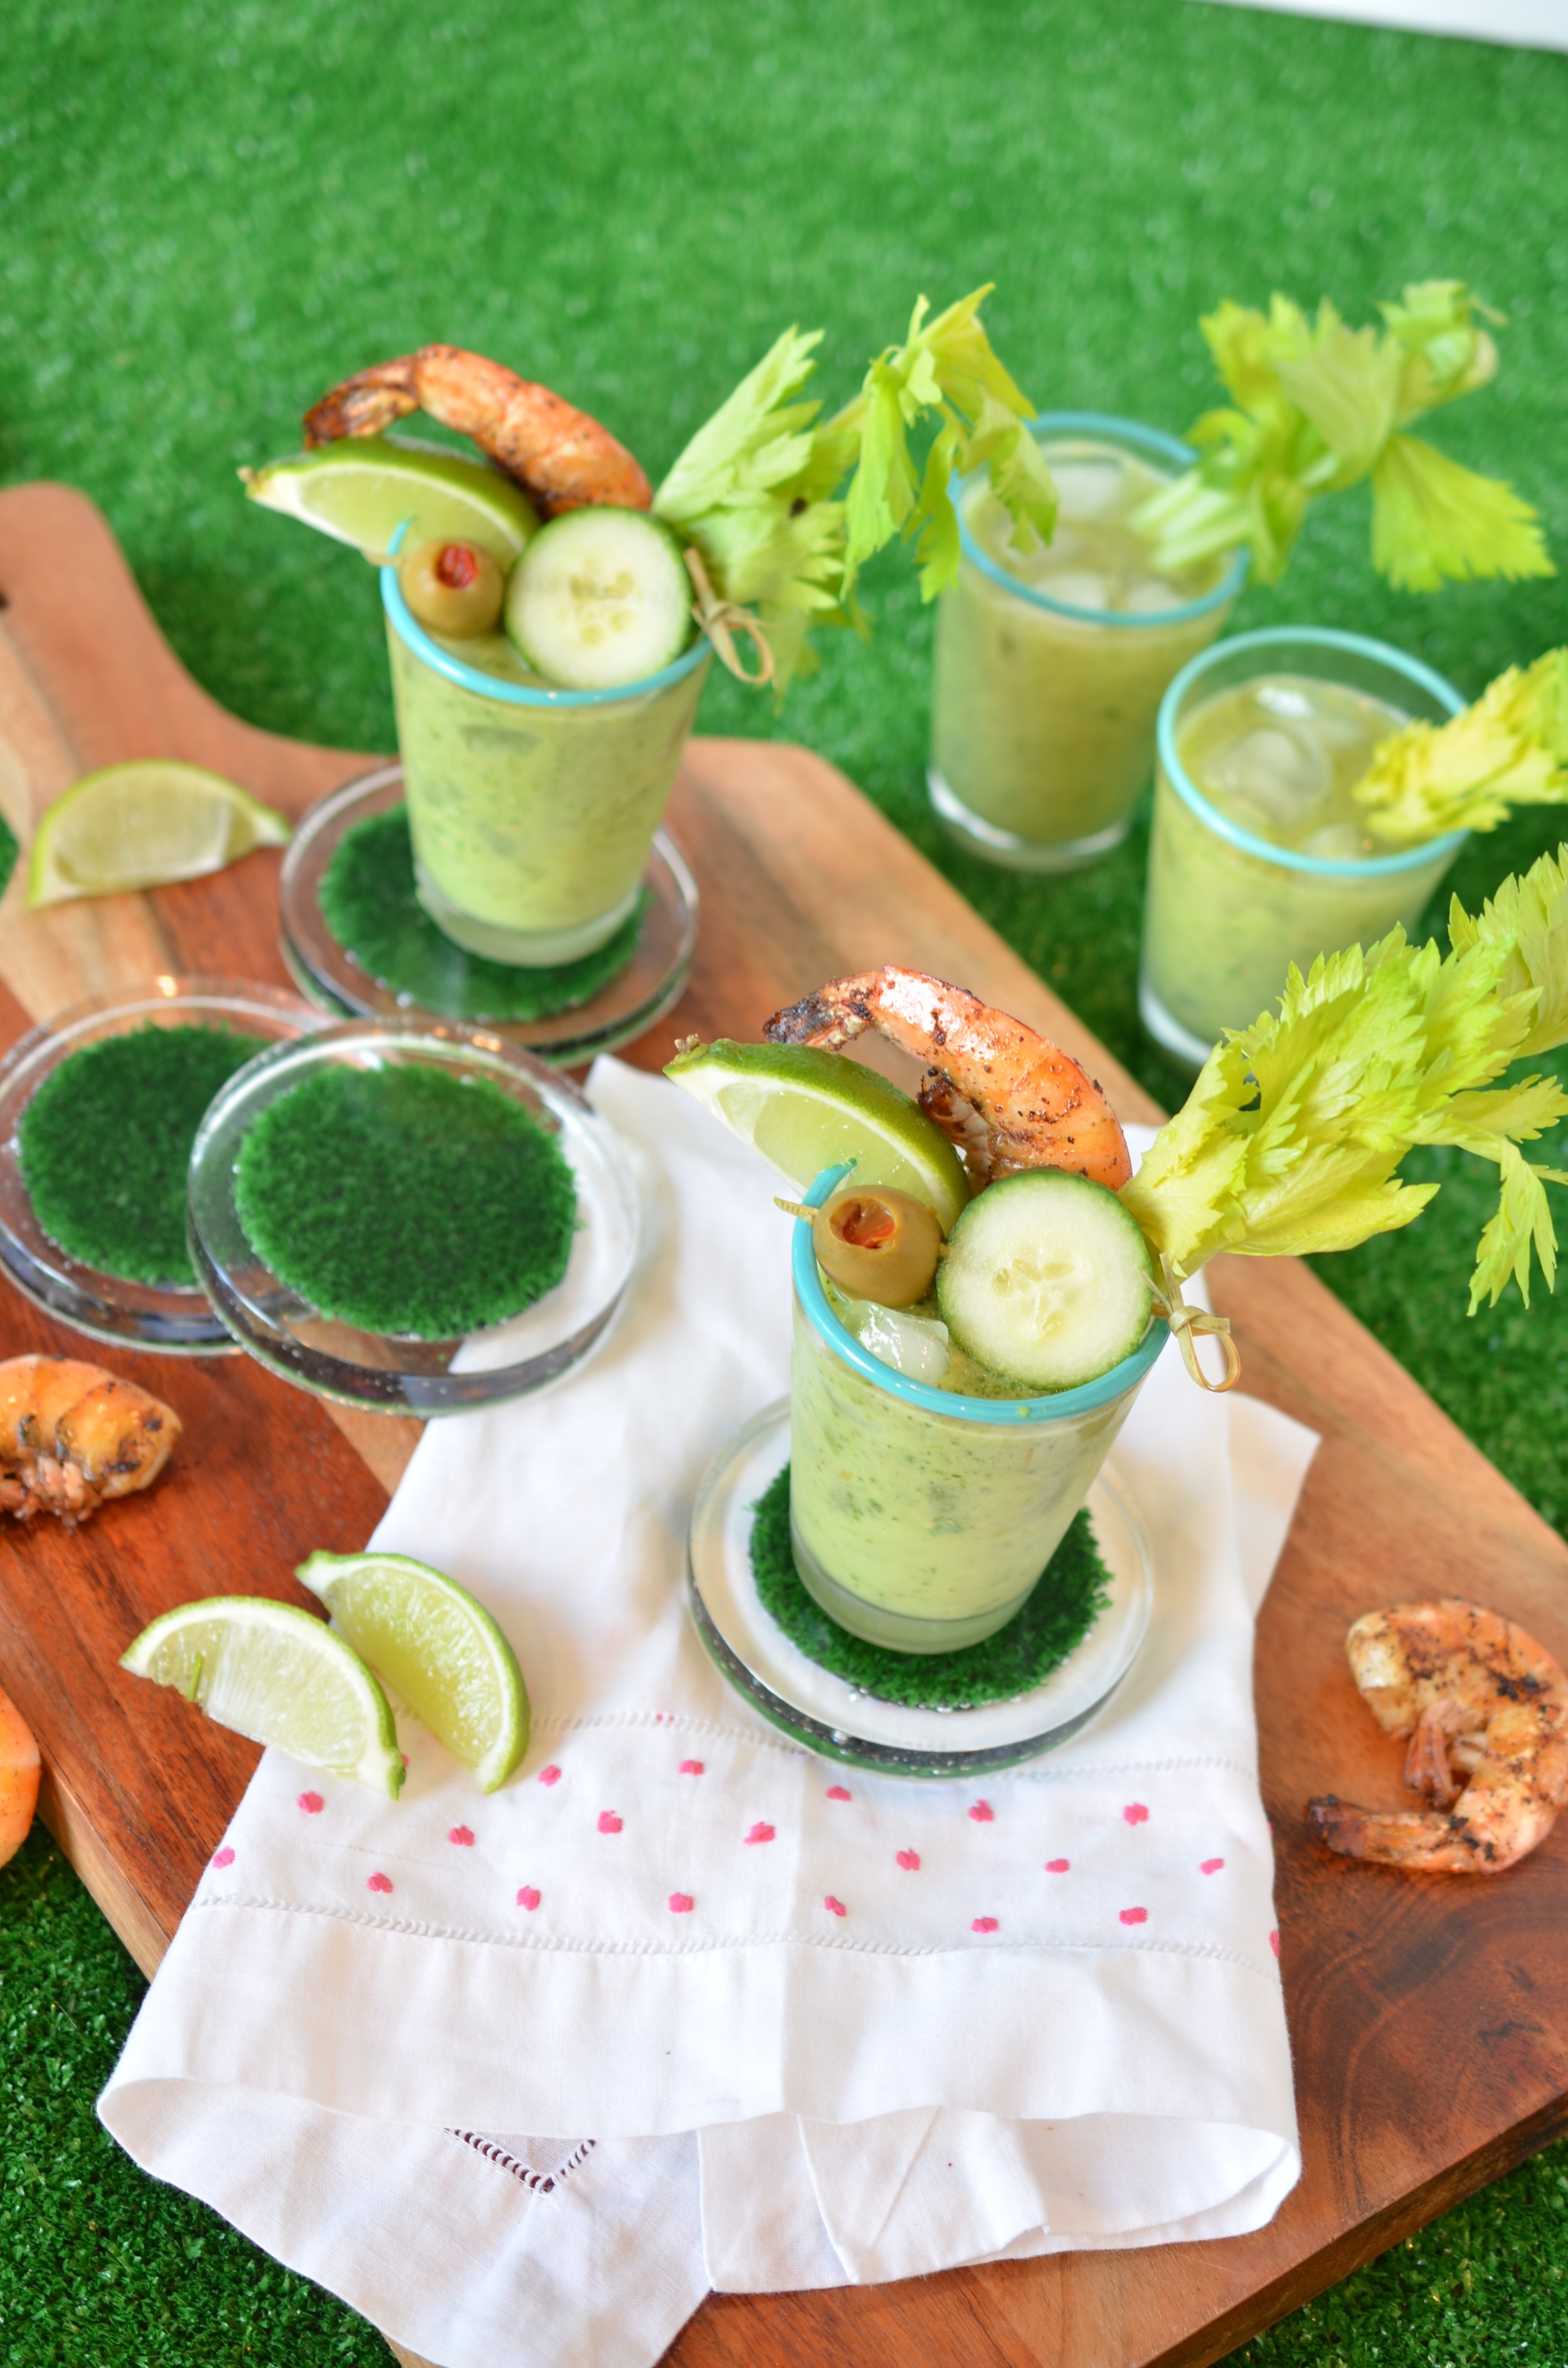
A classic Bloody Mary but with tomatillos instead of tomatoes!  Spicy and delicious.

When I was a kid I drank V8 like it was juice. When I grew up and discovered you could combine it with vodka and garnish with my very favorite pickled vegetables, it was like a match made in heaven. I’ve had my share of regular Bloody Marys and I have not really had a bad one yet. Some mediocre ones - some weak ones - but never a bad one. If you want my classic Bloody Mary, click here.

But then I heard of a rumor of people who don’t like tomatoes. Can you believe that’s a thing? Well, if you’re reading this, then possibly you are one of those people? I can’t imagine not loving tomatoes - especially when they are fresh. But if you mix them with vodka, how can they be bad ever?

Anyway… I’m being accommodating and it turns out these are EPIC so I’m not worried about how you don’t like tomatoes.

Roasting the jalapeño and tomatillos is an extra step, but I highly recommend it - actually require it in the recipe - because it makes the drink so much better.

I also grilled some shrimp for the top because who doesn’t love something a little extra? And these shrimp are EXTRA. Don’t forget to share if you make these! I can’t wait to see what you do.

Tomatillo Bloody Mary

makes 4 large cocktails

8 tomatillos

1 jalapeño

2 tablespoons olive oil

salt

1/2 cup cilantro

1 cucumber

1 lime, juiced

1 teaspoon horseradish

2 teaspoons worchestershire

2 teaspoon Old Bay

8 ounces vodka

garnishes like olives, celery, or grilled shrimp

STEP 1

Preheat oven to 400 degrees.

Peel the husk off the tomatillos and slice them in half. Spread them out on a baking sheet with the jalapeño. Drizzle oil on top and sprinkle with salt. Pop in the oven and let roast about 10 minutes until toasty.

STEP 2

Combine all ingredients in a blender and blend until smooth. Don’t forget to pour any liquid from the roasted tomatillos into the blender too.

STEP 3

Combine equal parts vodka and tomatillo juice in a glass. Add ice and garnish!


Caramel Apple Snickerdoodles

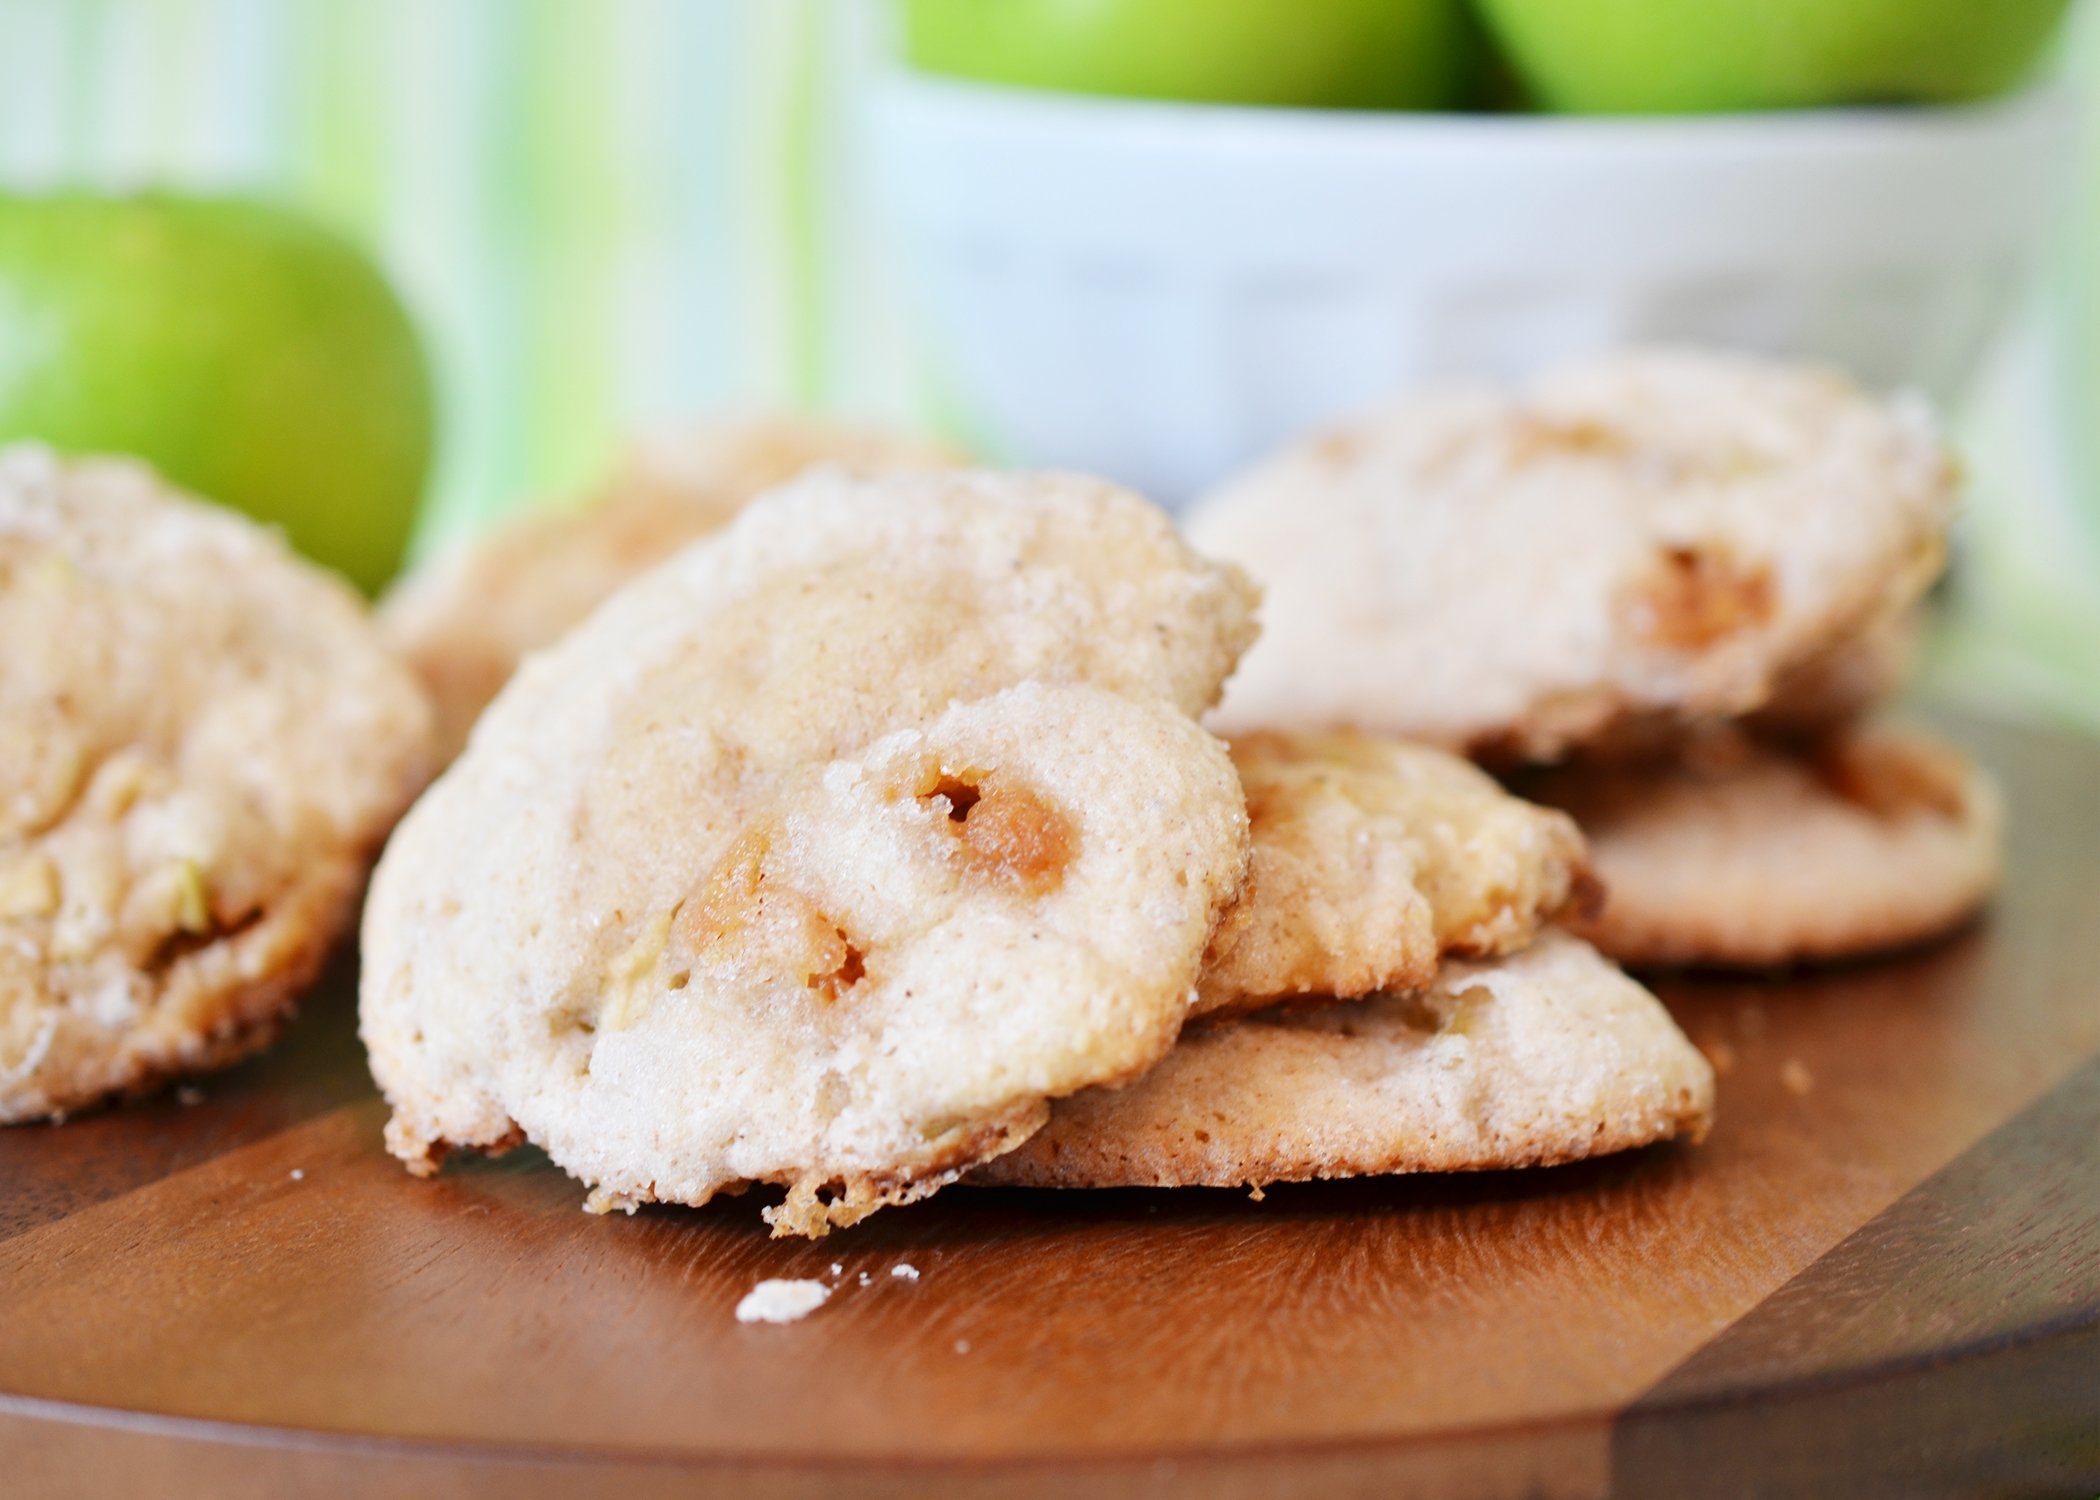
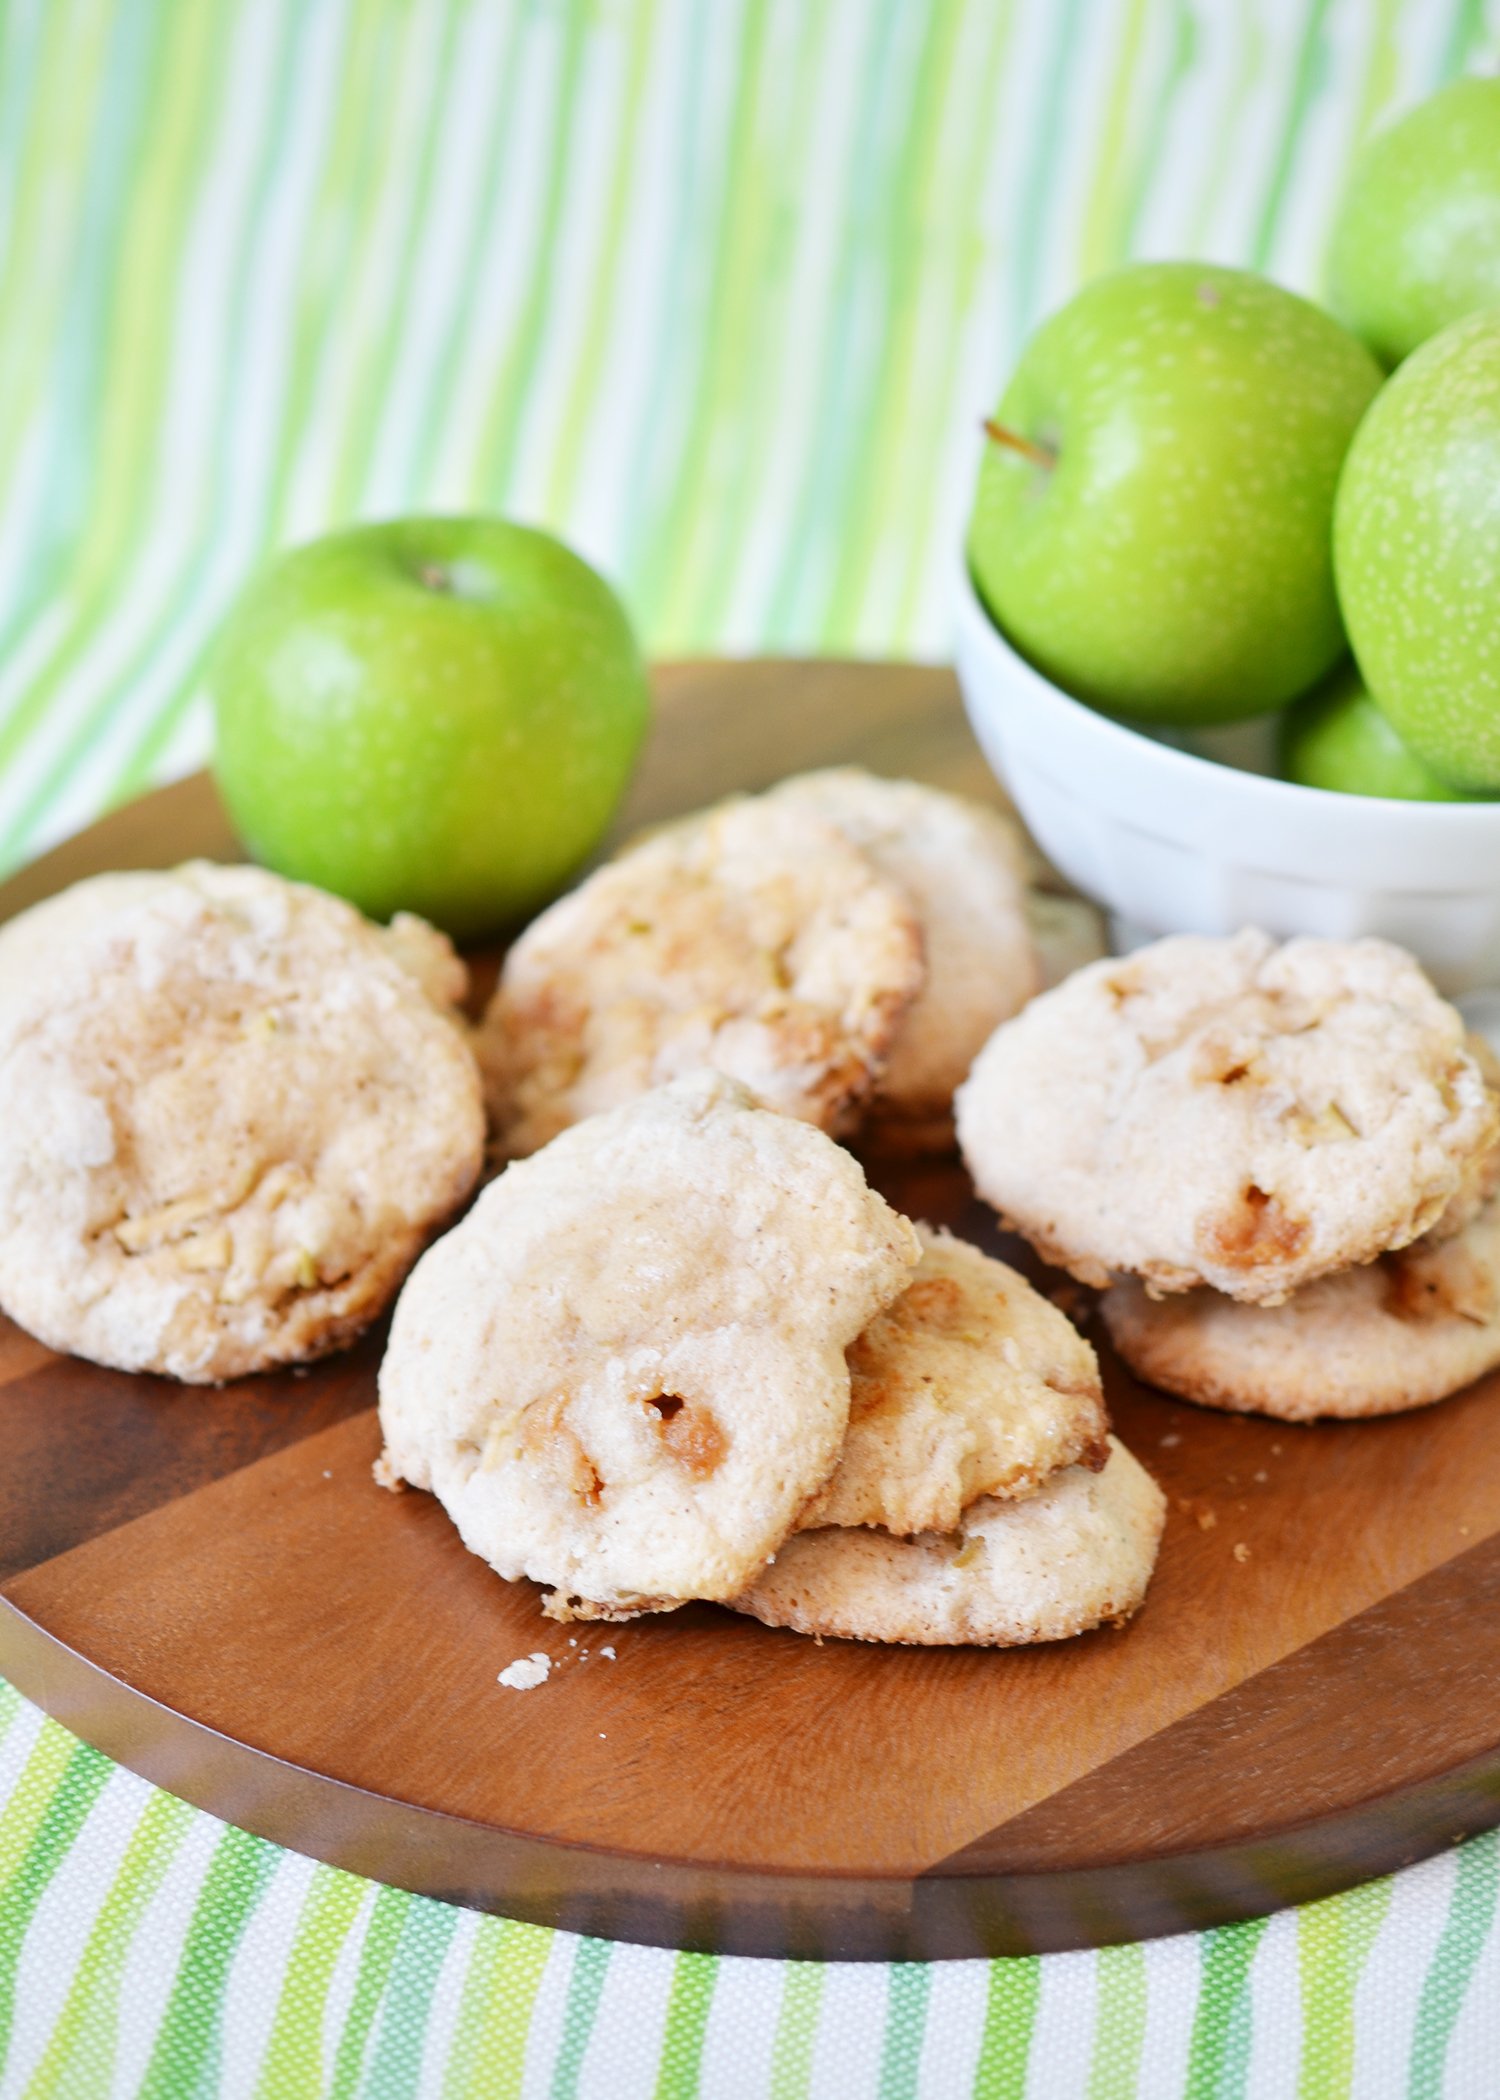
I am pretty sure those caramel apple pops came out when I was a kid. I remember them being a hit one year in elementary school - and I think that’s because that’s when they were first invented? I thought they were the best. It was the best of both worlds - gooey caramel and the jolly rancher type green apple candy. I loved them. But I don’t really eat candy anymore - or even really like it. But what I do like is cookies.

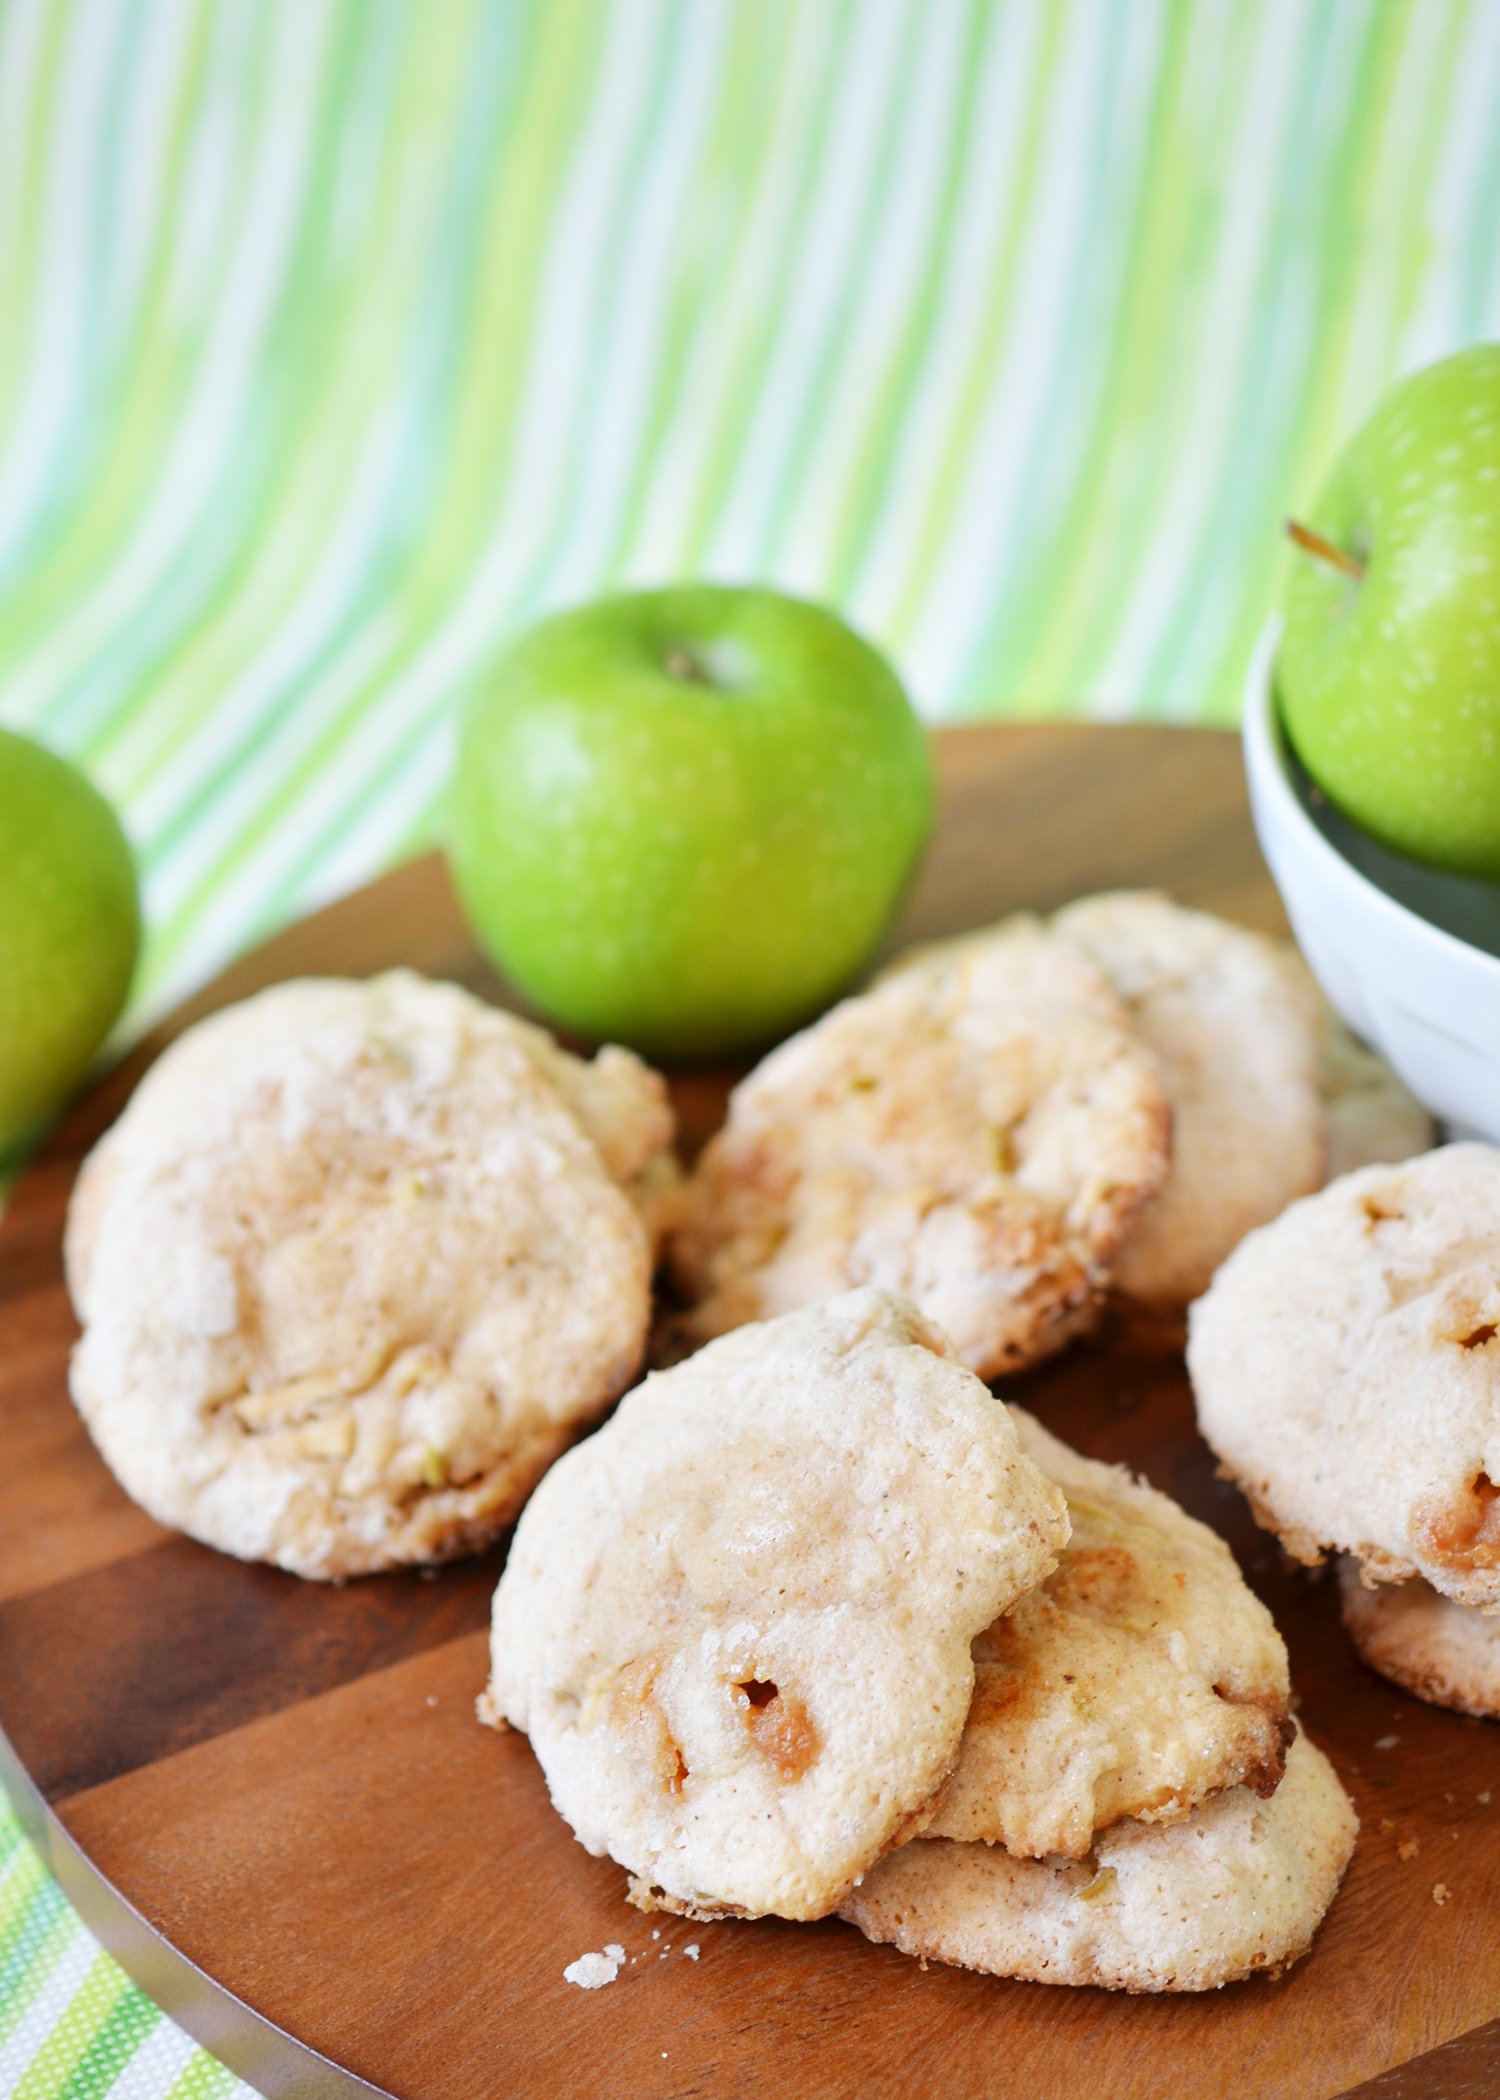
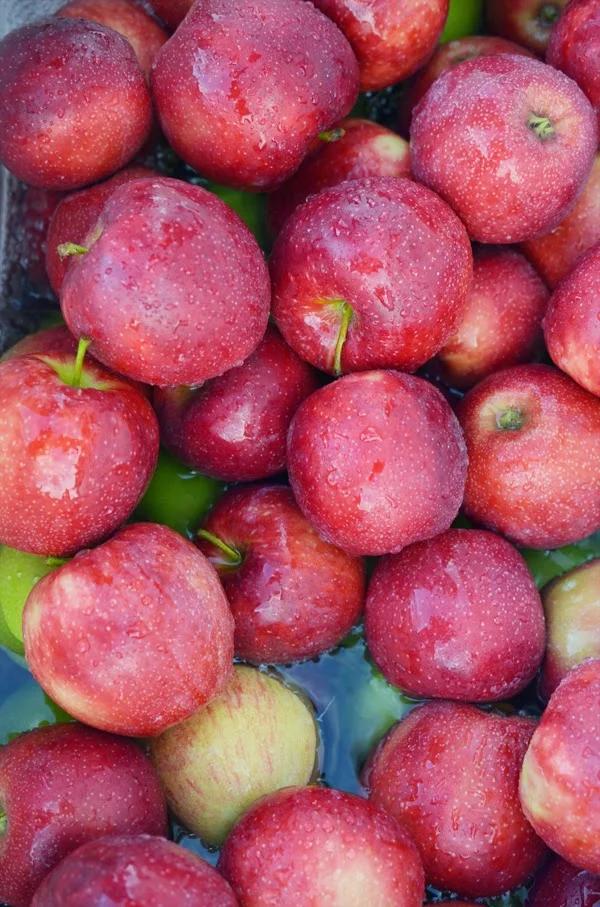
I had this idea for a caramel apple cookie and I must have tried a dozen versions of this before I finally figured out those flavors are incredible when turned into a snickerdoodle. It also seems the apples you use are important too. The red apples get smooshy and weird. Even the honeycrisp which - ironically - make the best actual caramel apples. The green ones are the ones you need for these cookies. Ideally, peeled and chopped small.

If you can’t find the caramel bits - I found them at the grocery store and at Target - you can cut up the caramel squares and use those. They will just take a little longer to prepare.

Caramel Apple Snickerdoodles

Makes two dozen

1 cup sugar

1/2 cup room temperature butter

1 egg

1 teaspoon vanilla

2 1/4 cups flour

1/2 teaspoon baking soda

1 teaspoon baking powder

1/2 teaspoon salt

1/2 cup greek yogurt

1 cup finely chopped green apple

1/2 cup caramel bits

1/2 cup sugar

1 teaspoon cinnamon

STEP 1

Preheat oven to 325 degrees. In the bowl of a stand mixer, combine butter and sugar and beat unril smooth. Add the egg and vanilla. Mix until fluffy.

STEP 2

Combine together the dry ingredients - then add half of the dry ingredients to the butter mixture until just combined.

STEP 3

Add the greek yogurt and mix until smooth. Then add the remaining dry ingredients and mix until just combined.

STEP 4

Add the apples and caramel bits and mix until fully incorporated.

STEP 5

Prepare a small bowl with sugar and cinnamon. Scoop the dough into balls (it’s sticky!) and roll it through the sugar mixture. Place on a lined baking sheet and bake 12-15 minutes until golden on the edges.

Let cool on the baking sheet a few minutes before moving them to a cooling rack.


French Onion Burger
Ali Hedin's cheesy French Onion Burger

When Mr. Hedin and I started dating, we went to Red Robin (the real, original one, not the chain it’s turned into) and I would order the French Onion Soup all the time. It was a really really good one that was topped with way too much cheese, which made it perfect.

This burger captures the flavors of a good french onion soup - you will crave it. I crave it now. It’s a perfect fall dinner because the creamy onions are so perfect right now.

The onions start melting for the French Onion Burger | Ali Hedin

French Onion Burger

makes 4 burgers


1.5 lb ground beef

4 large white onions, sliced

2 tbs butter

1 tbs fresh thyme

2 cloves garlic

¼ cup sherry

4 oz gruyere cheese, sliced

1 loaf crusty bread, cut into thin slices

Dijon mustard


STEP 1

In a large skillet, melt butter with onions.  Cook over medium heat until onions are soft.  Season with salt & pepper.


STEP 2

Mix beef with sherry, thyme, and garlic and form into patties. 


STEP 3

Cook patties on the grill or in a cast iron skillet until cooked through.  Toast bread slices while burger patties cook.


STEP 4

When patties are nearly done, top with slices of cheese and let melt.  Serve on top of toasted crusty bread smeared with Dijon mustard with onions on top.


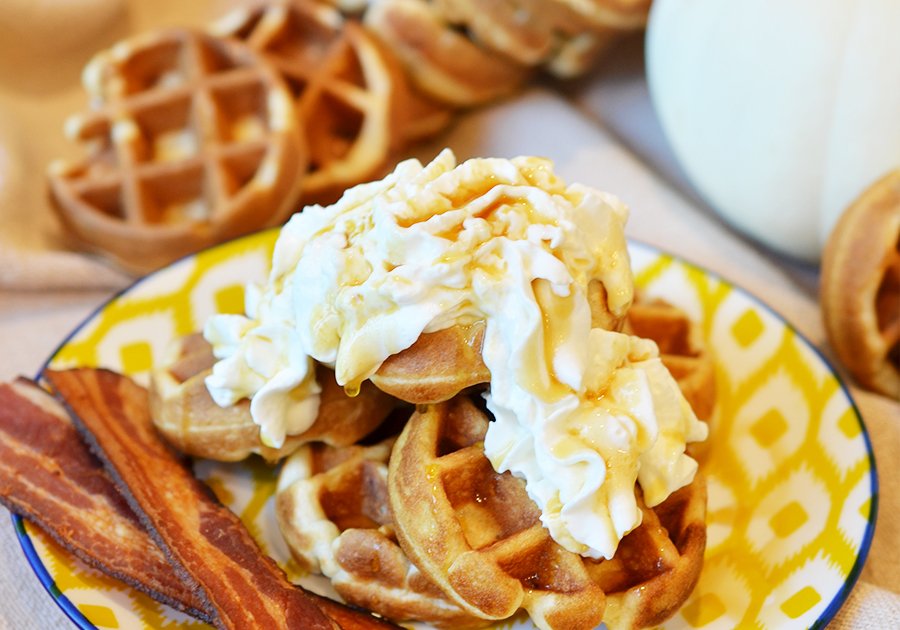
Maple Bacon Waffles
Ali Hedin's Maple Bacon Waffles

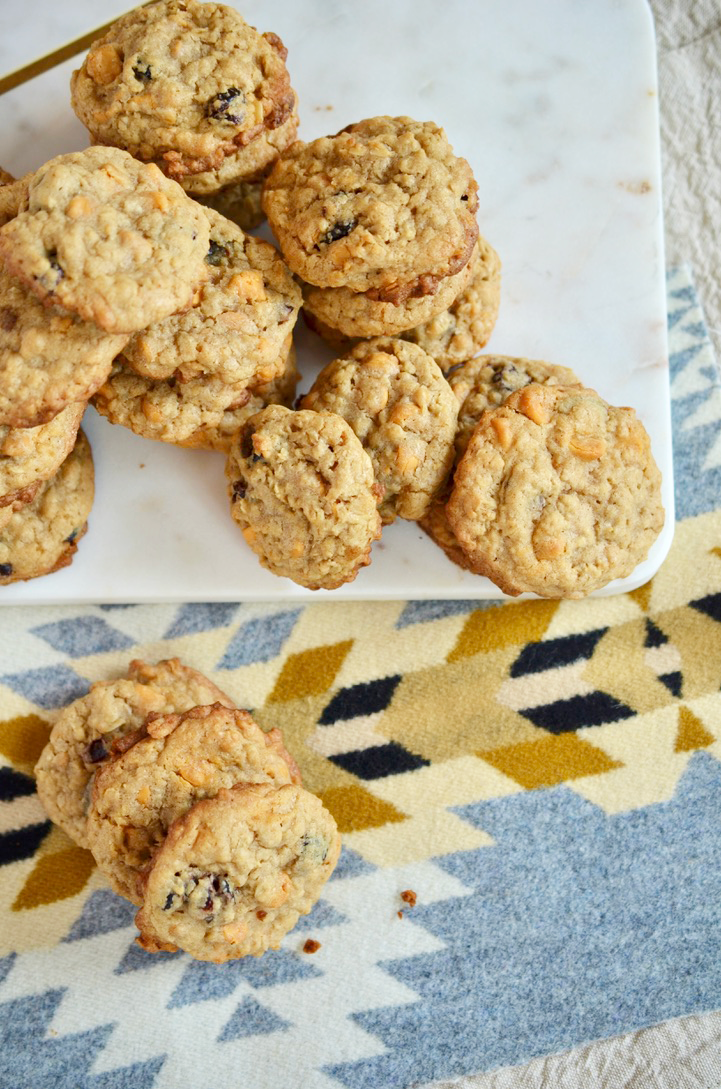
What is it about the fall that makes me want to make giant, over the top breakfasts?  I don’t know if its school starting or just the cooling weather, but breakfast is my absolute favorite this time of year.  These waffles are filled with maple flavor and crunchy bits of bacon which make them completely irresistible. I can’t wait for you to try these out next Sunday morning – perfect with a cup of hot apple cider or piping hot coffee. 


Maple Bacon Waffles

Serves 4


2 cups flour

2 tbs sugar

1 tbs baking powder

½ tsp salt

2 cups buttermilk

8 tablespoons butter

2 eggs, separated

¼ cup maple syrup

4 strips bacon, cooked and chopped


STEP 1

Preheat your waffle maker.  Mix together buttermilk, melted butter, syrup, and egg yolks.


STEP 2

In a separate bowl, mix together flour, sugar, baking powder, and salt.  Pour in wet ingredients and chopped bacon.  Stir until just combined. 


STEP 3

Whisk the egg whites until they form stiff peaks.  Fold them gently into the waffle batter. 


STEP 4

Place ¼ cup waffle batter on the hot waffle maker.  Press waffle maker top down and cook 10 minutes or until waffle is done. Serve with maple syrup, whipped cream and more bacon!


Sage Barley Risotto with butternut squash
Sage Barley Risotto - Risotto made with barley instead of rice and filled with fall flavors!

My entire family adores risotto. It’s a huge hit at our house so I make it a ton and do my best to add vegetables and anything healthy to try to spike it up! I discovered you can make any grain risotto style so I started experimenting with turning healthier grains (like barley!) into one of our favorite dinners.

It turns out that you can make amazing risotto out of barley and it tastes just as creamy and delicious as the OG arborio version. For the fall, I spiked it with sage leaves and topped it with roasted butternut squash. Make it even easier on yourself and buy the squash already cubed. That makes this about a 20 minute dinner! Hooray!

Made with barley instead of rice, this risotto is perfect for the fall.

Sage Barley Risotto

With butternut squash

Serves 4


1 small butternut squash, peeled and cubed

1 ½ cups pearl barley

6 cups vegetable stock

1 small onion, chopped

2 cloves garlic, smashed

¼ cup olive oil, divided

½ cup white wine

¾ cup asiago cheese, grated

¼ cup sage leaves

1 tsp red wine vinegar

salt and pepper


STEP 1

Preheat oven to 450 degrees.  Peel the squash and chop into cubes. Place squash on a baking sheet lined with aluminum foil and drizzle with olive oil to coat.  Sprinkle with salt and pepper and pop into the oven.  Bake 15-20 minutes until browned.


STEP 2

Cook onion in a large saucepan over medium low heat with olive oil, garlic and sage until onions are translucent. 


STEP 3

Add barley and cook about 2 minutes until coated with oil.  Add white wine and cook until bubbly.  Add one cup of stock.  Stir regularly until all liquid is absorbed.  Add another cup of stock.  Continue stirring and adding broth, one cup at a time until all stock has been used. 


STEP 4

Stir in ½ cup cheese, red wine vinegar, and season with salt and pepper.


STEP 5

Remove squash from oven and stir into the risotto.  Serve hot with extra cheese on the side.

Made with barley (more fiber!) and filled with your favorite fall flavors.  You're going to love this healthy fall dish.

Vampire Noodles with Shrimp

This is the perfect quick cook dinner!  It takes almost no time to cook and still seems fancy.  Which is exactly what we need for Halloween night! I am sure your house is just as hectic as mine with kids needing last minute costume pieces (which of course they can’t find), everyone being hungry, my husband just coming home, and some over eager parents who’s kids are ringing my doorbell at 4:30pm.

All you need to do with this is boil the water, add onions and shrimp to a skillet - they cook quickly - and then toss it all together! It’s simple, looks fancy, and is way healthier than the pizza we often order!

Vampire’s Noodles

Squid Ink Pasta with Caramelized Onion & Shrimp

Serves 4

½ lb squid ink pasta

½ cup butter, divided

1 onion

4 cloves garlic, smashed

2 sprigs thyme

1lb shrimp, peeled and deveined

½ cup white wine

1 lemon, zested


STEP 1

Over low heat, cook onions, garlic, and thyme in 2 tbs butter.  


STEP 2

Bring a large pot of water to a boil and cook noodles according to package instructions.  Reserve ½ cup of pasta water when draining.


STEP 3

Add remaining butter to the onions and melt until toasty and bubbly.  Add shrimp and toss to coat with butter.  Pour in white wine.  Add lemon zest and salt and pepper.  Cover and cook 5-10 minutes until shrimp is fully pink.


STEP 4

Toss noodles in shrimp pan.  Add pasta water if noodles appear dry.