Posts in Recipes
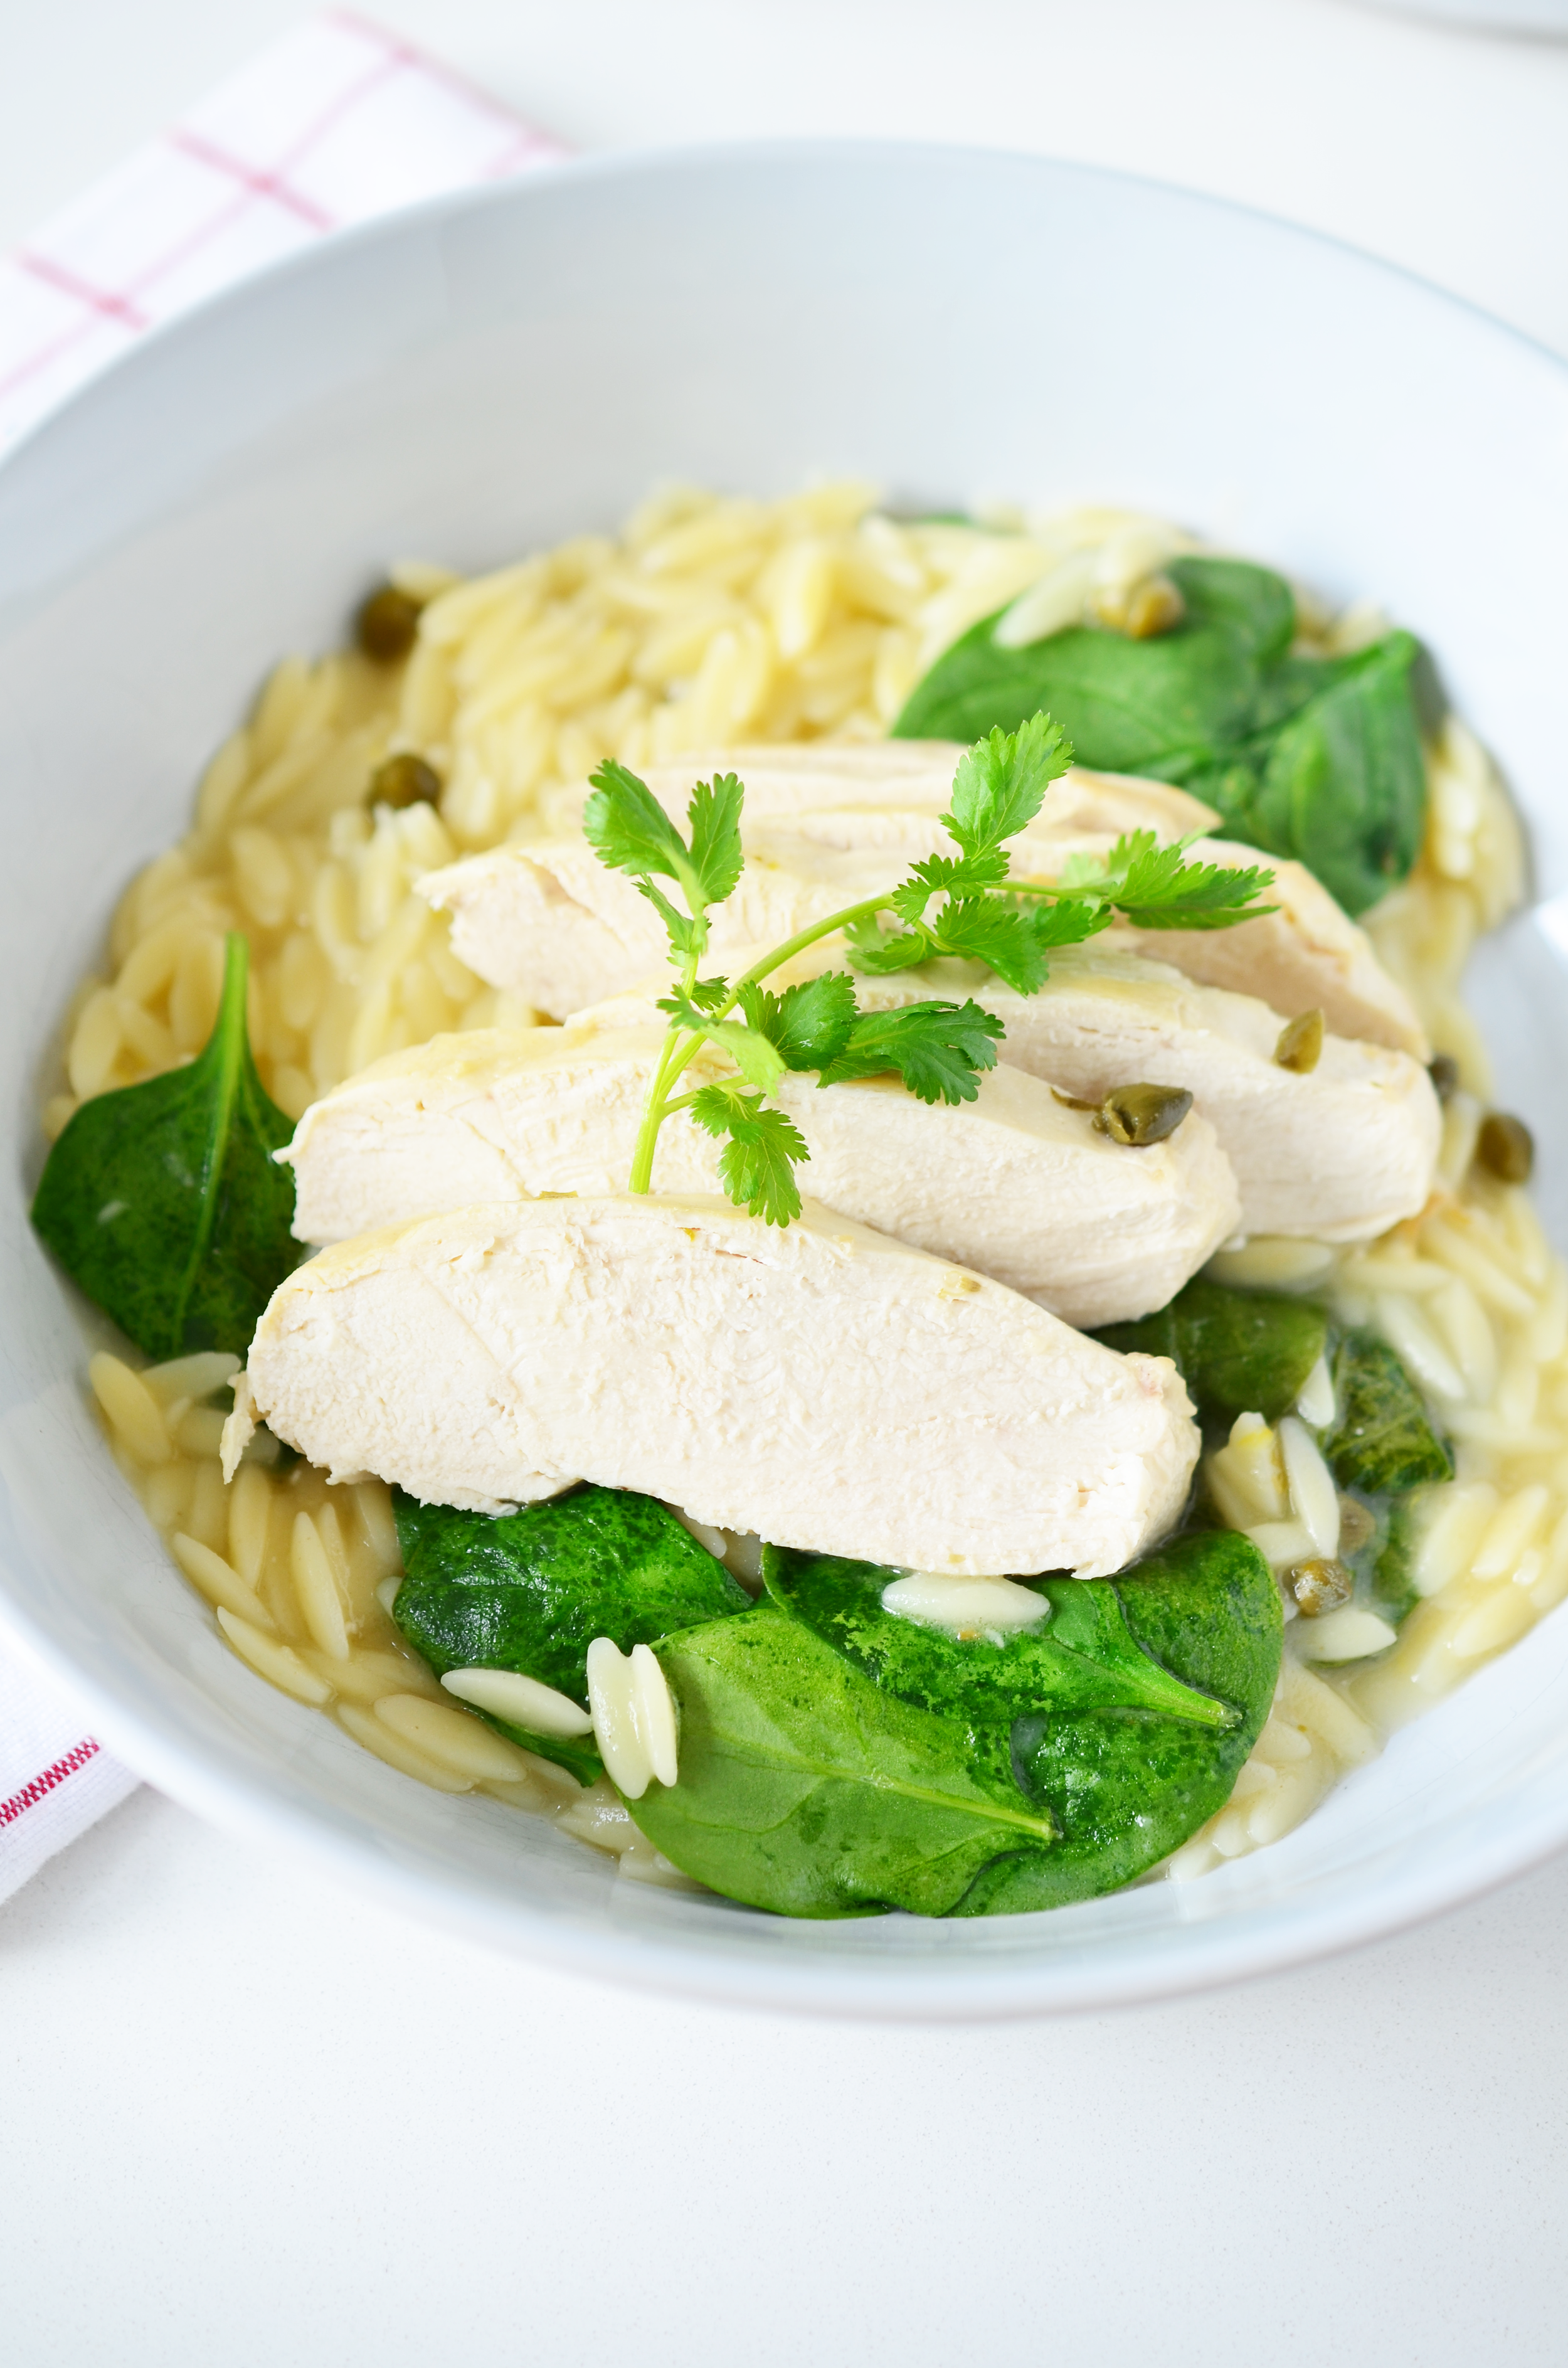
Lemon Caper Chicken with Orzo

The combination of lemon and capers is a family favorite. When I was growing up we loved it - and it turns out it’s genetic. This is easily a comfort dinner around our house. The sauce is perfectly pickled with the capers and a little of the caper brine and cut with the lemon zest and butter.

We are a dairy free/dairy light family so I use fake butter when I do this. And then this is a dish that would probably be epic with parmesan cheese. I’ve tried it - it is epic. But it’s not something I can serve our family. If you are a cheese family, blend a little in when you add the spinach and then top with more! You won’t regret it, unless you are dairy free and it wreaks havoc on your system!
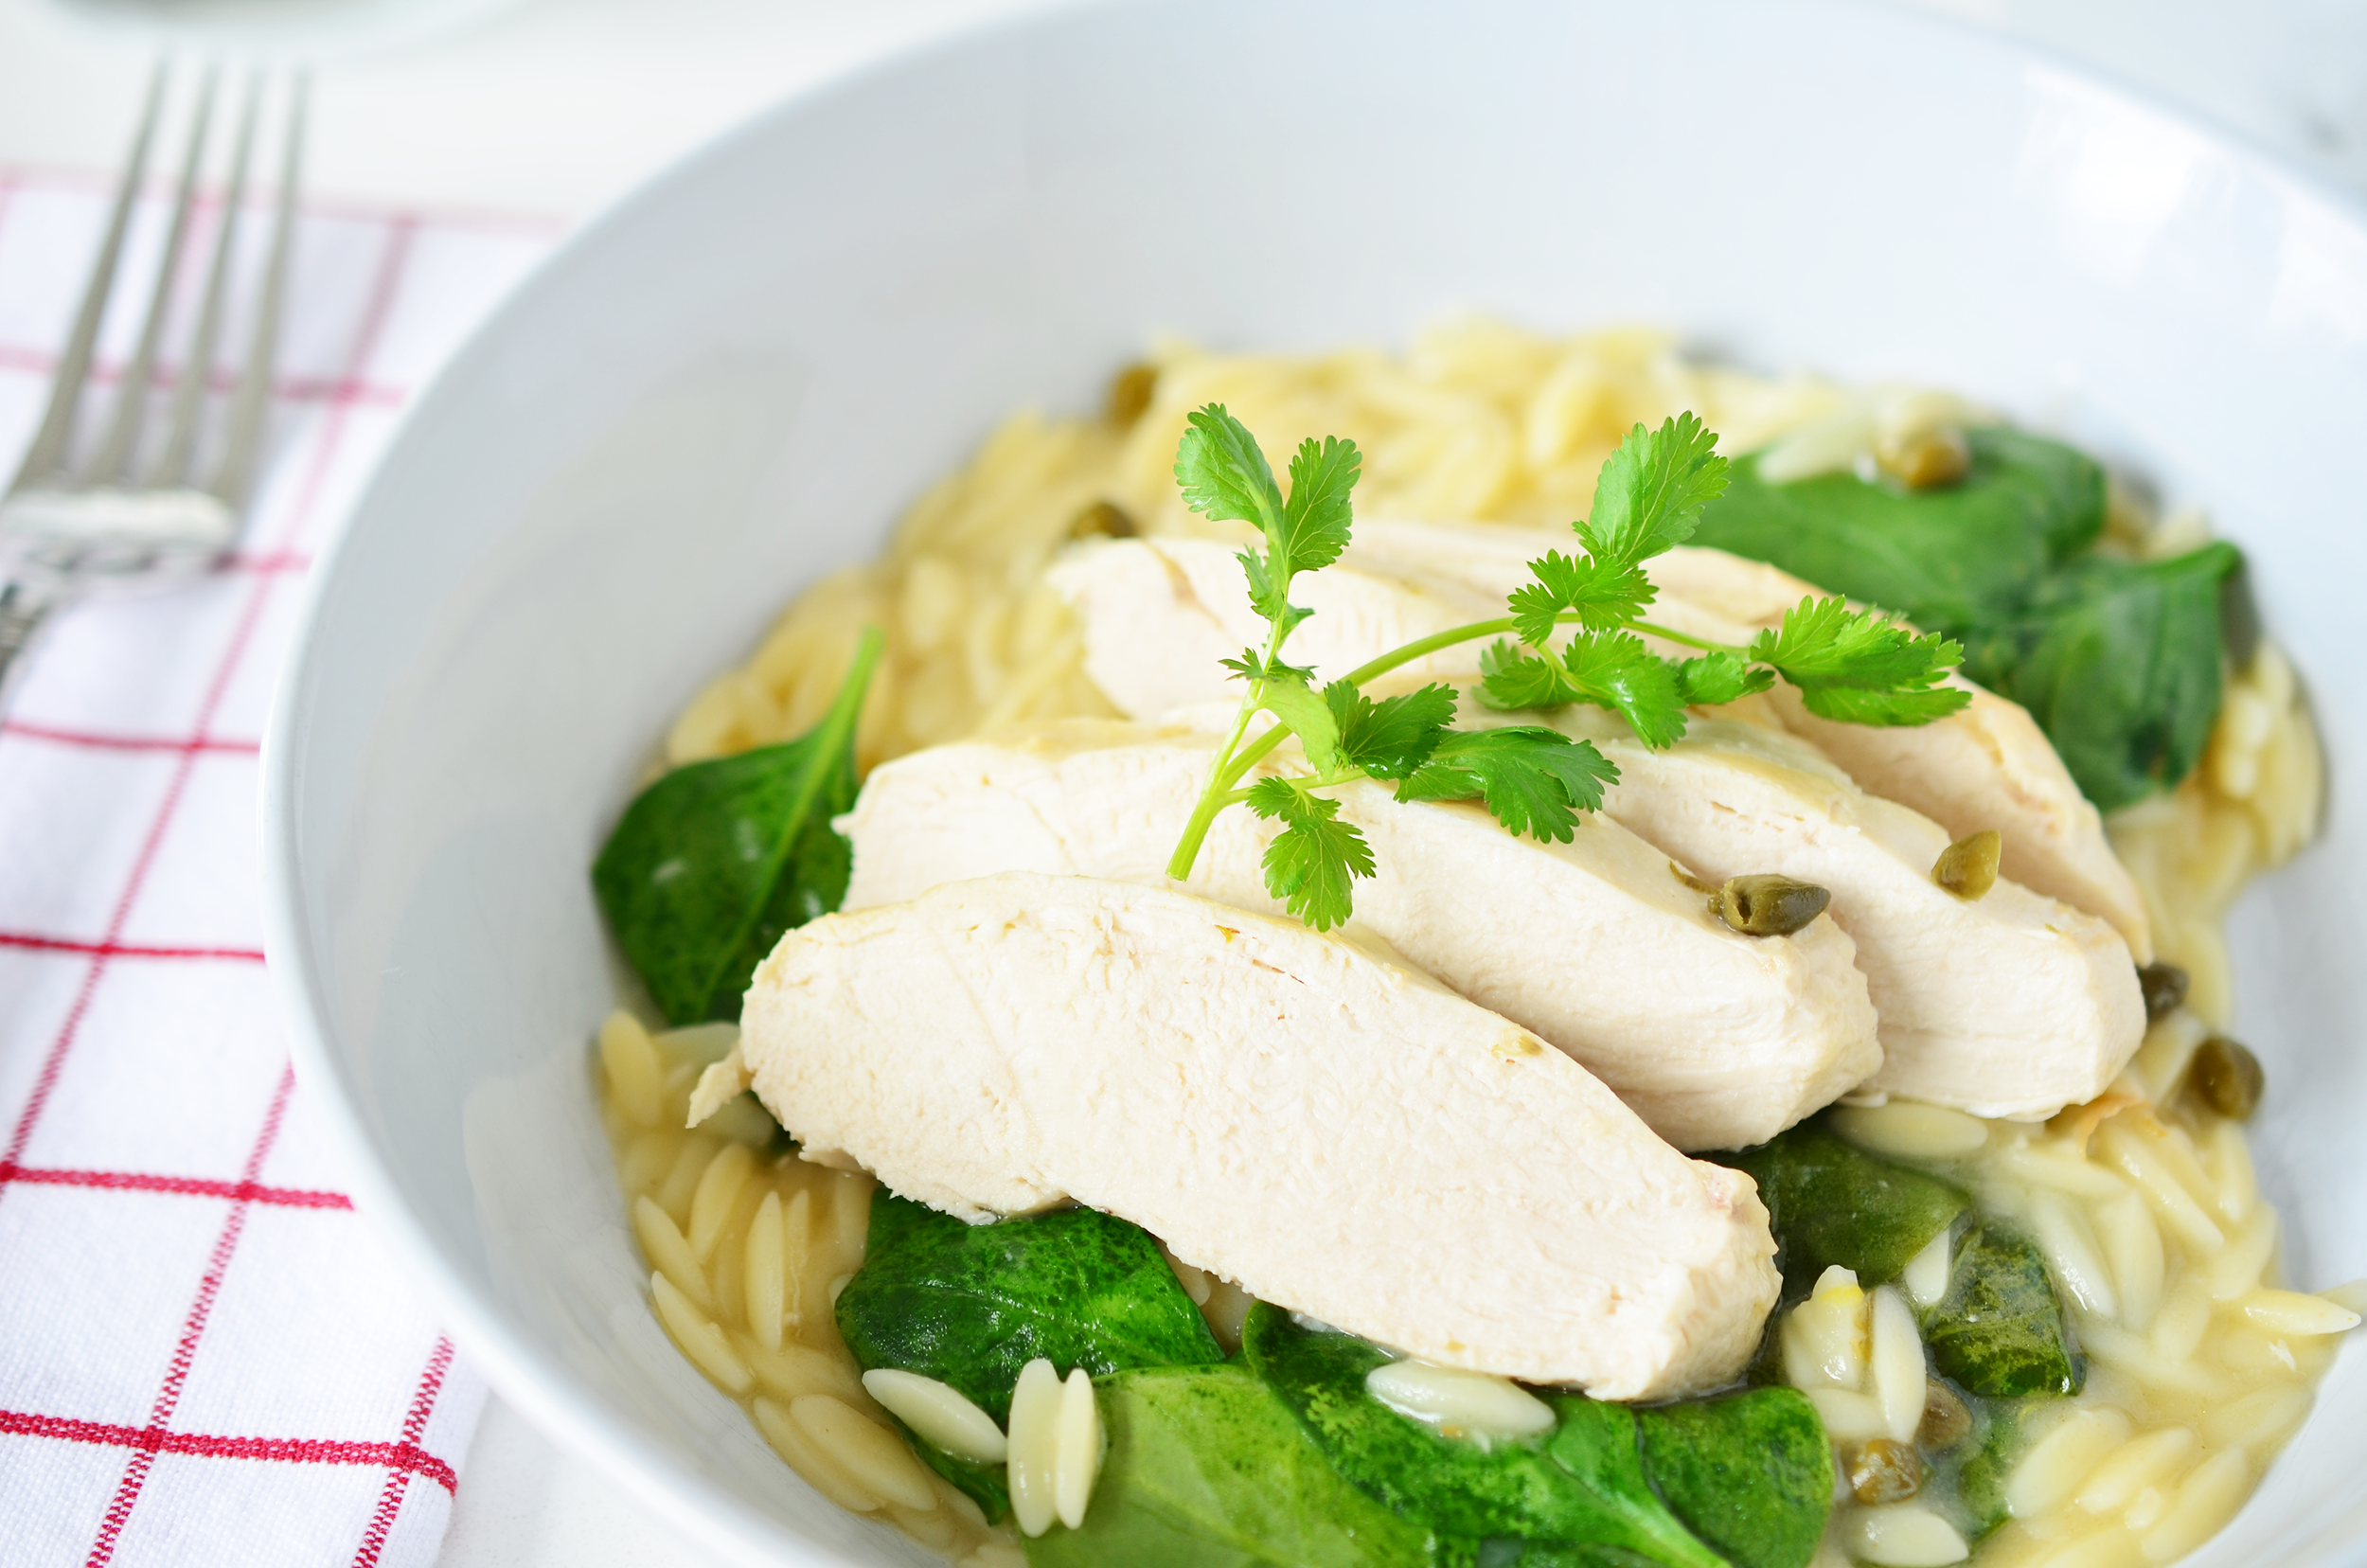
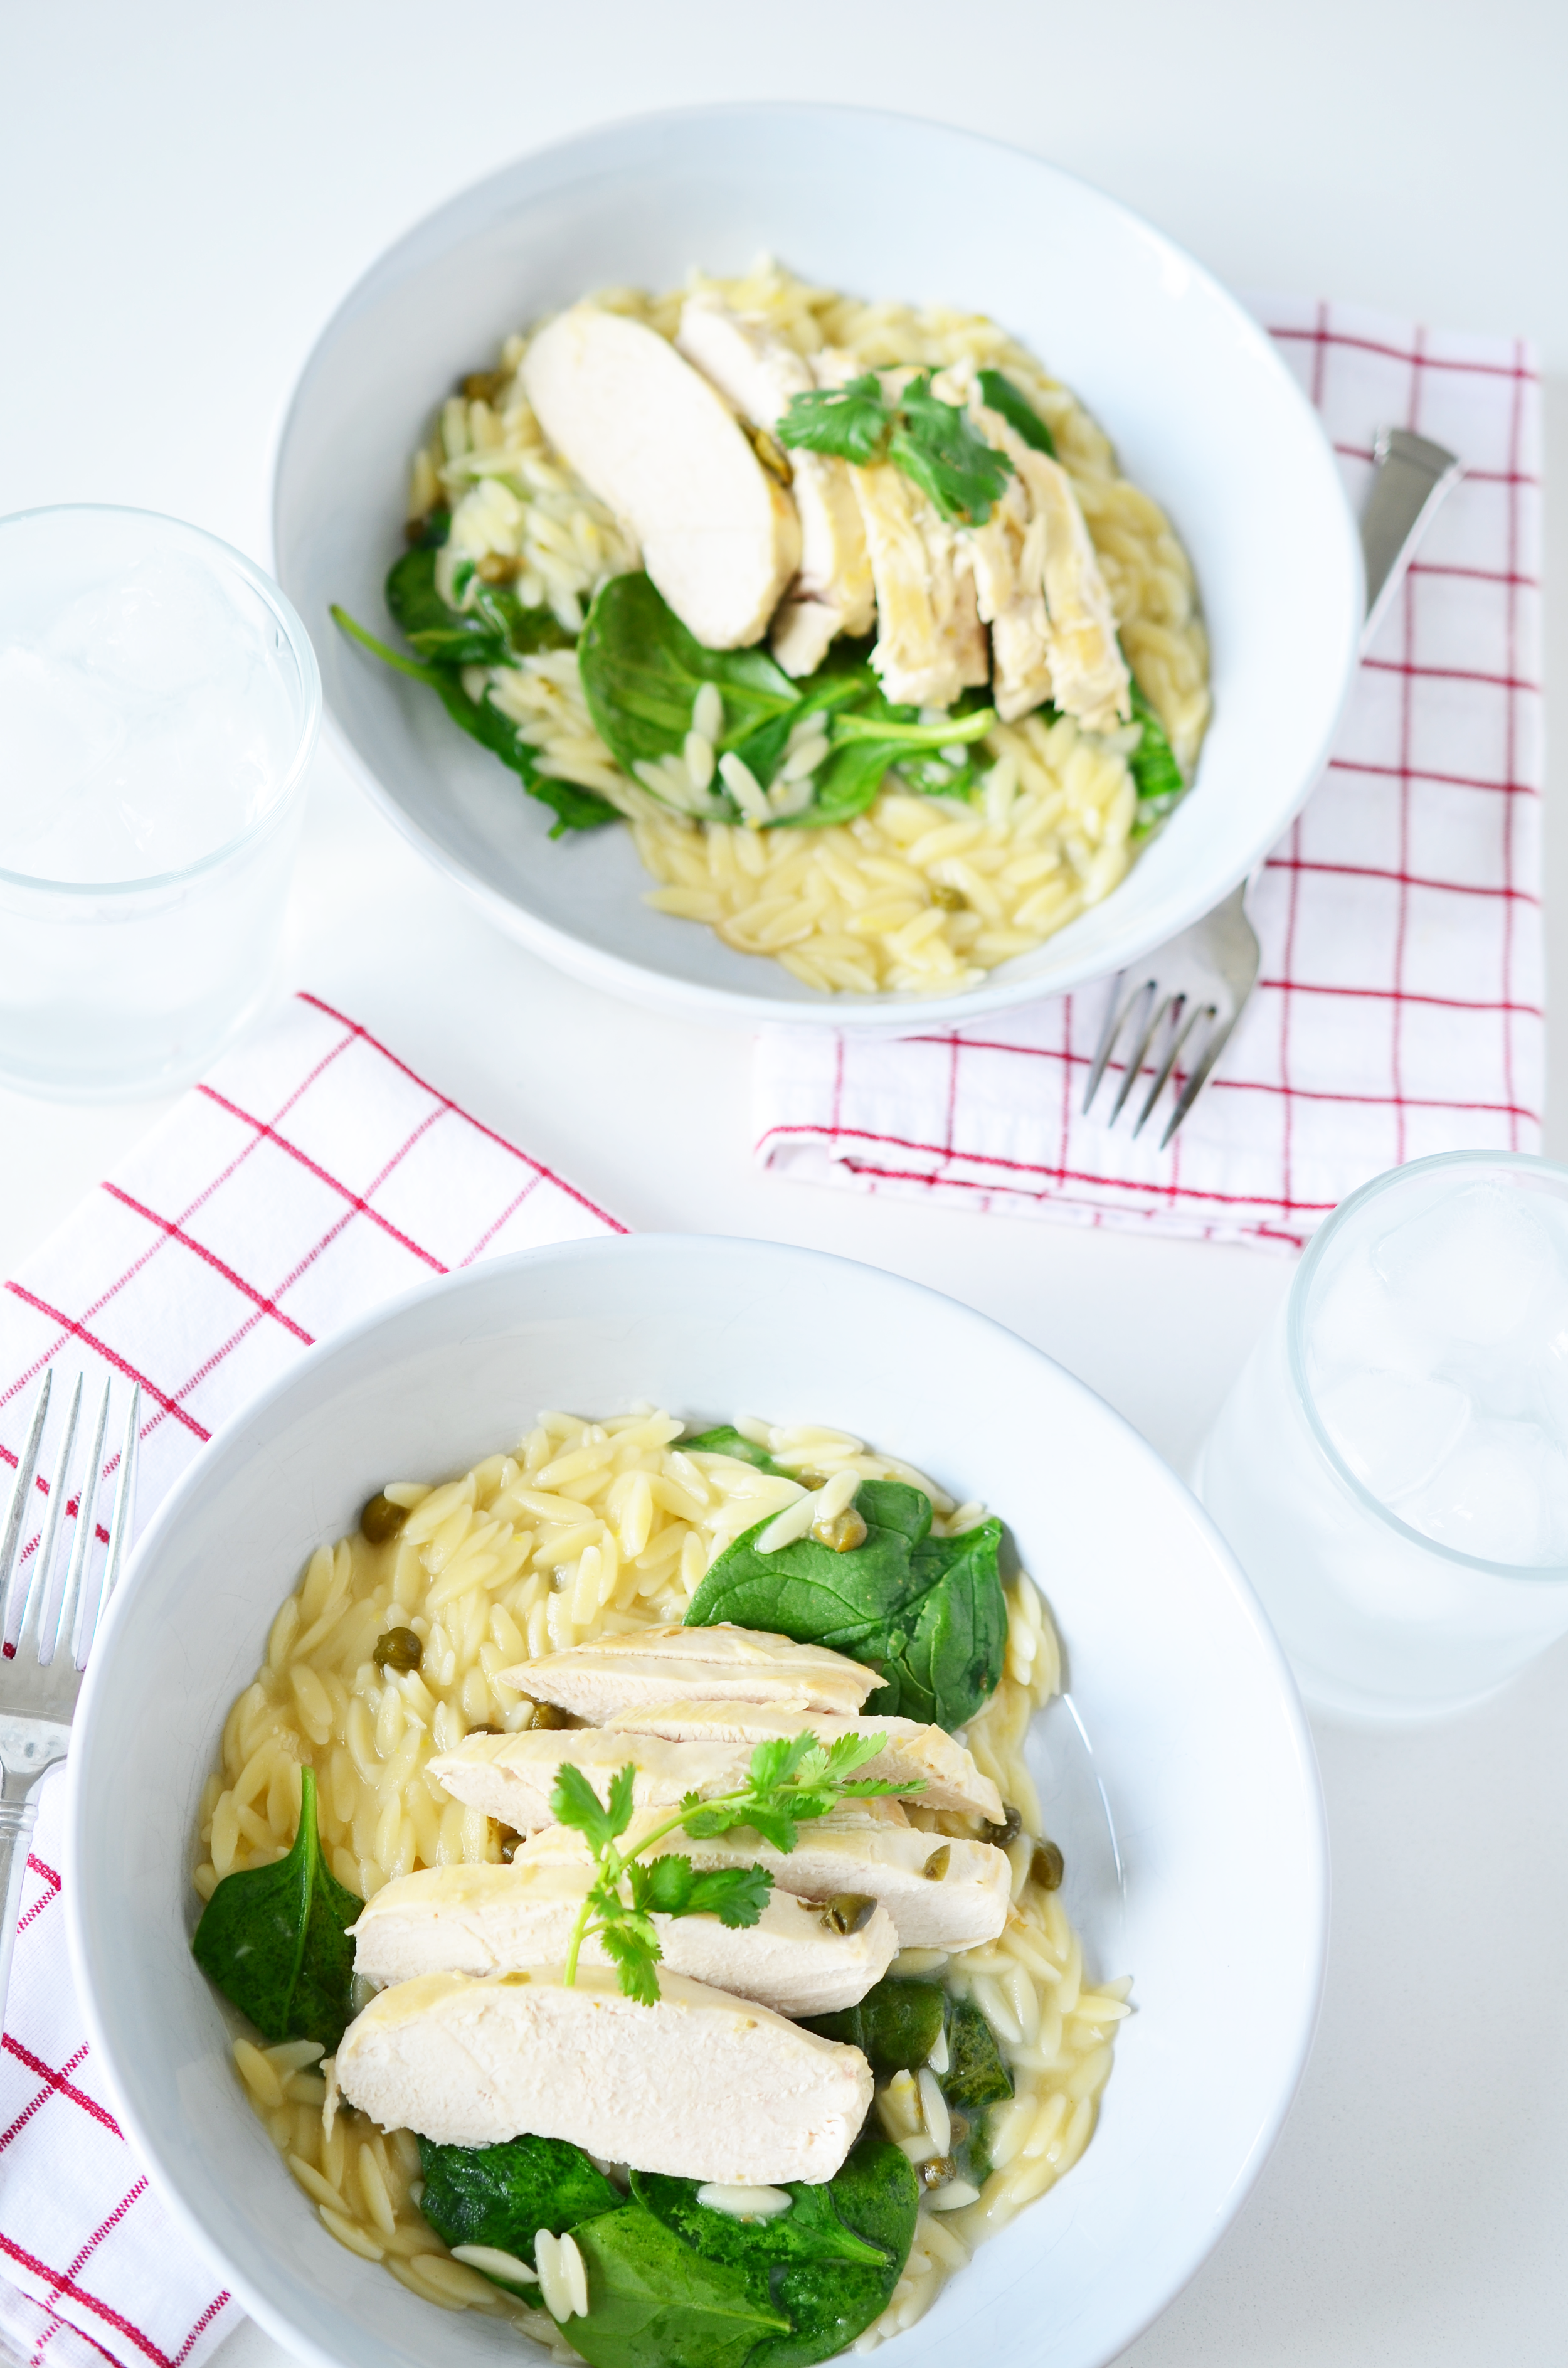
Lemon Caper Chicken with orzo is the perfect weeknight dinner  |  Ali Hedin

Lemon Caper Chicken with Orzo

serves 4

4 chicken breasts, pounded to even thickness (about 2 pounds)

2 tablespoons butter

2 tablespoons flour

1/2 cup white wine

zest of 1/2 lemon

juice of 1/2 lemon

2 tablespoons capers

1 clove garlic

1 tablespoon caper brine

1 1/2 cups chicken stock

1 cup orzo

2 cups spinach

olive oil

salt and pepper

parsley to garnish

STEP 1

Bring a pot of water to a boil. Brown the chicken on both sides and remove from pan. Don’t worry about cooking through. You’ll do that later.

STEP 2

Lower the heat and melt the butter in the pan and add the flour. Whisk until combined. Pour in the white wine. Whisk until thickened. Add the capers, lemon zest. lemon juice, and stock. Season with salt and pepper to taste. Stir.

STEP 3

Return chicken to the pan, keep the heat on low/medium and cover. Cook until the chicken is cooked through. It takes about 20 minutes. While that’s cooking - boil the orzo.

STEP 4

When the chicken is done, remove from the pan. Drain the orzo and toss it into the chicken pan - add the spinach and season with salt & pepper. Pour out into a serving bowl. Slice the chicken and serve it on top. Garnish with parsley freshly chopped.

*optional to top with parmesan cheese!

Homemade Cracker Jacks

I spend every weekend at the baseball field watching back to back baseball games. And several days a week at the batting cages watching batting practice. I started batting practice by reading a book and now I watch each swing to remind him to keep his front foot down; to keep his head down; to watch his wrists; to compare lengths we think the last ball went. We are a baseball family. I am a baseball mom. So it only seemed appropriate that I try to make America’s favorite snack for America’s favorite pastime. CRACKERJACKS!

It’s basically caramel corn with peanuts. It’s super simple and makes a huge batch so you can take it to your next game - double header - or batting practice - and share it with everyone!

Baseball Mom Ali Hedin makes delicious Homemade Cracker Jacks

Homemade Cracker Jacks


12 cups air popped pop corn (about 1/2 cup kernels)

1 ½ cups tightly packed brown sugar

¾ cup light corn syrup

¾ cup butter

1 teaspoon vanilla

1 cup spanish peanuts


STEP 1

Preheat oven to 300 degrees. Spread popcorn out on a lined baking sheet.  Line with either a sil-pat or buttered parchment paper. 

STEP 2

Place sugar, corn syrup, butter, and vanilla in a heavy bottomed sauce pan over medium heat and bring to a boil, stirring constantly until sugar dissolves.  Cook until a candy thermometer reaches 250 degrees.

STEP 3

Remove from heat and stir in the popcorn and peanuts. Spread out on a lined baking sheet and sprinkle the top with coarse salt.

STEP 4

Pop into the preheated oven and bake 50 minutes, stirring every 15 minutes, until caramel is set. Break into pieces and store in an airtight container for up to one week. 

Baseball Mom Ali Hedin makes delicious Homemade Cracker Jacks

Any Fruit Muffin

I make these muffins all the time. They are super simple and a fan favorite. They are literally the perfect muffin. We often have a big crowd at the beach over the summer and a dozen muffins fills a hole at breakfast. They are also great for menu planning for the week!

I started making these with berries that I had around. Then it turned to fall and I tried it with apples and cinnamon - totally worked great. So I kept trying all of the other fruits that I had on hand. It totally works every time. You cannot go wrong with these muffins! I gave some ideas for mix ins at the bottom so you can see what all of your options are!

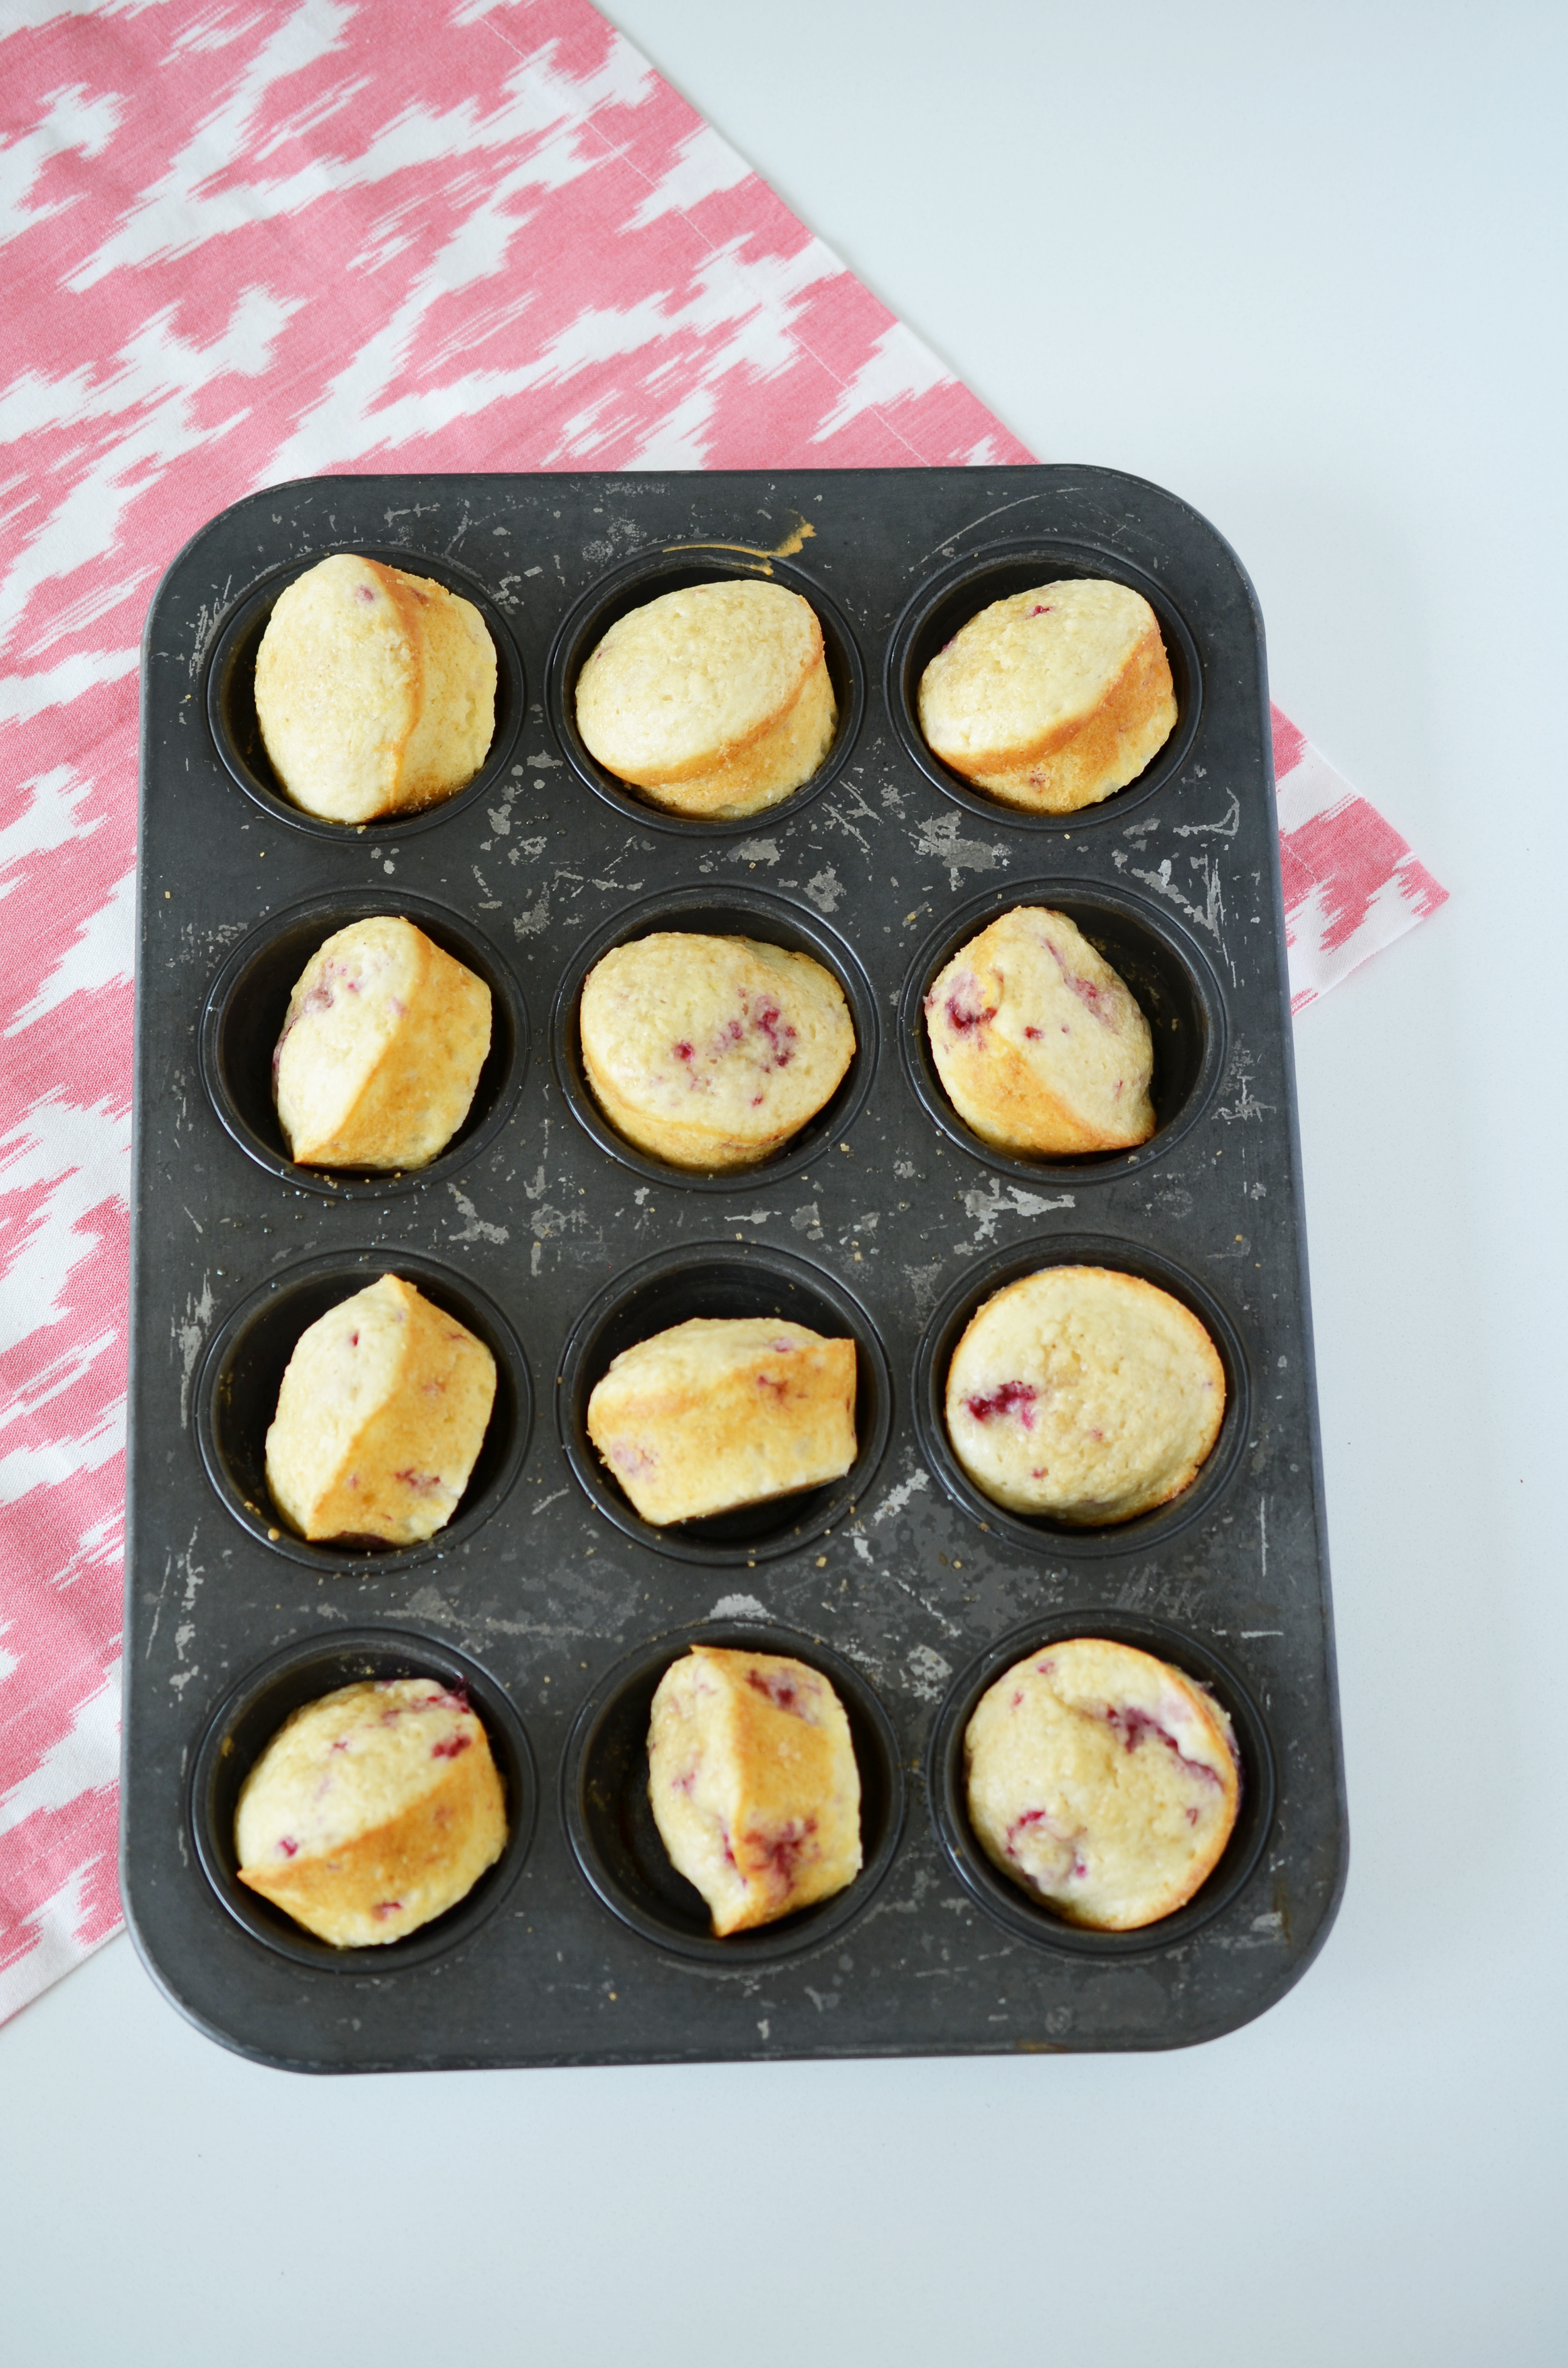
The perfect muffin you can make with any fruit | Ali Hedin

Options:

  • Apples + 1 teaspoon cinnamon

  • Blueberries + 1 teaspoon lemon zest

  • Strawberries

  • Clear out the fridge of all different berries

  • Raspberries

  • Blackberries + 1 teaspoon lemon zest

Any Fruit Muffin

makes one dozen


1 1/2 cups flour

1/2 cup sugar

2 teaspoons baking powder

1/3 cup canola oil

1 egg

1 teaspoon vanilla

1/2 cup milk

1/2 cup chopped fruit

1 cup sour cream or plain yogurt

2 tablespoons big chunky sugar of your choice


STEP 1

Preheat oven to 325 degrees. Grease the muffin tins. Combine together the flour, sugar and baking powder.


STEP 2

Whisk together the egg, oil, milk and vanilla. Combine the flour mixture with the egg mixture. Then fold in the yogurt.


STEP 3

Add the fruit and carefully stir in. Scoop evenly into the muffin tins.


STEP 4

Sprinkle the top with the crusty sugar of your choice and bake 15-20 minutes until a toothpick comes out clean.


Epic Pimento Cheese

Last year I discovered that it is perfectly acceptable in the south to put pimento cheese on white bread and call it a sandwich! A SANDWICH! Out of the very best cheese + squishy white bread. Who has been keeping this miracle from me?!

Ali Hedin Epic Pimento Dip for the Master's this weekend

I have a girlfriend who makes a version of this regularly for parties. It’s good, but there was something missing. That’s when I found out she doesn’t use mayo in hers. It’s the mayo that makes it a spreadable delight! And I know there will be discussion about the kind of mayo I choose. I cannot be talked out of my Best Foods mayo. I know there are lots of in the Duke’s camp. And they also can’t be swayed. So you use your mayo that you prefer. Just know that the correct mayo is Best Foods.

Ali Hedin Epic Pimento Dip for the Master's this weekend

I also use a hand mixer when I make this. It feels more authentic. The stand mixer is great. But doesn’t it feel like a good southern kitchen would use a hand mixer instead? And I like to be sure that I don’t over mix this. Using the freshly grated cheese can lead to clumping if you aren’t careful. The hand mixer lets you get in all the corners of the bowl. Which does let you mix it a little easier.

If you’re thinking of using pre shredded, shredded cheese, let me advise against it. Preshredded cheese get a little coating of potato starch or other starch to make sure it doesn’t clump in the package. I think the starch does something weird when you try to mix it all together - the cheese just doesn’t blend right.

At the Masters, they serve pimento cheese sandwiches. This is the most epic way you could possibly serve pimento cheese. But it’s also perfectly acceptable to serve with celery, Ritz crackers, salami - whatever else you like on a charcuterie board. But I can’t tell you how good it is on white bread.

Epic Pimento cheese Spread

2 cups freshly shredded cheese

8 ounces cream cheese, room temperature

1/2 cup mayonnaise

4 ounces pimento

1/2 jalapeño, shredded

1/2 teaspoon garlic powder

1/2 teaspoon cayenne pepper

1/2 teaspoon onion powder

2-4 shakes Tabasco sauce

STEP 1

Grate the cheese yourself. The combine the mayonnaise, cream cheese, and the grated cheese with a hand mixer or a stand mixer.

STEP 2

Grate in the jalapeño and add the pimento. Mix together.


STEP 3

Add the spices and mix one last time. Spread on white bread or eat with Ritz cracker and celery.

Ali Hedin Epic Pimento Dip for the Master's this weekend

The Very Best Strawberry Scones

I started making a scone recipe thinking a scone recipe couldn’t be too hard. I make a great cake, a great muffin and a TON of cookies that are great. So how hard could scones be?? Turns out I was wrong. Scones were harder to crack than I thought. And millions of recipes out there all do something different to make a scone. Doesn’t it seem like a scone is a scone?

Then I started cooking scones. A scone is not a scone. The first few batches tasted good, but boy were they ugly. And they could not replicate easily. So I kept going.

Turns out freezing butter is a big trend in the scone world. Do you know how hard it is to work with frozen butter?? And it does not stay frozen very long once you start working with it. It seemed to me that the idea of baking from cold - with cold butter - was the critical part of keeping things flaky and tender. Frozen, whipped, chilled, room temp, melted; I tried them all.

And then I arrived here! Cold butter is critical and then refrigerating the dough keeps the scones from spreading and losing their shape.

Since strawberries are just coming into season right now, this is the first fruit I tried with them. Over the summer I’m going to work on raspberries, blueberries, etc. and we’ll see if we can make these an ‘every fruit’ scone - which is the goal!

The Very Best Strawberry Scones

makes 8

1/2 cup milk

1 egg

1 teaspoon vanilla

2 1/2 cups flour

1/2 cup sugar

1/2 teaspoon baking powder

1/2 cup grated butter (very cold)

1/2 cup chopped strawberries

1/2 teaspoon cornstarch

1 egg yolk, beaten

turbinado sugar

STEP 1

Mix together the milk, egg and vanilla and set aside. In the bowl of a stand mixer or a large mixing bowl, combine together the flour, sugar and baking powder.

STEP 2

Blend the milk mixture into the flour mixture until loosely combined. Remove the bowl from the stand and add the butter. With your hands, fold the butter in by kneading the dough until the flour and butter are completely integrated. Use as few kneads as possible. Don’t overwork the dough!

STEP 3

Toss together the strawberries with the cornstarch. Fold them into the dough with three or four turns. Form into a 10 inch circle on a floured cutting board and pop in the fridge. Let it chill for at least one hour or up to overnight.

STEP 4

Preheat oven to 400 degrees. Remove the scones from the fridge and cut into eight triangles. Brush the top of each one with egg yolk and sprinkle with the turbinado sugar. Bake 20 minutes until golden brown on the edges. Let cool slightly before serving.

Tell me what you want to see in a scone? Have you had a good one somewhere that we should recreate?


Cheers to brunch

Toast with an espresso martini! And really kick up the morning.

Jalapeno Cheddar Burger

Who else is craving a little summer right now?

Jalapeno Cheddar Burger

with Roasted Potato Fries

Serves 4

2 lb ground chicken

1 jalapeño, grated on a microplaner

½ cup grated cheddar cheese

1 egg

½ cup panko

4 slices of cheddar cheese

½ cup pickled jalapeño

1 head Romaine lettuce

2 sliced tomato

2 large russet potatoes

¼ cup grated parmesan cheese

salt and pepper

4 hamburger buns

STEP 1

Preheat oven to 500 degrees

In a bowl, mix together chicken, chopped jalapeño, cheese, egg and panko.  Form into patties and let rest on a piece of waxed paper.

STEP 2

Cut the potatoes into ½ inch strips. Toss potato with salt, pepper and parmesan cheese.  Pop in the oven.  Roast 20 minutes until tender.

STEP 3

Cook patties in a skillet until done all the way through.  Or carefully grill them on the barbecue.  They are a little stickier than regular beef patties!  Be sure to grease the grill first.

STEP 4

Layer patties on buns with lettuce, tomato, cheese, and pickled jalapeños.  Serve with fries.


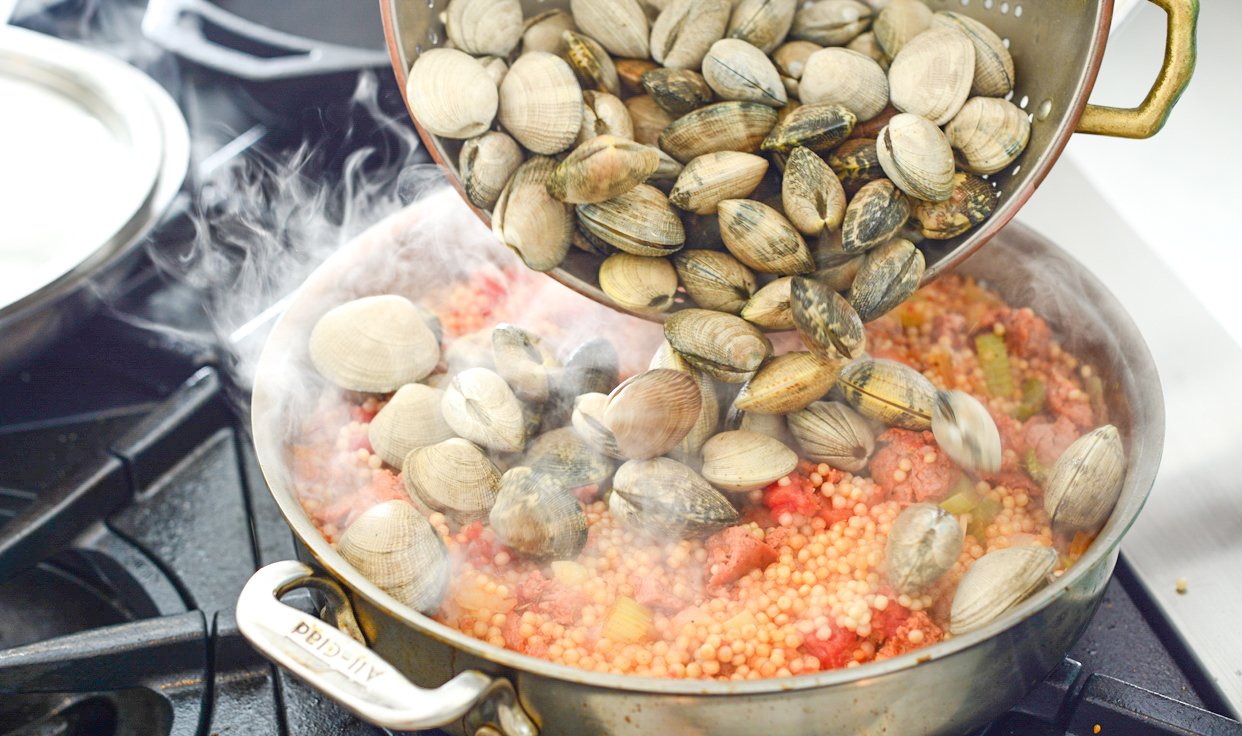
Spicy Clams with Israeli Couscous

I can honestly say that clams are my favorite food. I cannot eat enough clams. When we took a roadtrip down the Pacific Coast Highway years ago, I stopped and ate all of the clams. It was the best.

Because clams are so simple to make - they just need a little steam - we made all kinds of clams. The biggest hit on that trip was the simplest of clams. But the one that sticks out the most was a spicy clam dish we had in Northern California. It was spicy, filled with sausage and brought out the best in the clams.

Now, I pick up clams at the grocery stores and make the dishes of my dreams - but they’ll never compare to those clams on the PCH.

You’ll love these clams because they are so easy to make. The secret - which is actually the secret to everything I make - is the buy the best ingredients. Go to a reliable fish monger (I love Whole Foods for everything), pick out a local sausage, and don’t skimp when buying spices. When you only have a few ingredients, you need them to be the best ingredients.

Spicy Clams with Israeli Couscous

Serves 4


1 pound Andouille sausage

4 pounds manila clams, rinsed

1 onion, about 1 cup diced

4 stalks celery, about 1 cup diced

1 clove garlic, grated

1 tsp paprika

½ tsp dried thyme

2 tbs olive oil

½ cup vermouth

½ cup chicken stock

1-15oz can diced tomatoes

2 cups Israeli couscous


STEP 1

In a large flat pan over medium heat cook the celery, onions, and garlic in olive oil until translucent.  Add sausage and spices.  Cook, gently breaking up, until cooked through.


STEP 2

Add the vermouth, tomatoes, and couscous.  Cover with a lid, reduce heat to low and cook about 8 minutes until the couscous is nearly done. 


STEP 3

Stir gently making sure the couscous is not sticking to the bottom of the pan.  Nestle the clams in the center of the couscous and cook an additional 3 – 5 minutes until the clams have opened all the way.  Discard any clams that have not opened. 


Gin Rickey

A perfect cocktail alongside clams - and even better when the sun is shining (or we want the sun to be shining)

Joe's Special Frittata

Joe’s Special is a classic dish from San Francisco. It originated as a late night meal for bands at a little hole in the wall in the 1920s. It’s the perfect late night meal still!

When I was a kid, my dad would talk about the Joe’s Special he’d had in San Francisco and then make it for us at home. For me, without the mushrooms, but the rest of the family loves them, so I left them in for this recipe. It seems like most people like the mushrooms, I don’t see the allure. If you’re also not a fan, you can easily leave them out.

When I search the original recipes, the mushrooms and onions are optional. At my house growing up, they were not optional.

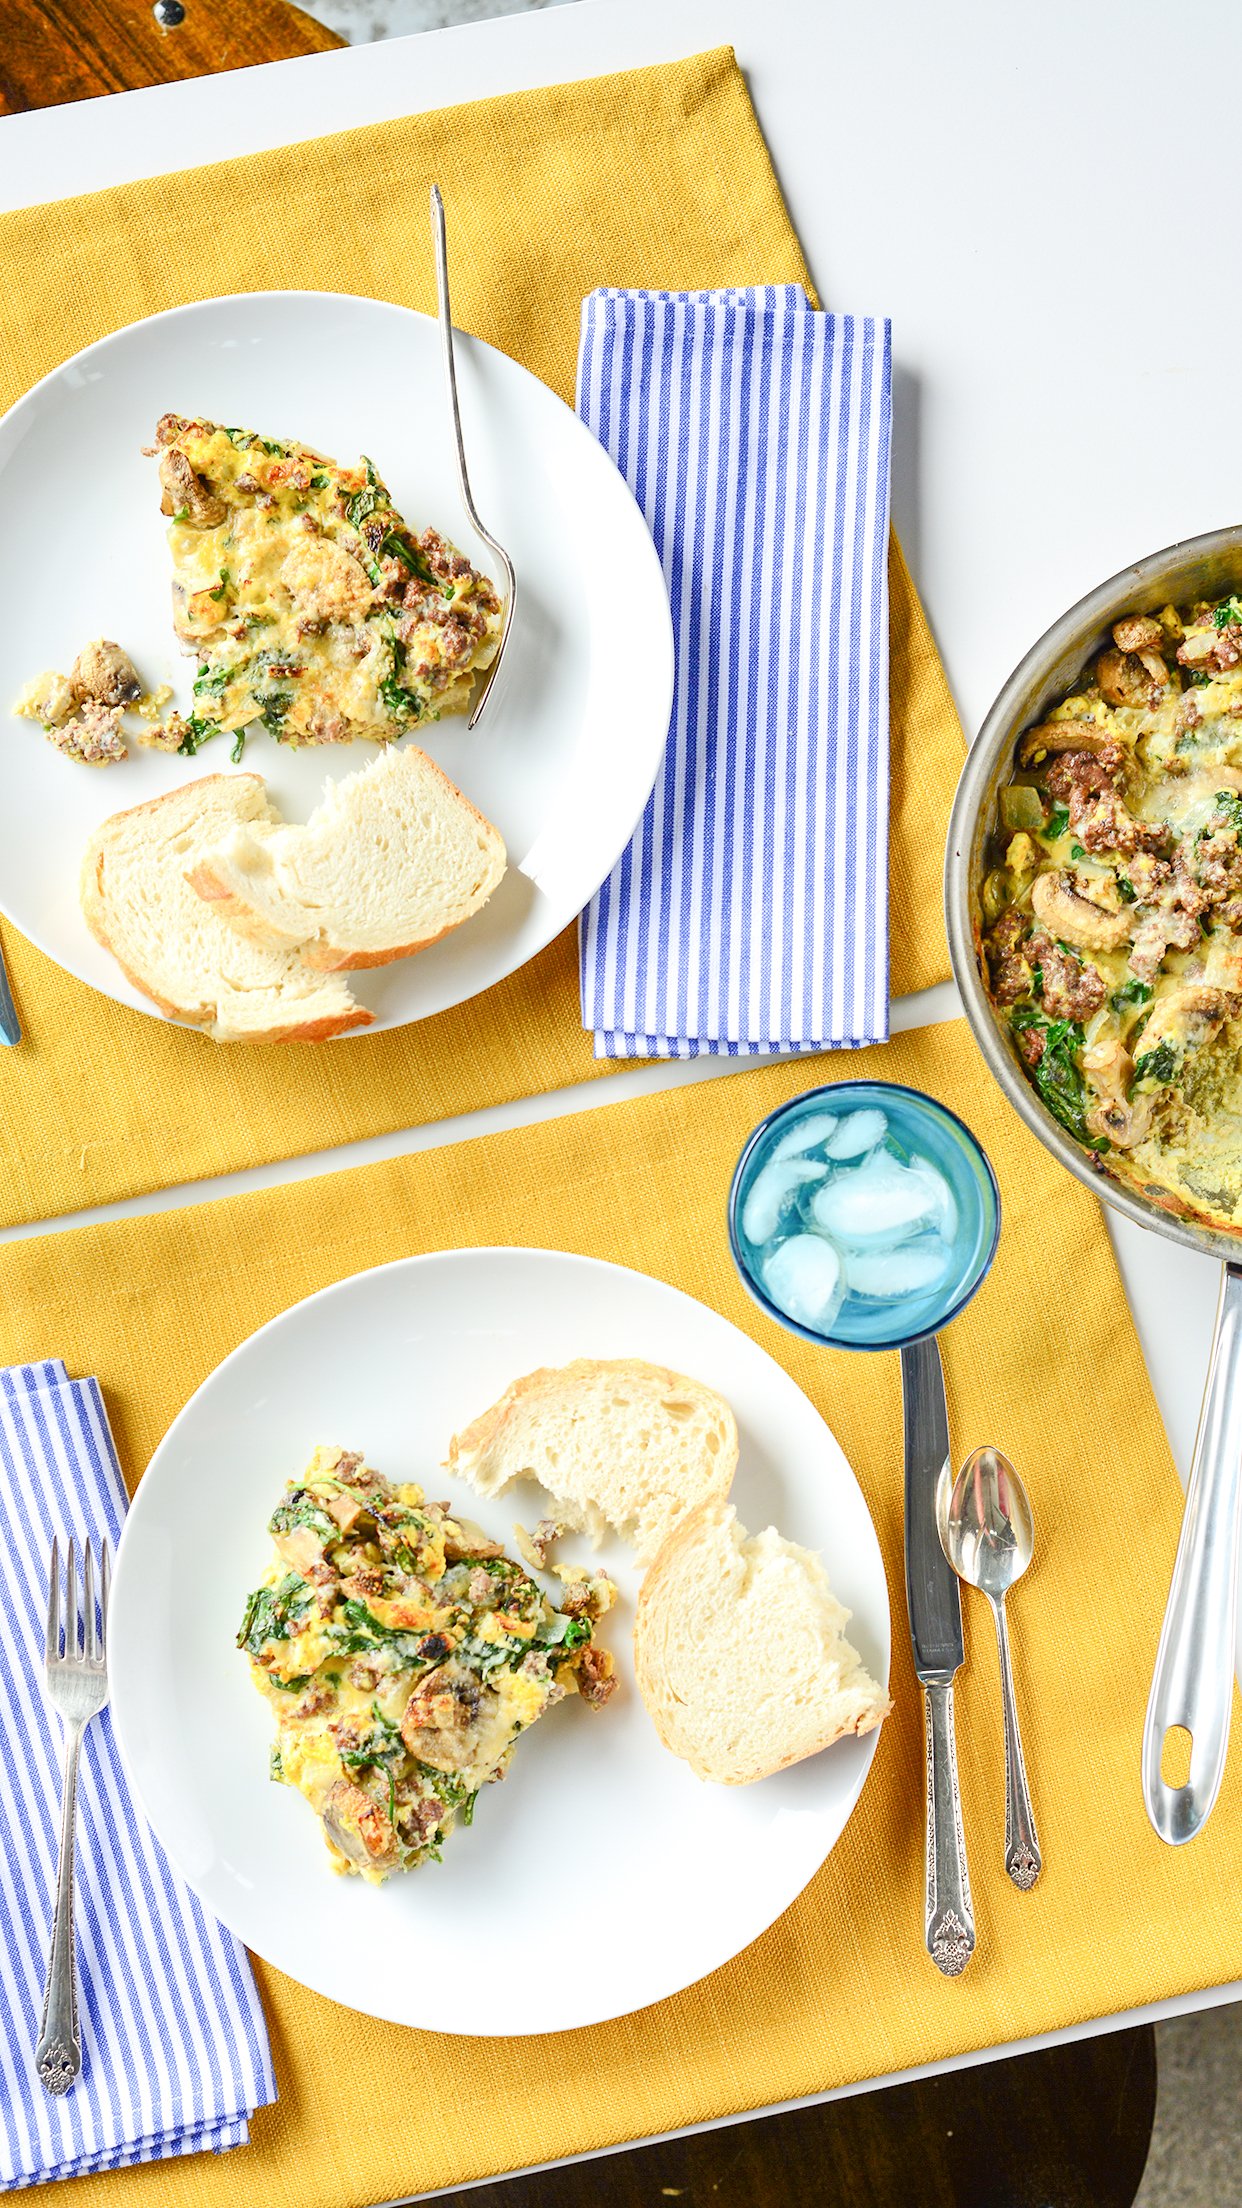
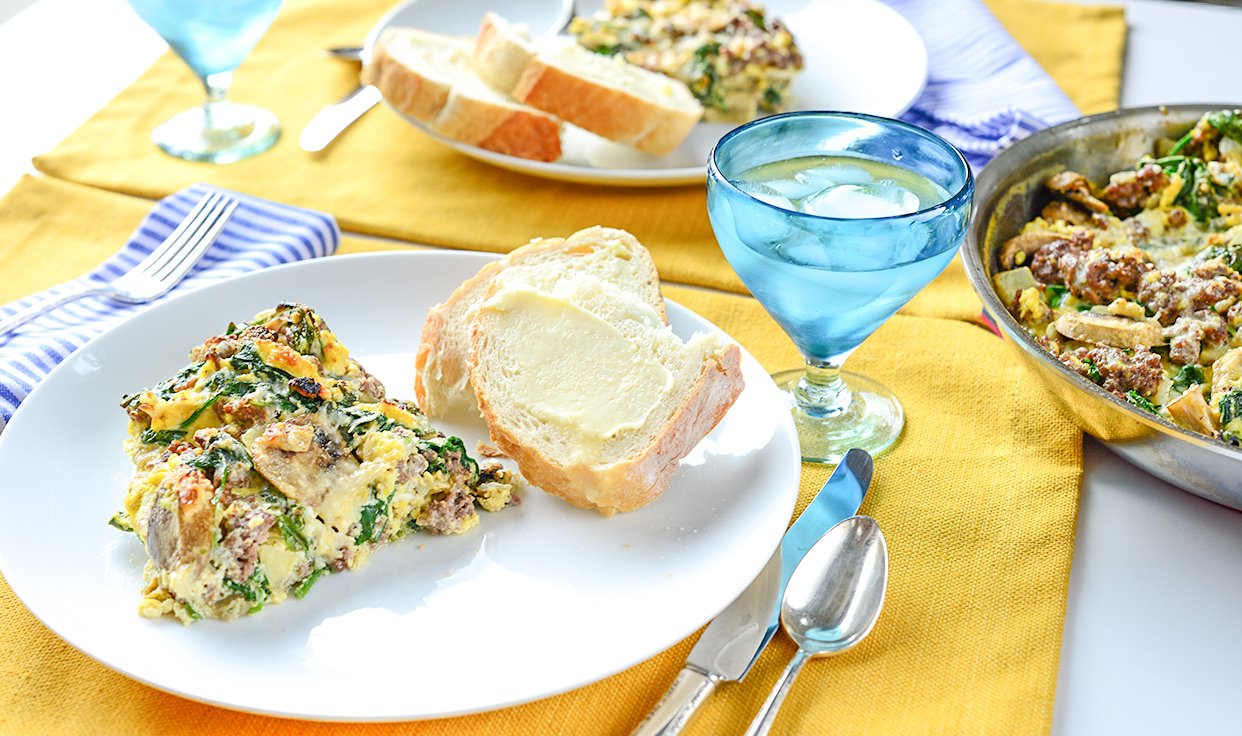
Super simple weeknight dinner | Joe's Special Frittata with Ali Hedin

This is clearly a great breakfast, but better - it’s a late night dinner. As baseball season ramps up, late night dinners are going to be a regular thing for us. If it’s not a practice night, it’s a game night. I think we have one night a week without something happening that keeps dinner from being at a reasonable time!

Joe’s Special Frittata

Serves 4


8 eggs

2 cloves garlic

1 onion, chopped

8oz ground beef

4 cups spinach (OZ)

4 oz white mushrooms

¼ cup parmesan cheese

1 tsp oregano

Salt & Pepper


STEP 1

Preheat broiler to 500.  In a large skillet, brown ground beef with onion, garlic, oregano.  Season with salt and pepper. 


STEP 2

Add spinach and mushrooms and cook until wilted. 


STEP 3

Beat eggs and pour them into the pan.  Stir until cooked about halfway through.


STEP 4

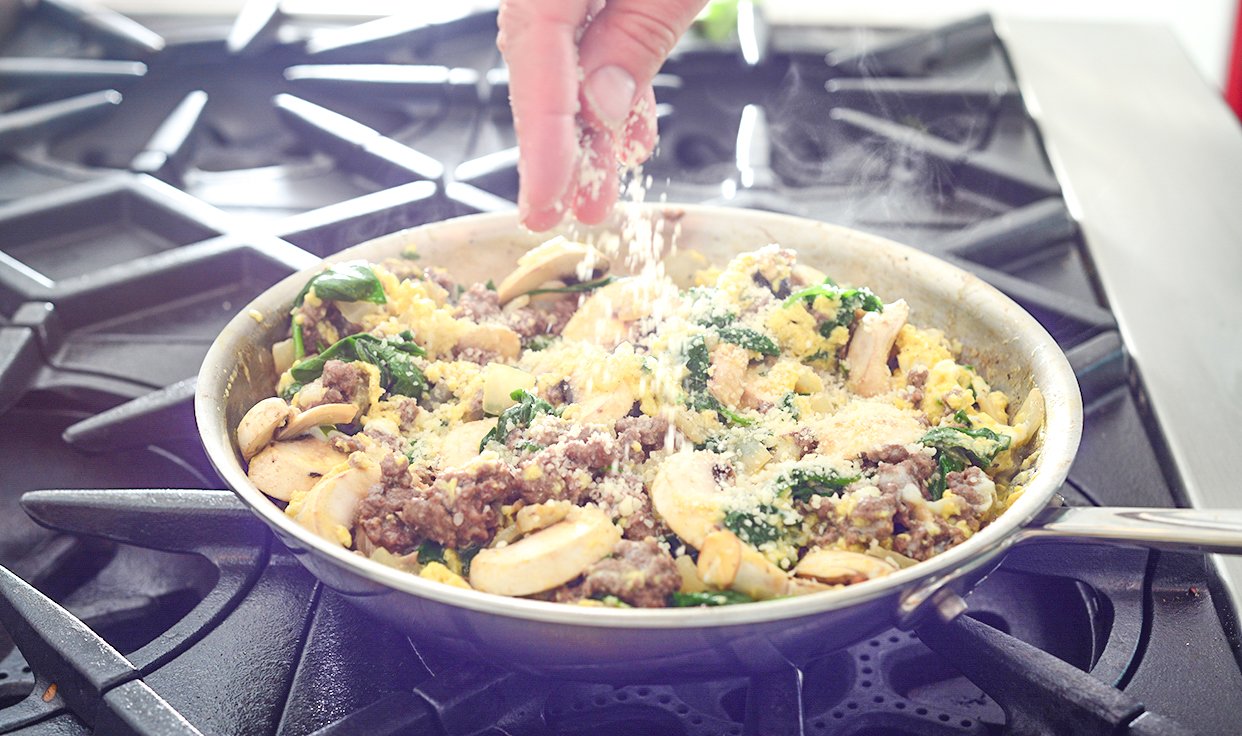
Sprinkle parmesan cheese on top and pop into the preheated broiler.  Cook until bubbly and browned on top. 


Irish Soda Bread Scones
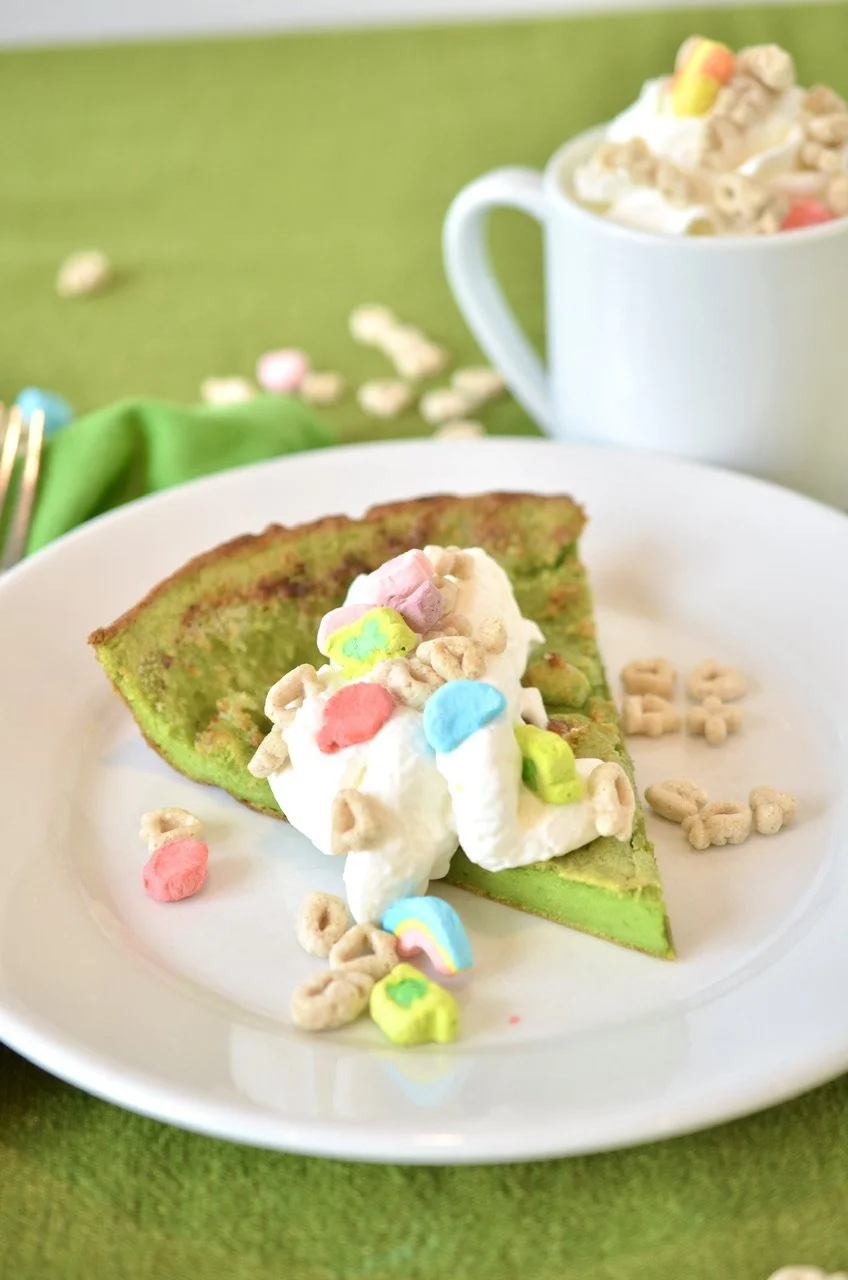
Irish Soda Bread Scones for St. Patrick's Day Breakfast | Ali Hedin

Every year I make an Irish soda bread for St. Patrick’s Day and EVERY year I forget it takes 40 minutes (or more!) to make. Then, a few years ago, I thought about making mini loaves and that train of thought quickly went to scones. Scones are basically mini bread loaves - and when you’re making bread that’s based in buttermilk and cold butter - you are LITERALLY making scones!

Scones are buttermilk or cream + cold butter + flour + your favorite fruit. It could not be simpler. And the recipe could not read more like an Irish Soda Bread recipe - they are so close to the same recipe.

It makes turning one into the other painfully simple.

Here are the secrets

  • Use frozen butter and grate it on a cheese grater. You need tiny curls of butter

  • Don’t let the dough warm up - either work fast or pop them in the fridge before baking

  • Don’t overwork the dough. You’re going to knead it a few times and then let it go. They won’t be perfectly smooth and that’s ok.

Irish Soda Bread Scones

makes 8-12


1/2 cup buttermilk

1 egg

1 egg yolk

2 1/2 cups flour

1/2 cup sugar

1/2 teaspoon salt

1/2 tablespoon baking powder

1 teaspoon caraway seeds

1/2 cup frozen butter, grated

1/2 cup currants

1 tablespoon heavy cream (or an egg yolk) for brushing the top


STEP 1

Preheat oven to 400 degrees. Mix together the buttermilk, egg and egg yolk and set aside.


STEP 2

Combine flour, sugar, baking power, and currants in the bowl of a stand mixer. Grate the butter into the flour. Turn on the mixer and combine until almost mixed but there will still be some flour in the bowl (about 1/2 cup should be remaining.


STEP 3

Turn out the dough and knead it 5-6 times until the flour is combined into the dough. Form the dough into a 12 inch circle. Slice into 8-12 triangles.


STEP 4

If the dough does not feel cold to the touch, pop the scones into the fridge and let them rest for 10-15 minutes. If they are still cool, then place the scones on a baking sheet lined with parchment and brush the top with cream.


STEP 5

Bake 20 minutes until brown on the edges. Serve warm with butter.


Irish Cocoa

The perfect side to a perfectly Irish breakfast. And topped with Lucky Charms, it’s actually the cutest spiked cocoa you ever did see,

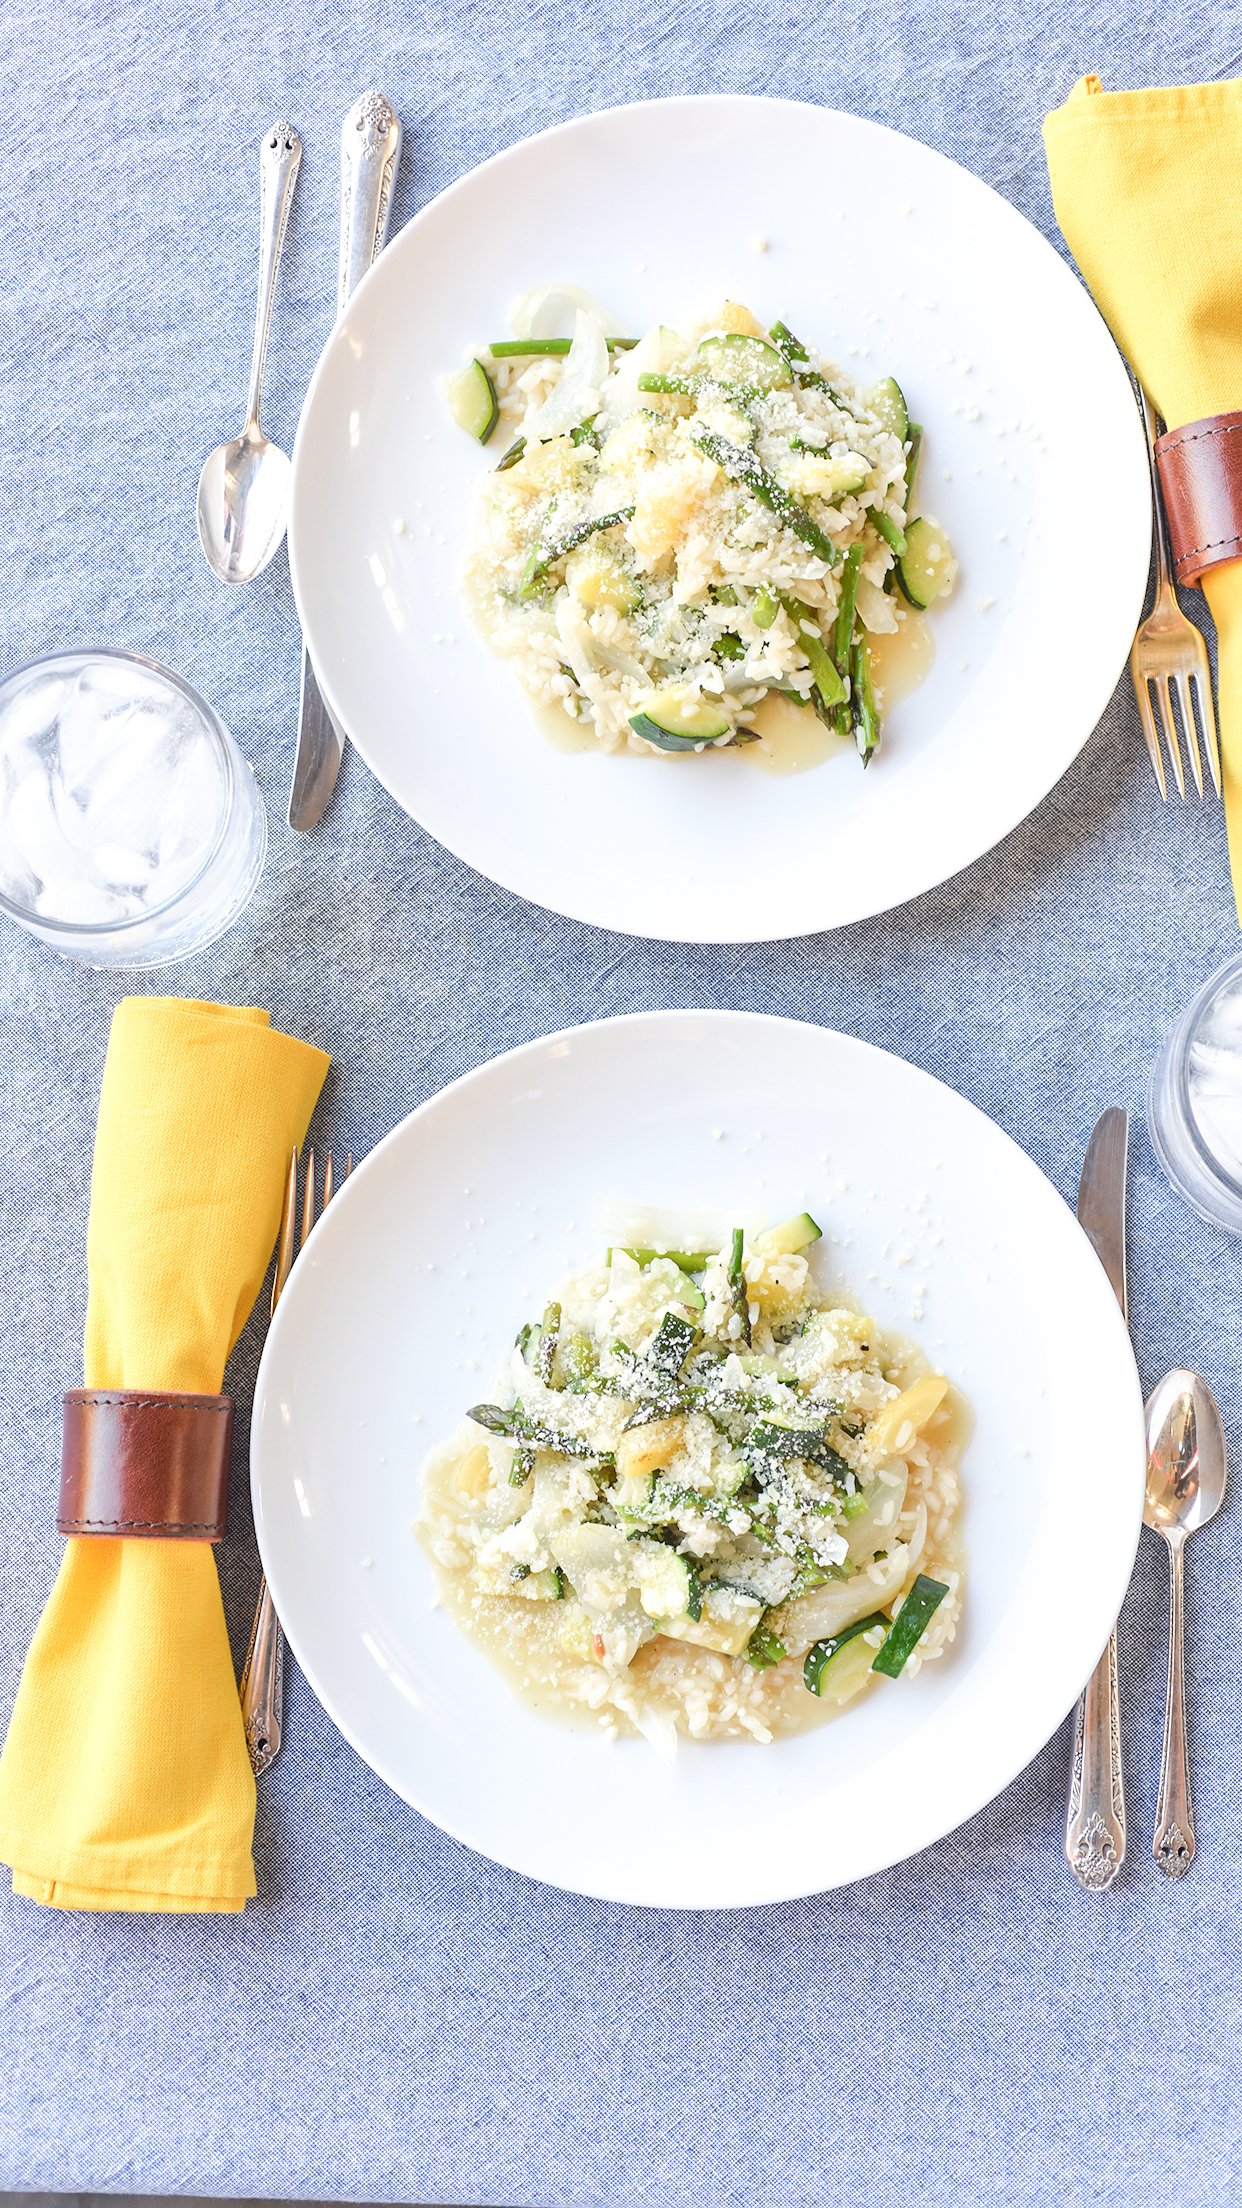
Preserved Lemon Risotto with asparagus & zucchini

I buy loads of food on vacation. I love finding things that I might not usually cook with - and sometimes things I do - and pick them up somewhere unique. Artichoke hearts in Rome, tomato paste in Venice, salt in Hawaii, and preserved lemons from Palm Springs - but sometimes I’m at a loss for what to do with them once I get home.

Preserved lemons are surprisingly simple to cook with - they go with almost anything but can feel intimidating. This risotto is the perfect introduction to using preserved lemons. And then you can graduate to more complicated recipes later - or not.

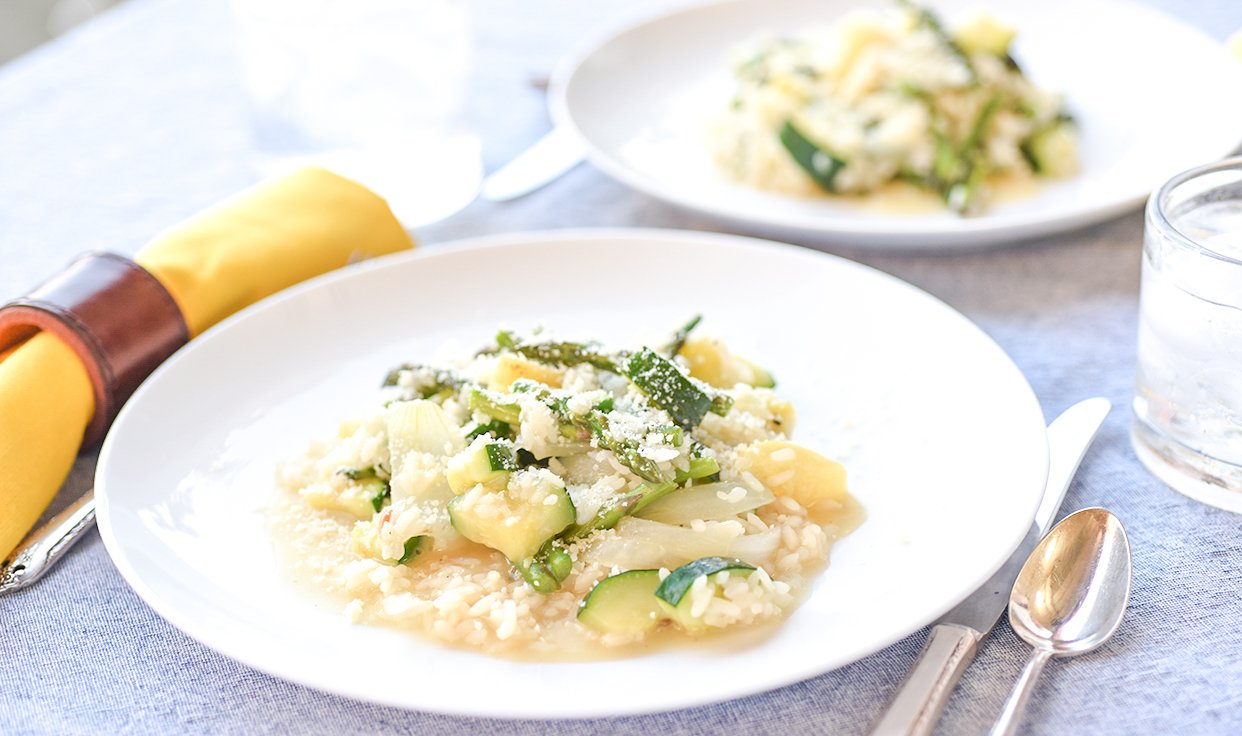
Preserved Lemon Risotto with spring vegetables by Ali Hedin

Preserved Lemon Risotto

With asparagus and zucchini

Serves 4


1 bunch asparagus, chopped

½ preserved lemon, drained and chopped

1 zucchini, chopped

1 onion, chopped

¼ cup butter, divided

¼ cup olive oil, divided

2 cup Arborio rice

6 cups room temperature vegetable stock

1 cup parmesan cheese

salt and pepper


STEP 1

Heat 2 tablespoons of butter and 2 tablespoons of olive oil over medium heat.  Add the onions zucchini, and asparagus.  Cook 5 minutes until slightly browned and tender.  Remove from the pan and set aside.


STEP 2

Add two tablespoons olive oil and rice to the pan - stir until coated with oil.  Pour in one cup of chicken stock and stir until completely incorporated.  When most of the stock has dissolved, add another cup of stock.  Continue until all of the stock has been added.  Season to taste with salt and pepper.


STEP 3

Remove from heat and stir in remaining butter, Parmesan cheese, and reserved asparagus and preserved lemons.


Cucumber Mint Cocktail

The perfect spring cocktail! There’s literally nothing better for your spring cocktail hour.