Mac Salad (for people who hate mac salad)
Mac Salad for people who don't like Mac Salad | Ali Hedin

I will tell you that I think salad and mayonaisse are contrasting ideas. A “salad” should not include mayo in its ingredients! It’s not even a little healthy with it - and the concept of a salad (to me) is healthy. So I have protested a mac salad repeatedly for years. But every summer we host a luau at our beach house and you cannot serve Hawaiian plate lunch without mac salad! So we started researching and came up with a version that is just like you might get on a plate lunch, but with way less mayo. If you love a traditional mac salad, then take a minute before judging this one. It’s not traditional. It’s a noodle salad for the rest of us!

Mac Salad for people who don't like Mac Salad | Ali Hedin

Mac salad is always served on a Hawaiian plate lunch. Plate lunch is my favorite thing ever. I usually get teriyaki chicken or chicken katsu - and a little mac salad on the side is actually quite delicious. This version is delightful with a plate lunch without being gloopy. I think you’ll like it no matter what your traditional mac salad preference is!

Mac Salad for people who don't like Mac Salad | Ali Hedin

Mac Salad (for people who don’t like Mac Salad)

serves 4

1 cup macaroni noodles

1 tablespoon apple cider vinegar

1/2 cup mayonnaise

2 tablespoons milk

1 teaspoon sugar

1/4 cup shredded carrot

2 green onions, chopped

salt & pepper

STEP 1

Boil the noodles and drain when they are cooked. Immediately toss with apple cider vinegar and set aside.

STEP 2

In the bottom of a mixing bowl, combine mayo, milk and sugar. Add the noodles, carrot and green onion. Toss to coat with the dressing. Season with salt and pepper to taste.

STEP 3

REFRIGERATE! It must sit for at least one hour. Otherwise it’s not good and we’re going for surprisingly good.

*Note - I use almond milk instead of regular milk and no one has ever noticed the difference. We’ve also used vegan mayo in the past to avoid eggs. Any of those substitutions work just fine.


Herbs de Province Chicken & Grilled Peaches

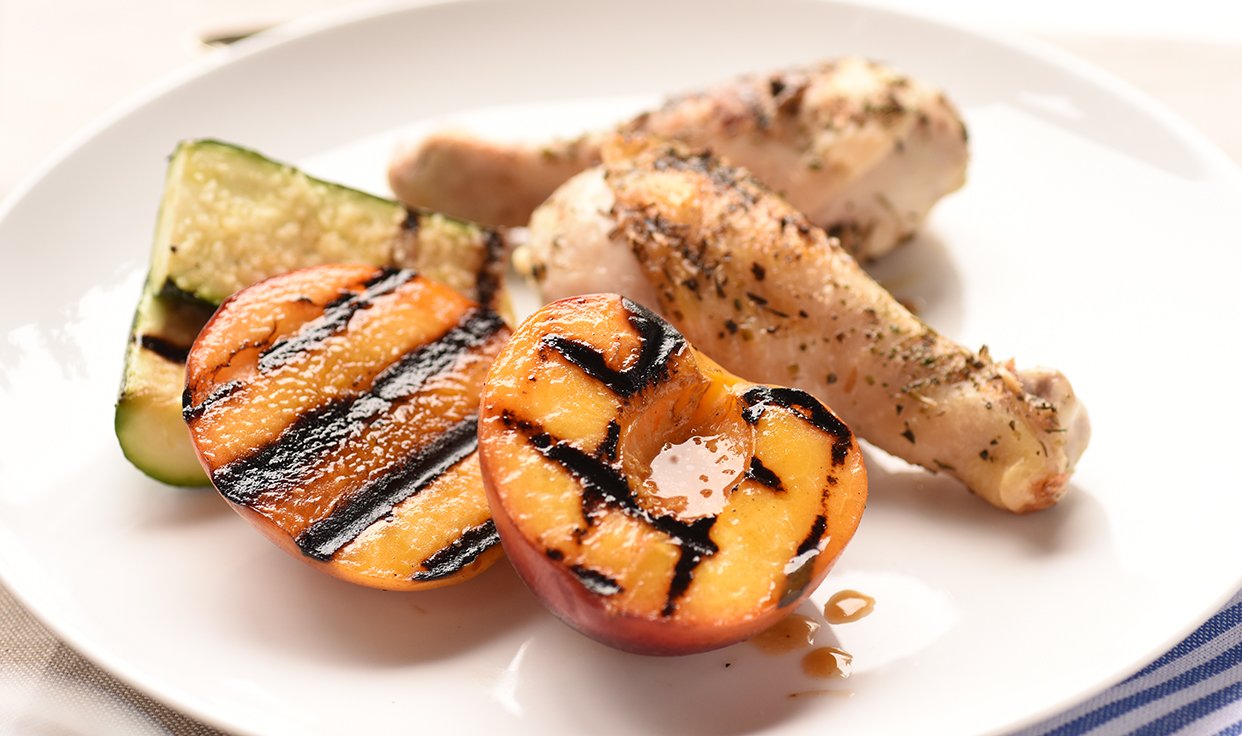
Have you grilled your peaches yet?? You are going to love it if you haven’t - the grill caramelizes the sugars in the peach and it’s so good. This dinner is so simple because it relies on good ingredients and it takes almost no time.

It’s ridiculous to learn that if you have good ingredients, then you don’t need a lot of ingredients. I read an article by Ruth Reichl recently where she talked about the joy of discovering what good fresh ingredients taste like. She grew up in a non-foodie household where the joys of canned foods of the 1950’s reigned in her house. As she left home and explored the world, she uncovered the delights of French cheeses, Italian wines, Swiss chocolate, and everything else the world has to offer. But the central theme of her essay was when she discovered Americans making high quality products that rivaled or beat the imported versions.

I grew up in a ‘quality ingredient’ household but got to eat at friends houses where Tuna Casseroles and Chicken Ala King were on the table. I was so jealous. I worked to make some of those comfort recipes when I first started cooking on my own. As I got better, and ate more, I realized that the fewer ingredients, the easier it was and the better it tasted. And the quality of the ingredients is critical when you’re using fewer.

Simple summer grilling dinner - Herbs de Province Chicken on the grill | Ali Hedin

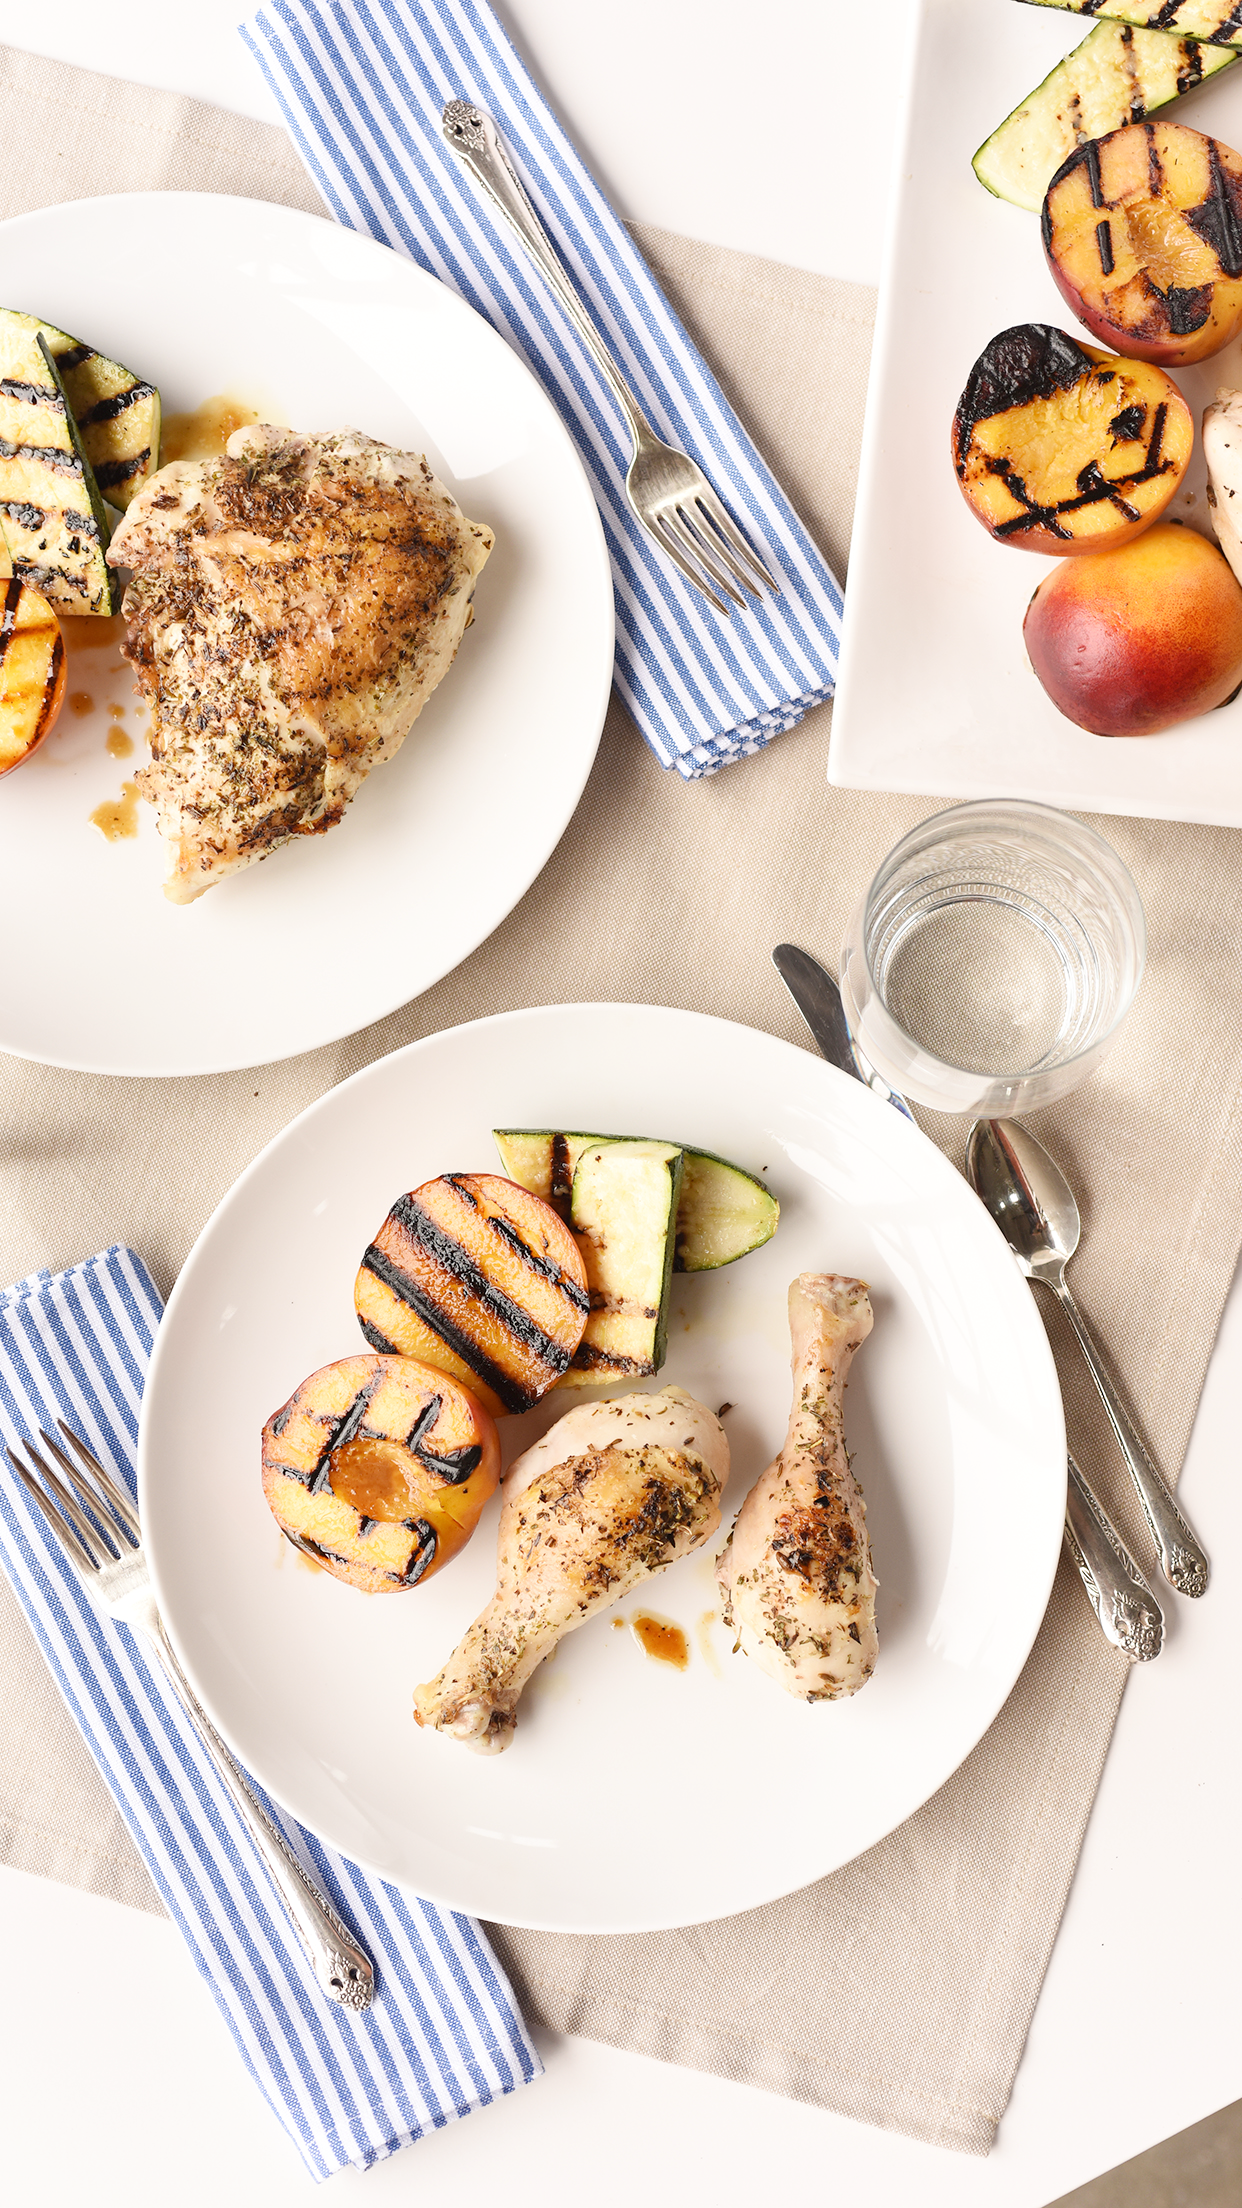
This dinner requires the best ingredients you can find. Good organic peaches - find them at a farm stand - local zucchini - find a friend that grows it - and very good chicken. I like to get the herbs at Market Spice because they are the best. The ones I used making this dish came directly from France when a friend brought them home for me from their trip.

Simple summer grilling dinner - Herbs de Province Chicken on the grill | Ali Hedin

Herbs de Provence Chicken

Serves 4


1 large split fryer, breasts, thighs, and drumsticks

¼ cup herbs de Provence

¼ cup olive oil

4 peaches, sliced in half

4 zucchini, sliced in half

2 tbs parmesan cheese

salt & pepper


STEP 1

Sprinkle Herbs de Provence and salt over the chicken pieces.  Rub in to coat completely. 


STEP 2

Grill chicken, peaches, and zucchini together in a grill pan or on the barbecue – brush with a few tablespoons of olive oil so it doesn’t stick.  If the chicken pieces are thick, start them first and grill the peaches and zucchini at the end for 5 minutes each. 


*Cook the chicken until a thermometer reads 160 degrees.


STEP 3

Sprinkle parmesan and salt & pepper over hot zucchini.  Serve everything together.


Simple summer grilling dinner - Herbs de Province Chicken on the grill | Ali Hedin

Classic Spritz
Ali Hedin's Classic Italian Spritz from Venice

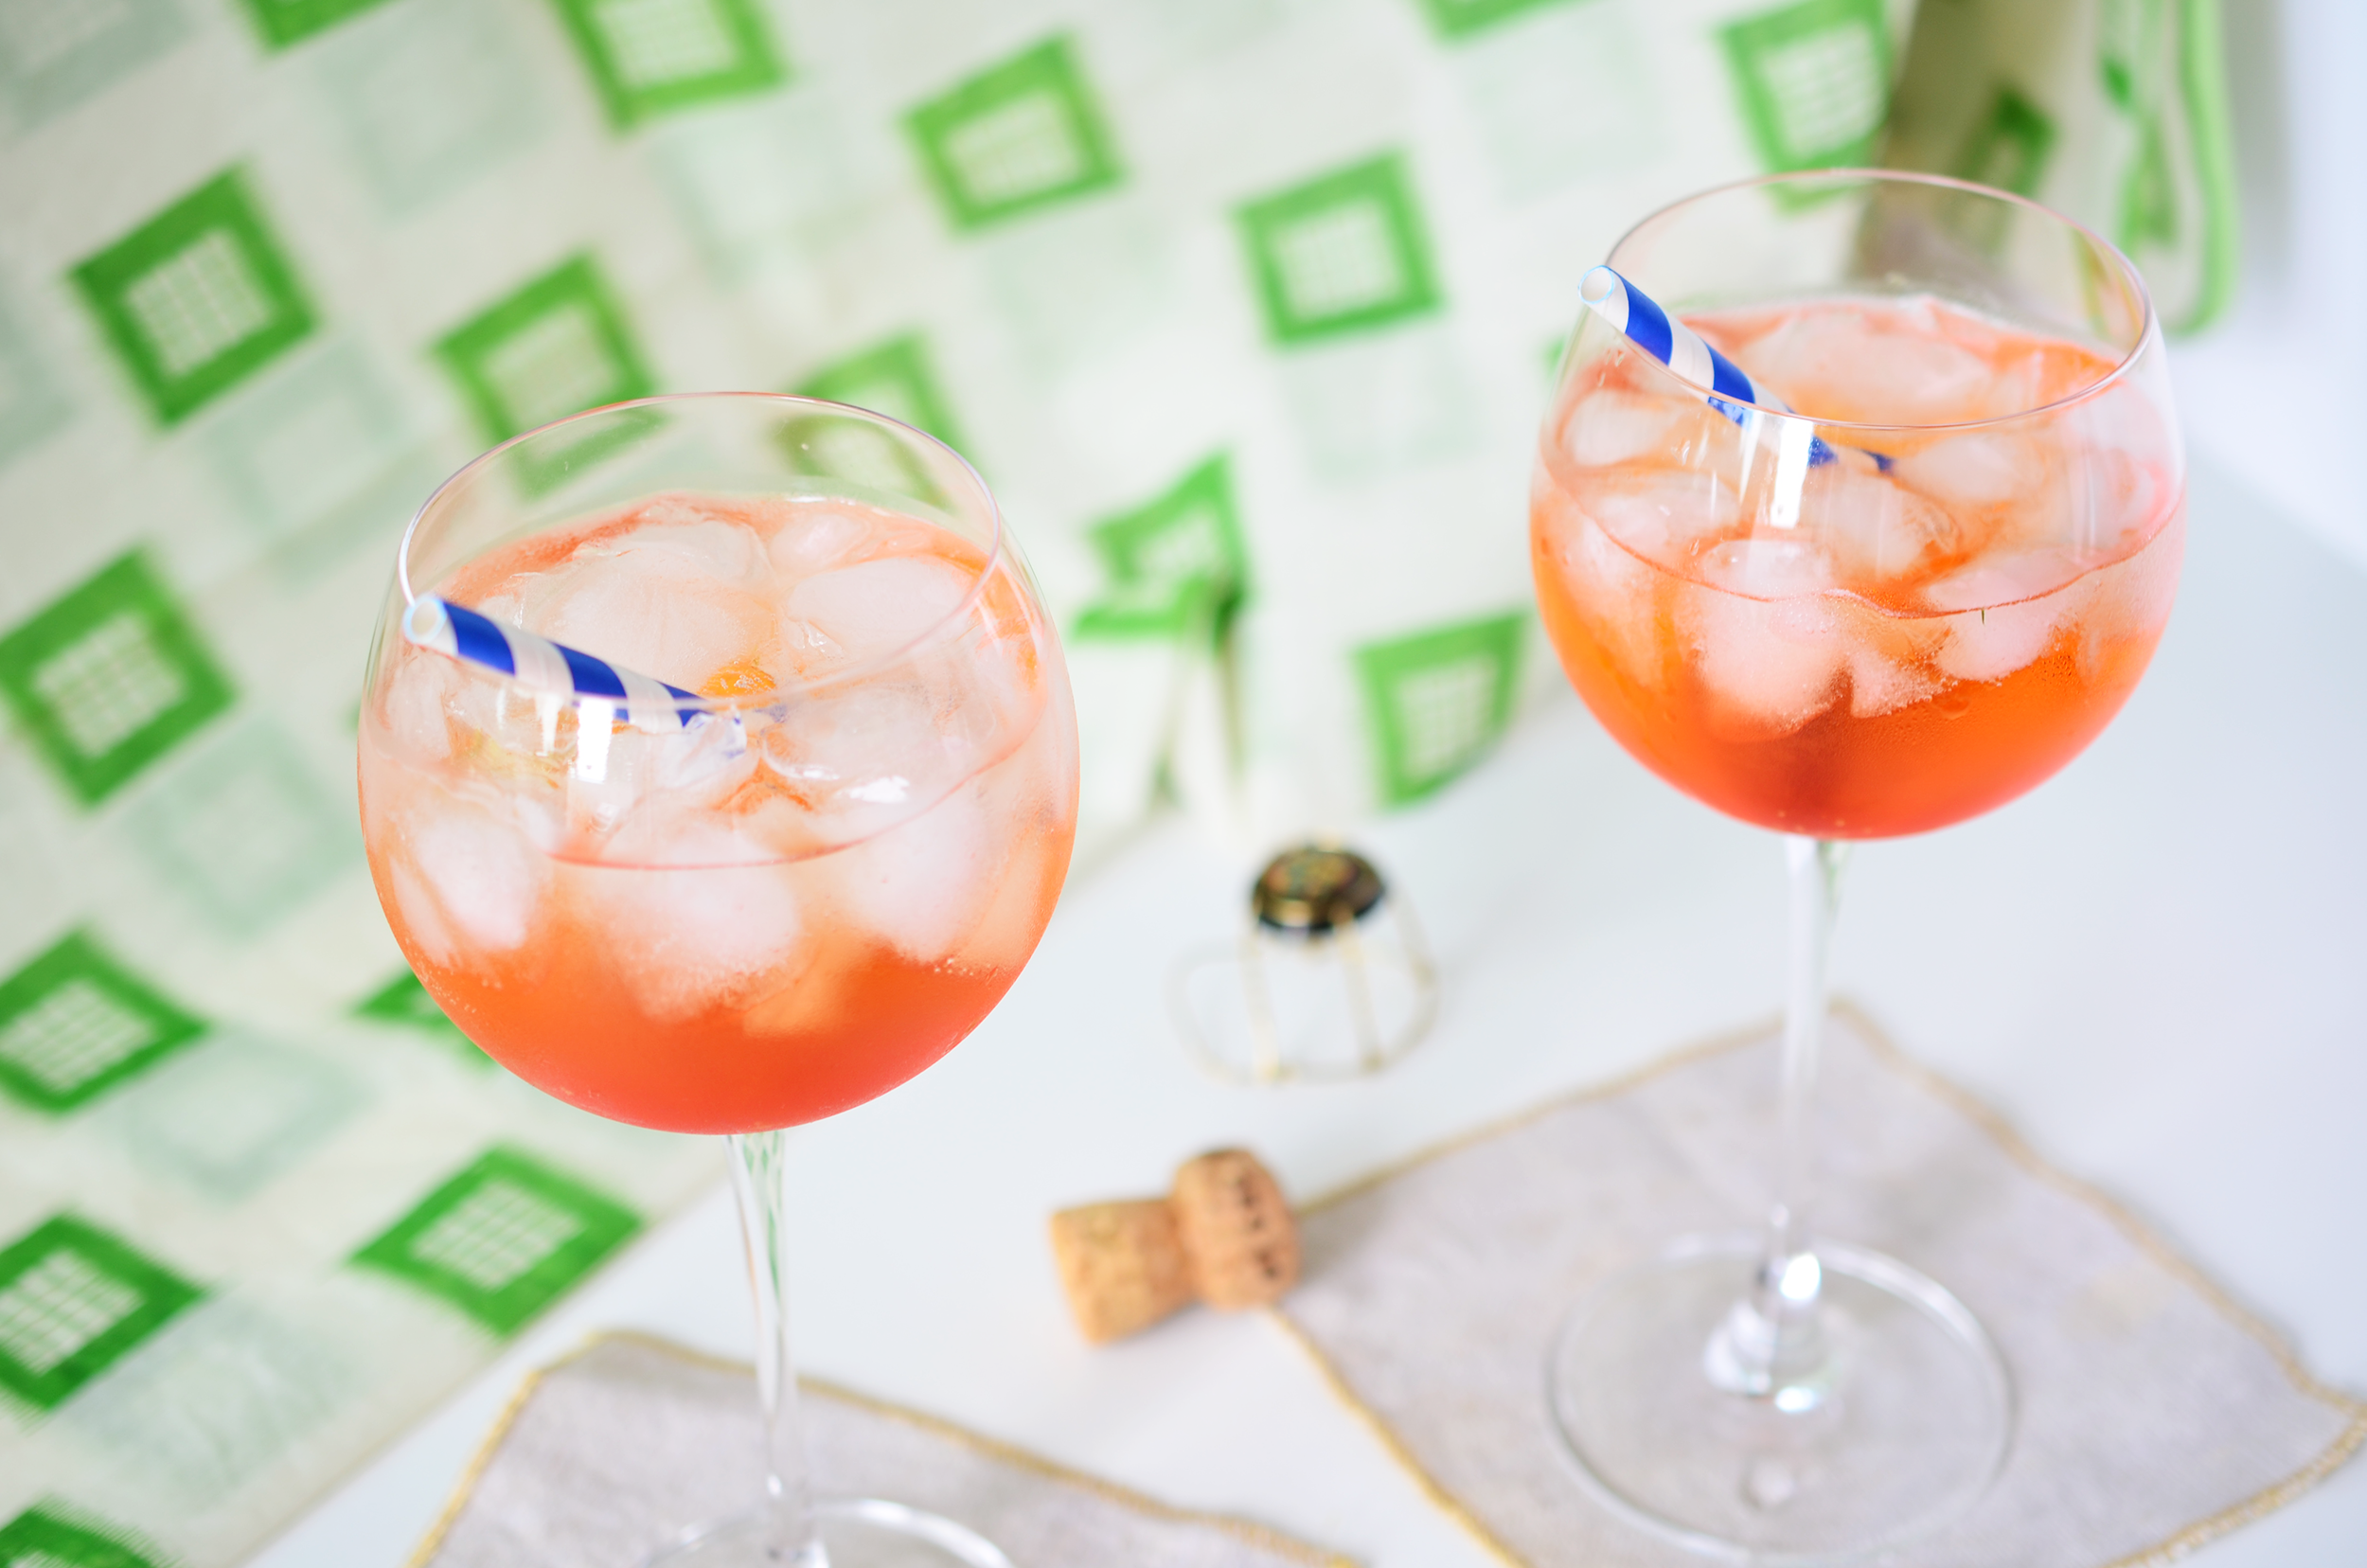
The classic spritz online is THREE parts Prosecco, two parts Aperol and one part soda water. But it doesn’t taste like the spritz I had in Venice last year. So I messed around with the proportions and decided that just a little less Prosecco makes for the proper cocktail. Obviously, you can add more bubbles if you’d like, but I like it just like this - a little more bitter!

Ali Hedin's Classic Italian Spritz from Venice

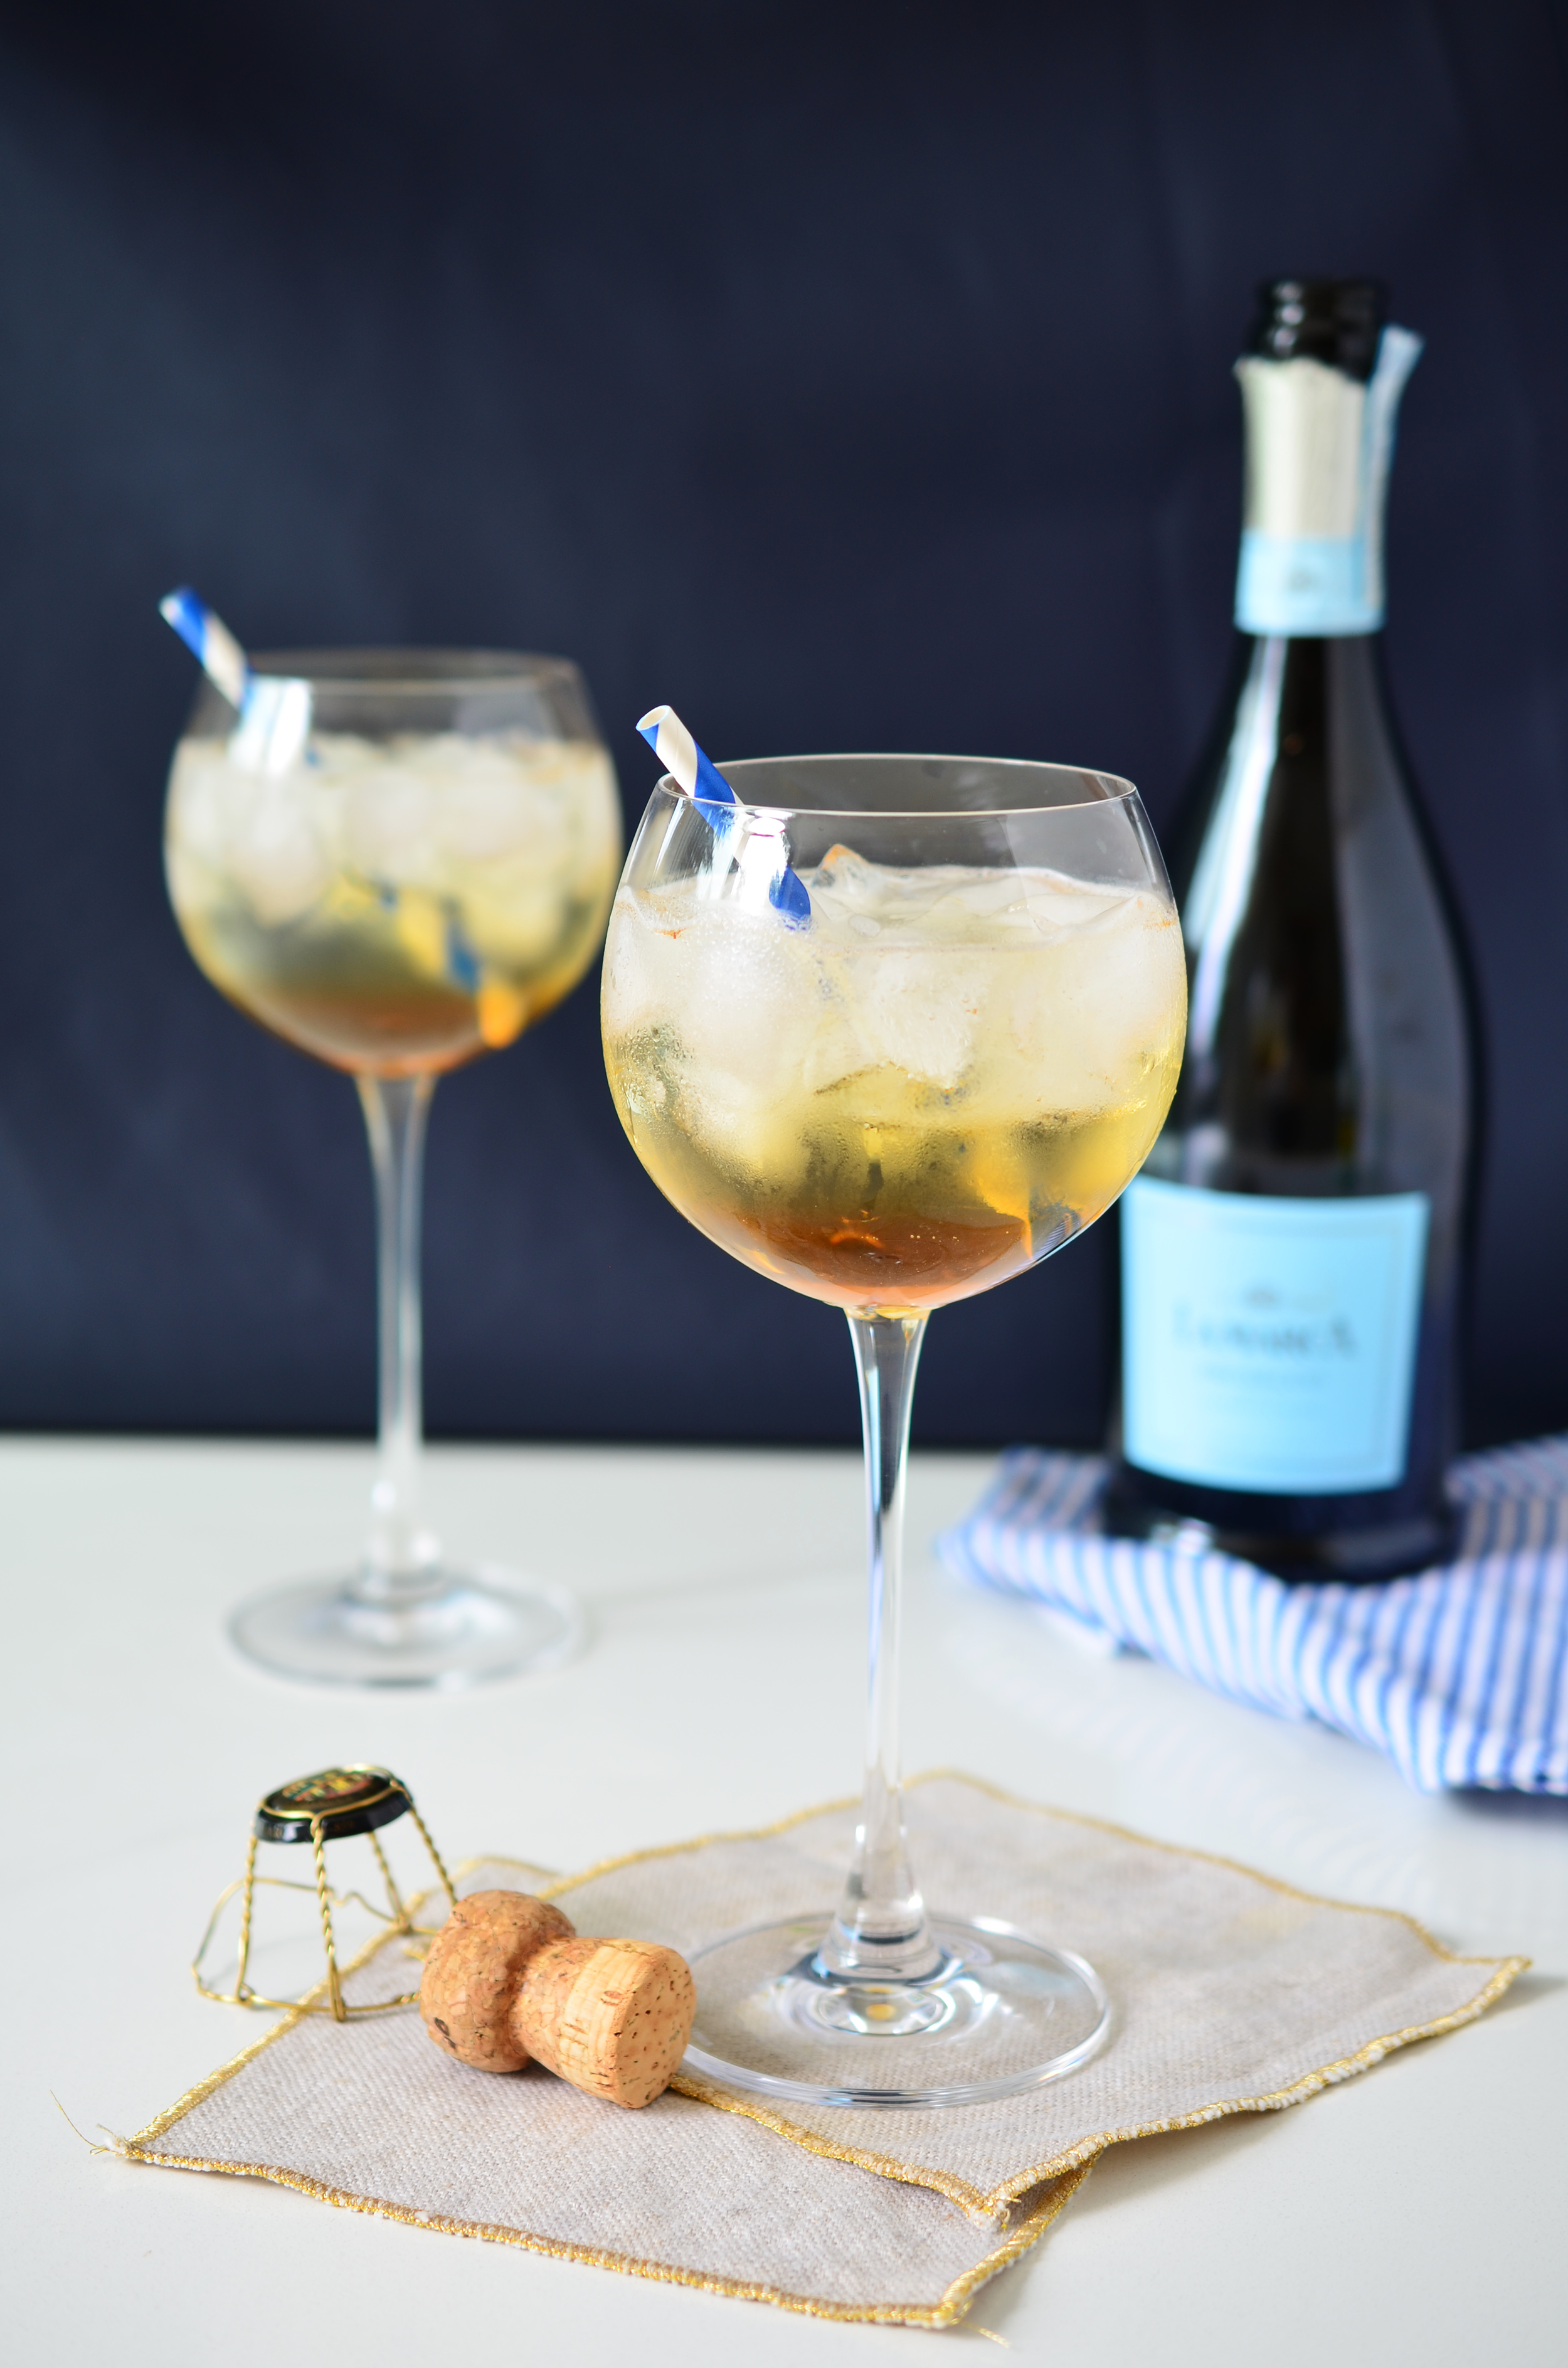
A spritz is the perfect day drinking/afternoon cocktail. It’s light on booze - Aperol and Prosecco are both light alcohol options so you can have one (or two) and still function for the rest of the afternoon. It’s a classic option when you’re sitting at a cafe in Venice on a warm summer day. The secret to a good spritz is to not waste expensive champagne on it! I like La Marca, which is a reasonably priced Prosecco that tastes great in a cocktail like this.

Ali’s Classic Spritz

2 parts Prosecco

2 parts Aperol

1 part soda water

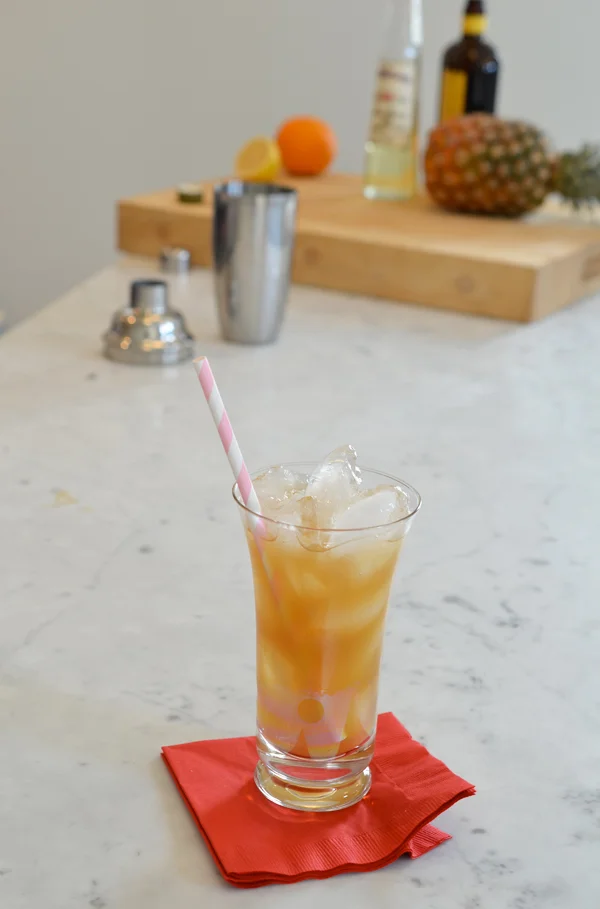
Fill a glass with ice. Pour in two parts Aperol (I use two ounces) then add equal parts Prosecco. Top with soda water and add a straw. Cin cin!

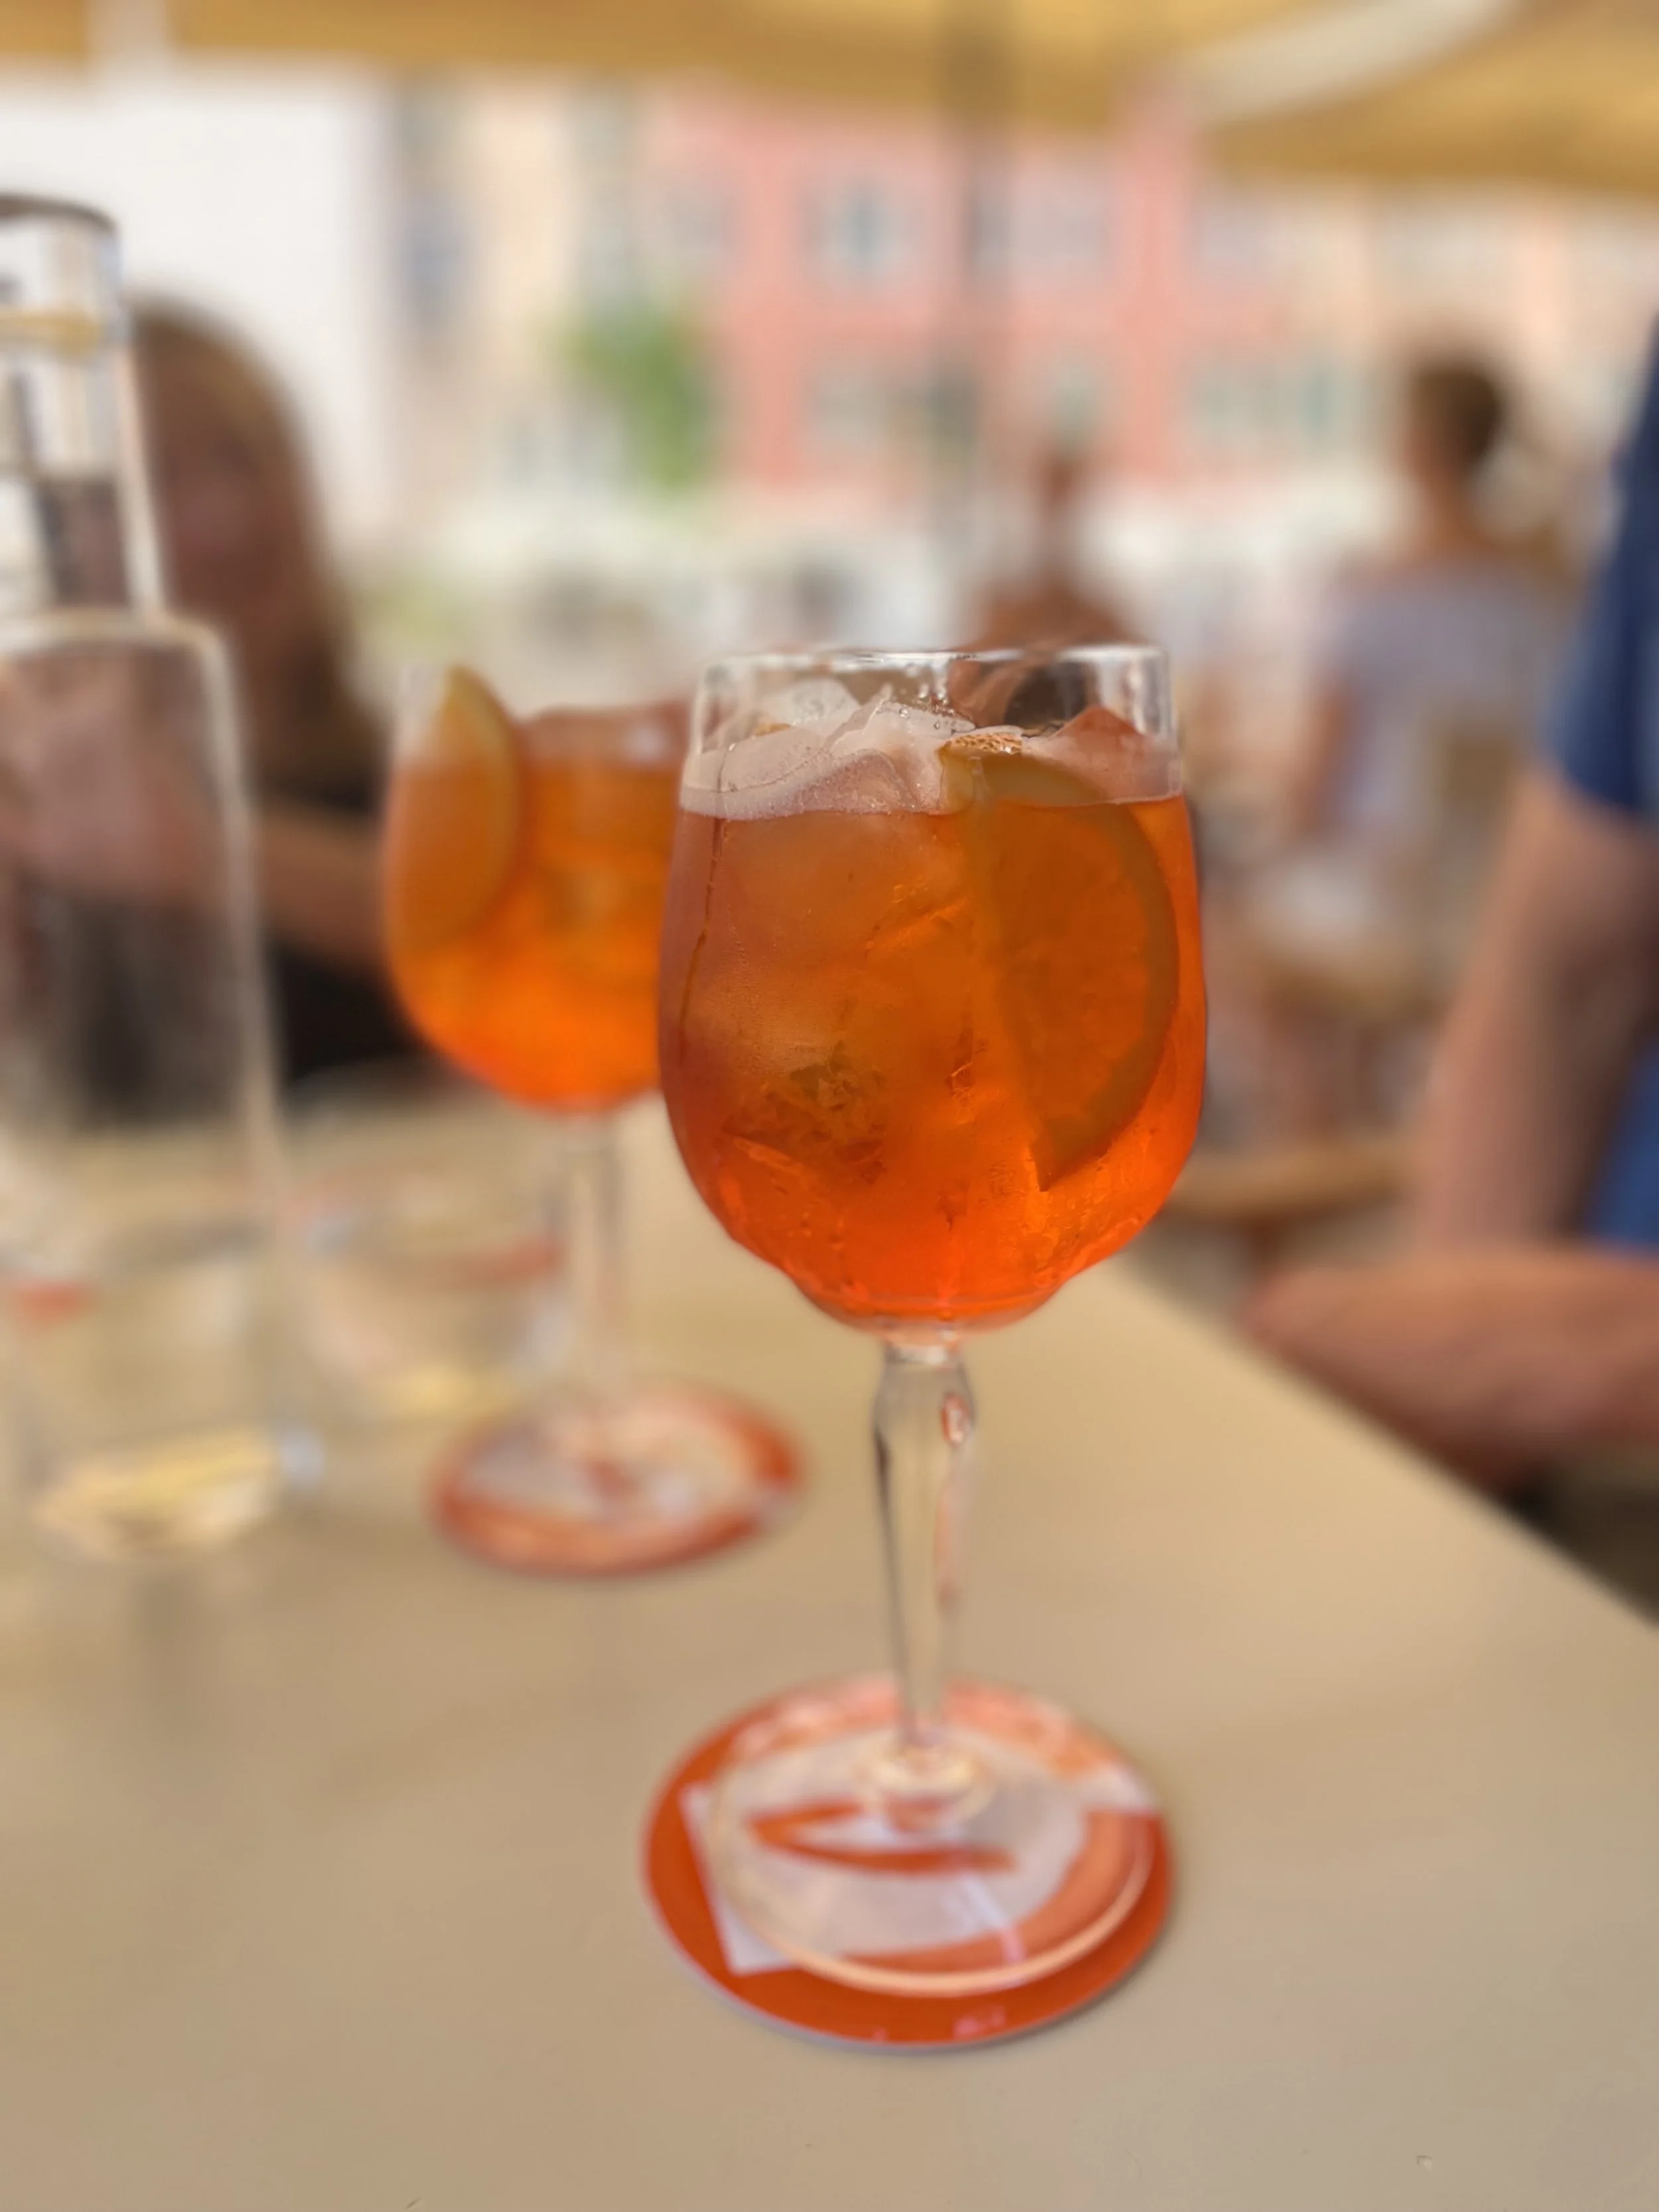
The perfect spritz in Venice with the love of my life.


Let's Shop | Summer
Ali Hedin Summer Living

School is out! Summer is here! It’s the best time of year at our house because there are no schedules, no definite plans, and no responsibilities. My kids used to do swim team so we were home all summer - at least Monday through Thursday - and we could only go to the beach on the weekends. Now that the kids are older and out of summer scheduled events, we can be at the beach and live our best summer life for all three months.

I’m always on the hunt for the best things to make my summer the best summer ever - these are my new favorite things.

Ali Hedin Summer Living Inspiration

Cordless Outdoor Lamps :: Stripe Bag :: Supergoop Sunscreen :: Oyster Cast Iron Grill :: Yeti Ice Bucket :: Tower 28 Lip Gloss :: Pink Stripe Umbrella :: Wood Handled Clippers :: Super Cool Blue Weber Grill :: Business & Pleasure Beach Blanket

How & why I’m using it all

  • The cordless outdoor lights are perfect for eating outside. As soon as it starts to get dark, parties tend to break up. But if the lights are still going - then the party is still going!

  • A pink stripe umbrella is just about the cutest thing you’ve ever seen! It comes in several colors to match your outdoor space - and take it up a notch.

  • Wood handled clippers just look like they’re so much nicer than my plastic coated handled ones. And I clip A LOT of flowers.

  • Do not go outside without sunscreen. So use a good one.
  • I live in this lip gloss. It’s the perfect shade of red and it looks shiny and fresh which is what I’m going for in the summer.

  • All of everything fits into this cute bag. My general routine is to put all of the random bits that I need for the day in a big bag like this, then drop my cute purse on top!

  • I am working on some wood burning grilling this summer - a Weber is the perfect way to make that happen! I cannot wait until I can share what I have up my sleeve on the grill.

  • Baseball games are so much more fun when you can roll out a blanket and sit on the grass to watch it. This is such a cute way to do that - and I love when blankets have handles too.

  • In the summer, we bake or grill our oysters at the beach. The whole “months without an ‘r’” thing makes me nervous. Fill the oysters with an herb-y butter and pop them on the grill in this pan and they will bubble up and be EPIC.

  • Summer in the PNW is generally not hot, but it’s getting warmer and keeping drinks cooler is mandatory.


Ali's Faves in Palm Springs

We go to Palm Springs a lot. It’s an easy flight from Seattle and a guarantee of some sun when we’re tired of the Seattle weather. I get asked recommendations a lot and have had a list of places in my phone, but this seemed easier for everyone. And I’ll update it as we go back again! We’re sure to be back again.
Below is my collection of my favorite spots for food, cocktails and things to do. Usually when we’re down, our “things to do” are sit in the sun and read a book. So it’s not a robust list of activities, but a few things to do when you’re in town.

EATS

Bar Cecil - If you can get a reservation, then go!! The food is so amazing, the space is darling, and every detail is well thought out.

Armando’s Bar & Grill (in Palm Desert) - Their margaritas are legendary and the queso is a must! Its the perfect pit stop when you’re on El Paseo in Palm Desert.

Paul Bar/Food - They don’t take reservations, so it can be tricky. We’ve found that showing up around 7:30 or 8pm makes for a shorter wait as the 5pm line has filtered through already. The food is epic and the bartender is ridiculously good.

Blue Coyote - Classic Mexican food that’s exactly what you are looking for. I recommend the Verde Enchiladas or the Carne Asada. Also, their pitcher of Howling Margaritas have caused a lot of problems for me the next morning!

Workshop Kitchen + Bar - Order the rum punch! The food is classic American and fabulous - but that rum punch is something else.

Alice B. - Yep, it’s in a retirement village. But it’s the best food I’ve had in the desert. The ambiance is completely lacking but the delicious food makes up for it!

Holiday House - The brunch here is delightful, but the space is my favorite. I’m slowing turning my house into their lobby.

DRINKS

Melvyn’s Piano Bar - Make sure you go when the pianist is playing! We love to hit Melvyn’s after dinner for a drink and dancing. It’s a perfect spot to feel like the Palm Springs of the 1960’s.

Seymour’s Palm Springs - A speakeasy tucked into Mr Lyon’s that’s adorable. Ideally, you can sit inside because it’s darling and cozy, unfortunately, it’s also very small - so there’s an outdoor space that’s lovely too.

Bootlegger Tiki - Amazing tiki cocktails!! Don’t go hungry, they don’t serve any food - even peanuts. But the tropical cocktails are worth the stop.

Margaritaville Hotel - Yep, that’s right, a cheesy hotel - with an amazing bar program. I don’t think Jimmy would have it any other way! Try the Brunch Punch.

Things to do

Copa Nightclub - I’ve been to good Drag Shows here and bad Drag Shows here. But a Drag Show is always fun, so take the gamble and head in! The drinks are basic, so don’t try to get anything too fancy, you’ll be disappointed.

Hike to the Cross Trailhead - It’s a slow steady climb up to a cross the church below placed on the top of the hill. It’s a great hike to feel a little better after all of the Howling Margaritas and queso. Go early before it’s hot, take water, and plan for about two hours.

Thursday Night Street Fair - If you love folksy art and handmade goods, this is your spot. Even if you don’t, it’s fun to walk the street filled with booths of locals selling things you probably don’t need - but maybe want?


Study Treats (a.k.a. No Bake Peanut Butter Bars)

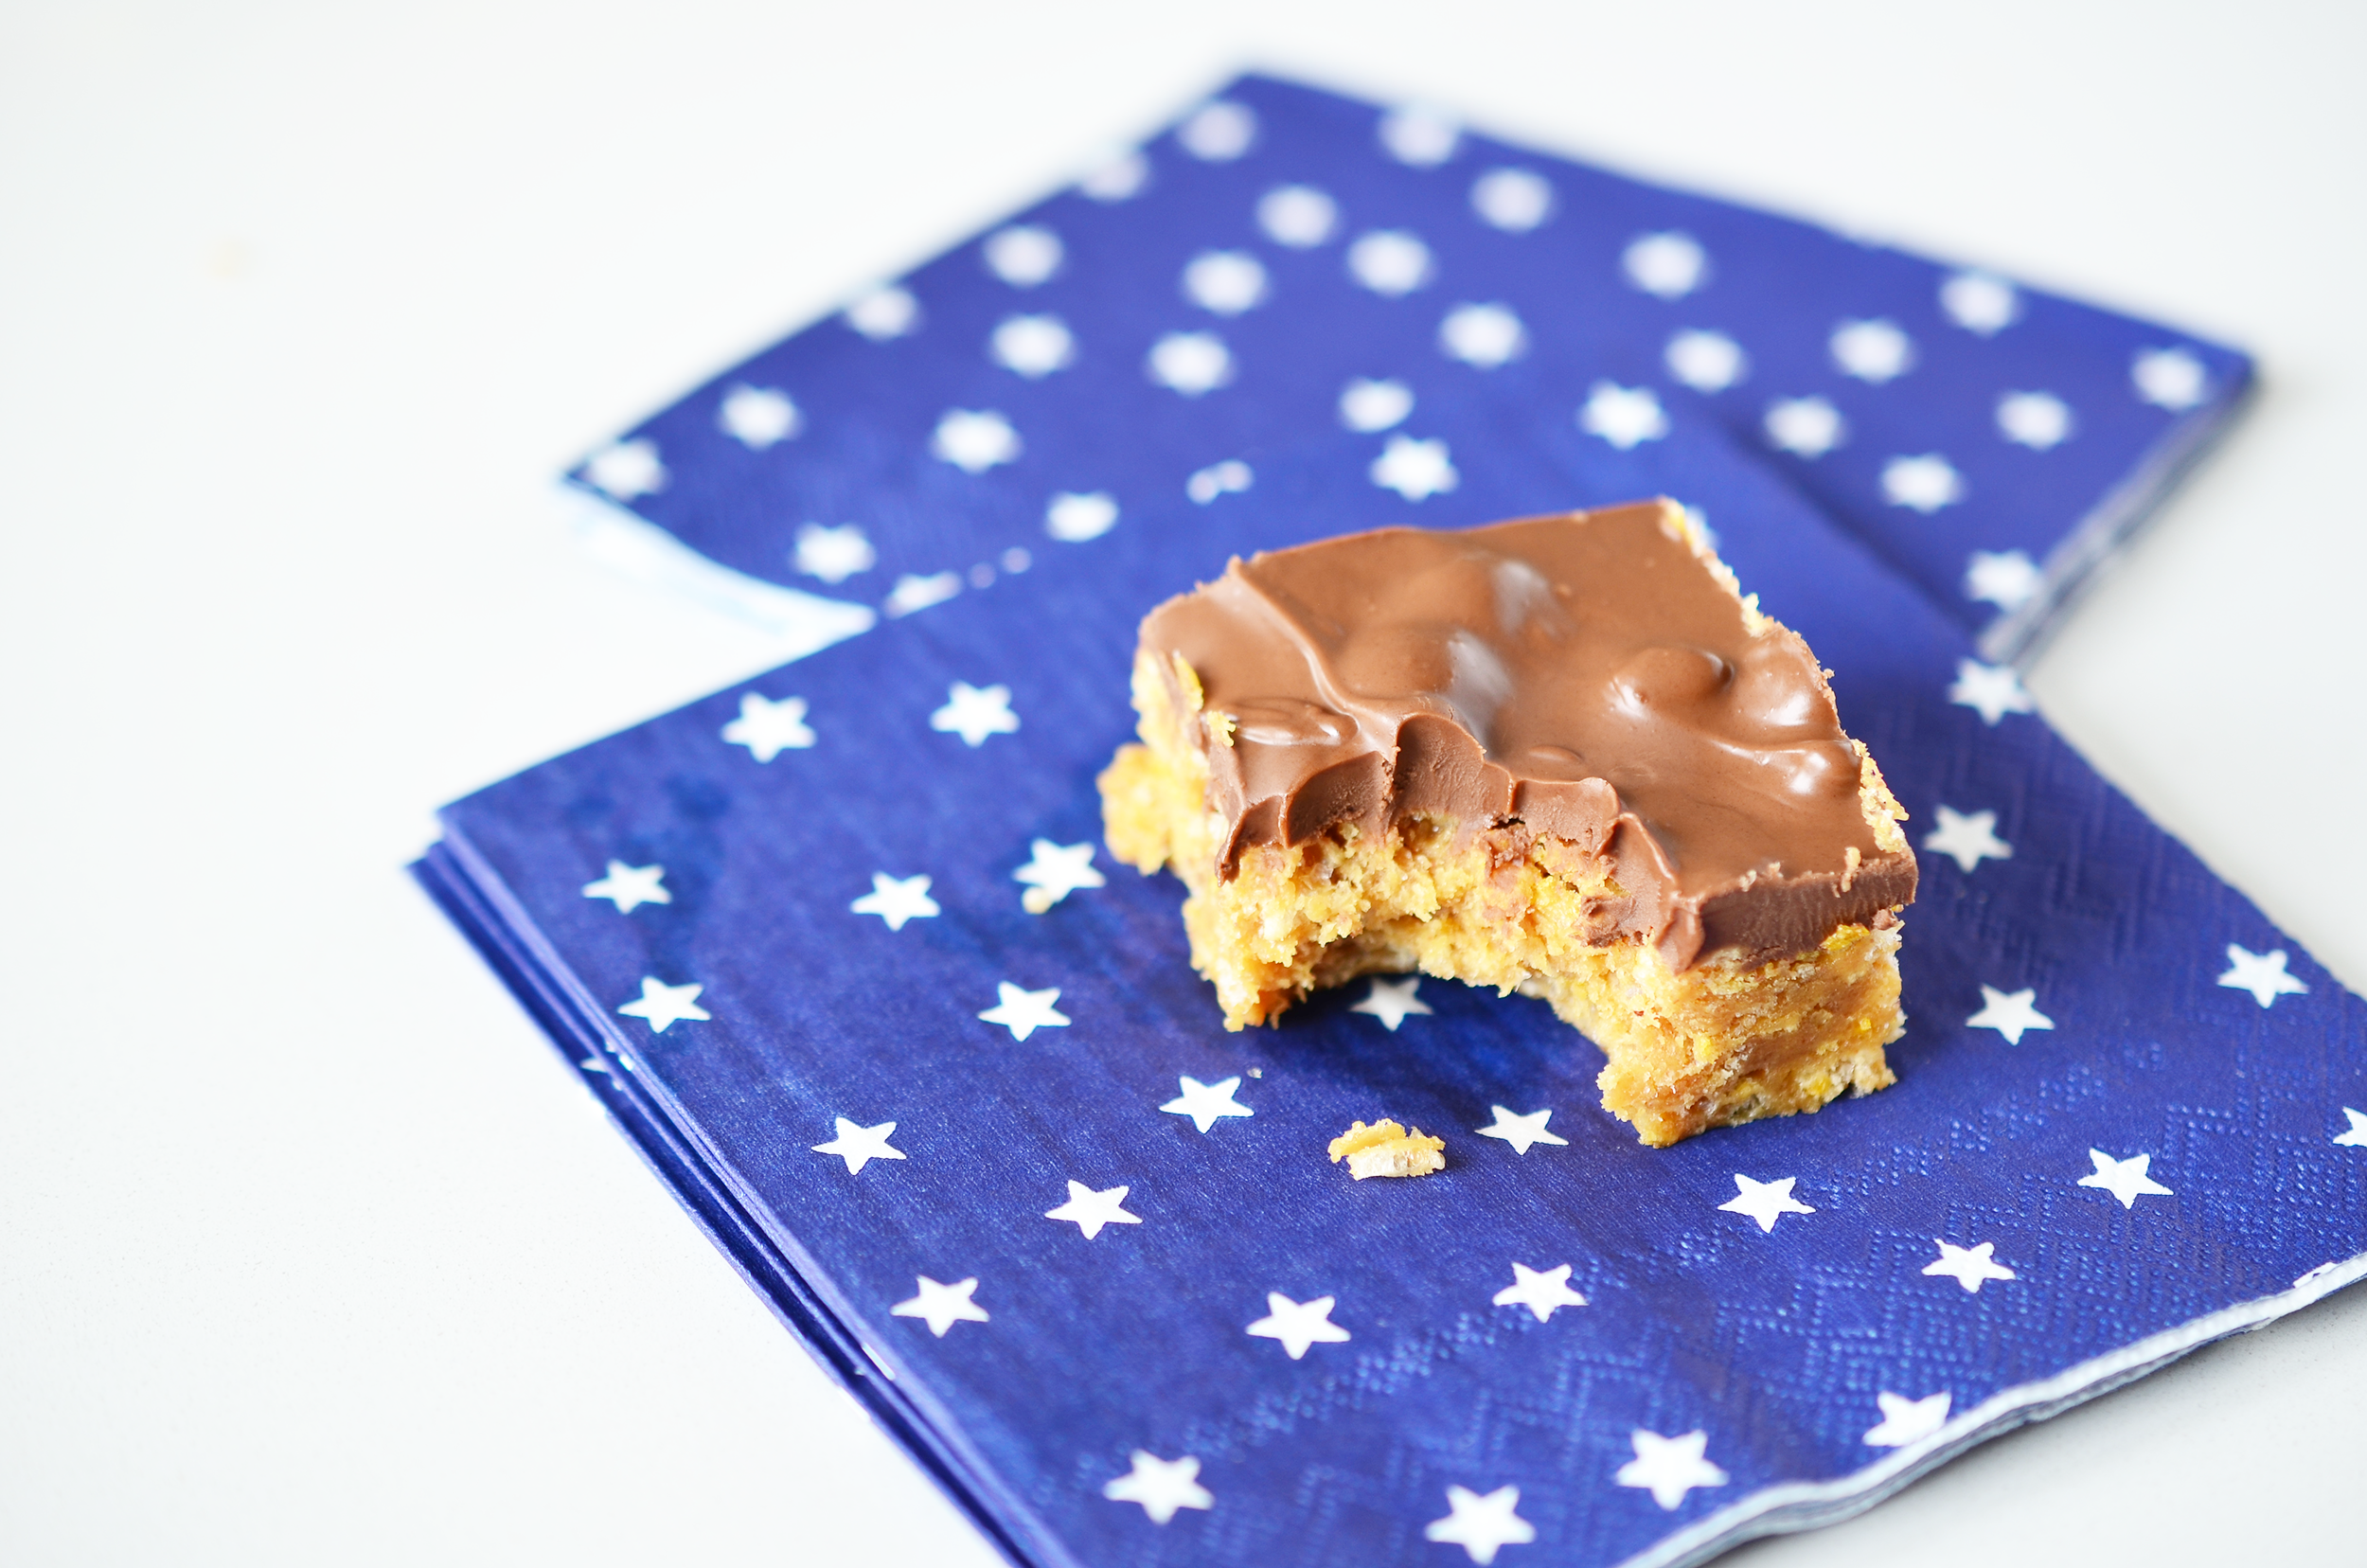
Did you gain the freshman 15 in college? No worries if you didn’t - I gained it for all of us. At least three of us. Maybe four. I really loved everything I found in college and these study treats were a clear reason I gained more weight my freshman year than I even gained pregnant. Even making test batches all week have me desperate to find my will power - especially when I landed on THE recipe.

This is it! Were you a Gamma Phi in the late 1990’s in Seattle? Then you remember these bars. We stood out front of the dining room doors waiting for them to open so we could descend on the platter set out for us. I hadn’t thought of them in years except that a girlfriend’s daughter is going through rush this fall and I started dreaming about all of the things I ate in college. These are at the top of the list.

As you might imagine from a dessert bar from institutional cooking, these are crazy simple. The most time you’ll need is to let them cool before cutting. Most of the process happens on the stove, and then the bits are pushed into a brownie pan. Don’t be shy when you push. These bars sticking together is critical.

I did try to upgrade ingredients. I attempted to replace corn syrup with honey. Nope. I attempted a high quality peanut butter. Also, nope. The key here is inexpensive peanut butter, the creamiest one you can find, and regular old corn syrup.

Study Treats - No Bake Peanut Butter Chocolate Bars

Study Treats

(a.k.a. No Bake Peanut Butter Bars)

makes 16 squares

1/2 cup corn syrup

1/2 cup brown sugar

1 cup smooth peanut butter

1 cup corn flakes

2 cups Rice Krispies

1 cup milk chocolate chips

2 tablespoons shortening

STEP 1

Line an 8x8 pan with foil and spray with oil. Set aside.

STEP 2

In a saucepan, melt together corn syrup, brown sugar and peanut butter until smooth. Stir regularly and remove from heat as soon as it’s smooth.

STEP 3

Stir in both cereals until completely coated. Press into the bottom of the prepared pan and push down well.

STEP 4

In a microwave proof bowl, melt together the chocolate and shortening. I put it in the microwave for one minute, then stir completely. Then another 30 seconds to make it totally smooth. Pour immediately on the cereal bars and smooth out over the top.

Chill for at least one hour before cutting.

Study Treats - No Bake Peanut Butter Chocolate Bars

Thai Chicken Burgers
Thai Chicken Burgers are like takeout on a bun!  Ali Hedin

I don’t know anyone who doesn’t like Thai takeout. Except, of course, picky kids. My own personal picky kids were so annoying about what they would and would not eat. Especially when I will literally eat anything (almost). So I started to find ways around getting my kids to eat things that they may not otherwise eat.

Burgers are the best way to introduce more flavors! Kids can start small and then move into adding more as they realize how delicious everything really is - especially when it’s all together. But start small and put each item on their plate separately.

Thai Chicken Burgers are like takeout on a bun!  Ali Hedin

Thai Chicken Burgers

Serves 4


1.5 lb ground chicken

juice + zest of 1 lime

3 cloves grated garlic

¼ cup panko

2 tbs cilantro

2 tbs grated ginger

salt and pepper

brioche buns


2 carrots shredded

1 cucumber shredded

4 green onions, sliced


¼ cup peanut butter

2 tbs canola oil

1 tbs rice vinegar

1 tbs soy sauce

2 tbs chicken stock


STEP 1

Mix together chicken, lime, garlic, panko, cilantro, ginger and form into patties.


STEP 2

Whisk together peanut butter, canola oil, vinegar, soy sauce, ginger, garlic, and stock in a microwave proof bowl.  Heat in the microwave at one minute increments until peanut butter is soft and the mixture comes together easily.


STEP 3

While peanut sauce cooks, cook patties on the grill or in a grill pan.


STEP 4

Grate the carrot and cucumber into a bowl with sliced scallions.  Toss vegetables in half of the peanut sauce


STEP 5

Place patty on bun.  Top with vegetables.  Add extra peanut sauce as needed.


Greek Burger

Greek flavors are some of my favorite flavors. This burger is all of those flavors - literally ALL OF THEM - crammed into one burger and it is epic.

We have a food truck that comes once a week to our neighborhood - and my favorite one (ok, one of my favorite ones) is the gyro truck. I see on the schedule that he’s coming, and I make sure we preorder so I know we will get our gyro fix. You can ask for extra tzatziki - and I obviously do that - but when you make your own burger versions, you can add as much as you want. You can even dip the burger into the tzatziki for extra sauciness. I for sure make that choice.

I cannot recommend it enough.

Greek flavors in an amazing burger and topped with gyro style toppings | Ali Hedin

I like to make these patties ahead and leave them raw in the fridge. Then right before it’s time to eat, I pop them on the grill. I’m also home during the day, which does create a little more time for me to prep that’s not always available to everyone. So divide the jobs up! One person makes the tzatziki, one person makes the patties, another gets all of the toppings pulled together! It comes together pretty quick when you have (make) everyone help you!

Greek flavors in an amazing burger and topped with gyro style toppings | Ali Hedin

Greek Burger

Serves 4


1.5lb ground chicken

½ cup chopped fresh spinach

½ cup feta cheese

1 tsp dried oregano

salt and pepper

1 cucumber, ½ cucumber grated & ½ sliced

1 cup greek yogurt

juice of ½ lemon

1 clove grated garlic

1 beefsteak tomato, sliced

4 brioche buns

1 cup greek olives


STEP 1

In a large bowl, mix together chicken, spinach, ¼ cup feta, dried oregano. (5 mins)


STEP 2

Form into four patties.


STEP 3

Combine yogurt, grated cucumber, lemon juice and 1 clove of grated garlic.  Let rest. (5 mins)


STEP 4

Cook patties over medium heat 10-15 minutes until done all the way through.  (15 mins)


STEP 5

Serve hot patties on a hamburger bun topped with tzatziki sauce, sliced tomatoes, sliced cucumber, reserved feta, and Kalamata olives. 


Classic Dutch Baby

Also called a German Pancake, the Dutch Baby is a family favorite! My mom used to make it all the time when I was a kid and it always seemed so fancy. Then when I got older, I realized she made it all the time because it’s so simple. My mom’s recipe is the best one out there because it’s three ingredients. AND it’s scaleable.

When I was a kid we ate it with a dusting of powdered sugar. My oldest eats it with jam. My middle with whipped cream. And my youngest eats it with Nutella, strawberries and whipped cream. He’s extra. The best part of this super simple Dutch Baby is that you can top it with literally anything. Your favorite fruit, jam, a jammy spread, your call.

Three ingredient Dutch Baby for breakfast that looks fancy | Ali Hedin

So here’s the secret to this: It’s just a 1:1:1 recipe. 1 egg is the equivalent of 1/4 cup which means for each egg, you add 1/4 cup milk and 1/4 cup flour. The recipe listed here is for a 12” skillet. If you go smaller in the skillet, then scale down. We have these tiny little skillets, so I’ll make individual Dutch Babies some mornings!

Three ingredient Dutch Baby for breakfast that looks fancy | Ali Hedin

Gwen’s Classic Dutch Baby

makes one 12” pancake


3 eggs

3/4 cup milk

3/4 cup flour

1 teaspoon vanilla

2 tablespoons butter


STEP 1

Preheat oven to 425 degrees.

In a blender, whiz the eggs until they are light and fluffy.


STEP 2

Slowly add the milk until incorporated. Then, with the blender going, slowly add the flour. Blend on high for two minutes until incorporated and there are no lumps. Do not over beat! Quickly stir in the vanilla.


STEP 3

Place a 12” skillet in the oven with the butter in it. Let the butter melt completely. Swirl it around and then pour in the freshly blended batter.


STEP 4

Bake 12-15 minutes until the pancake has fluffed up on the edges and is golden brown.


Shop for supplies


Aunt Carolann's Olive Bar Pasta Salad

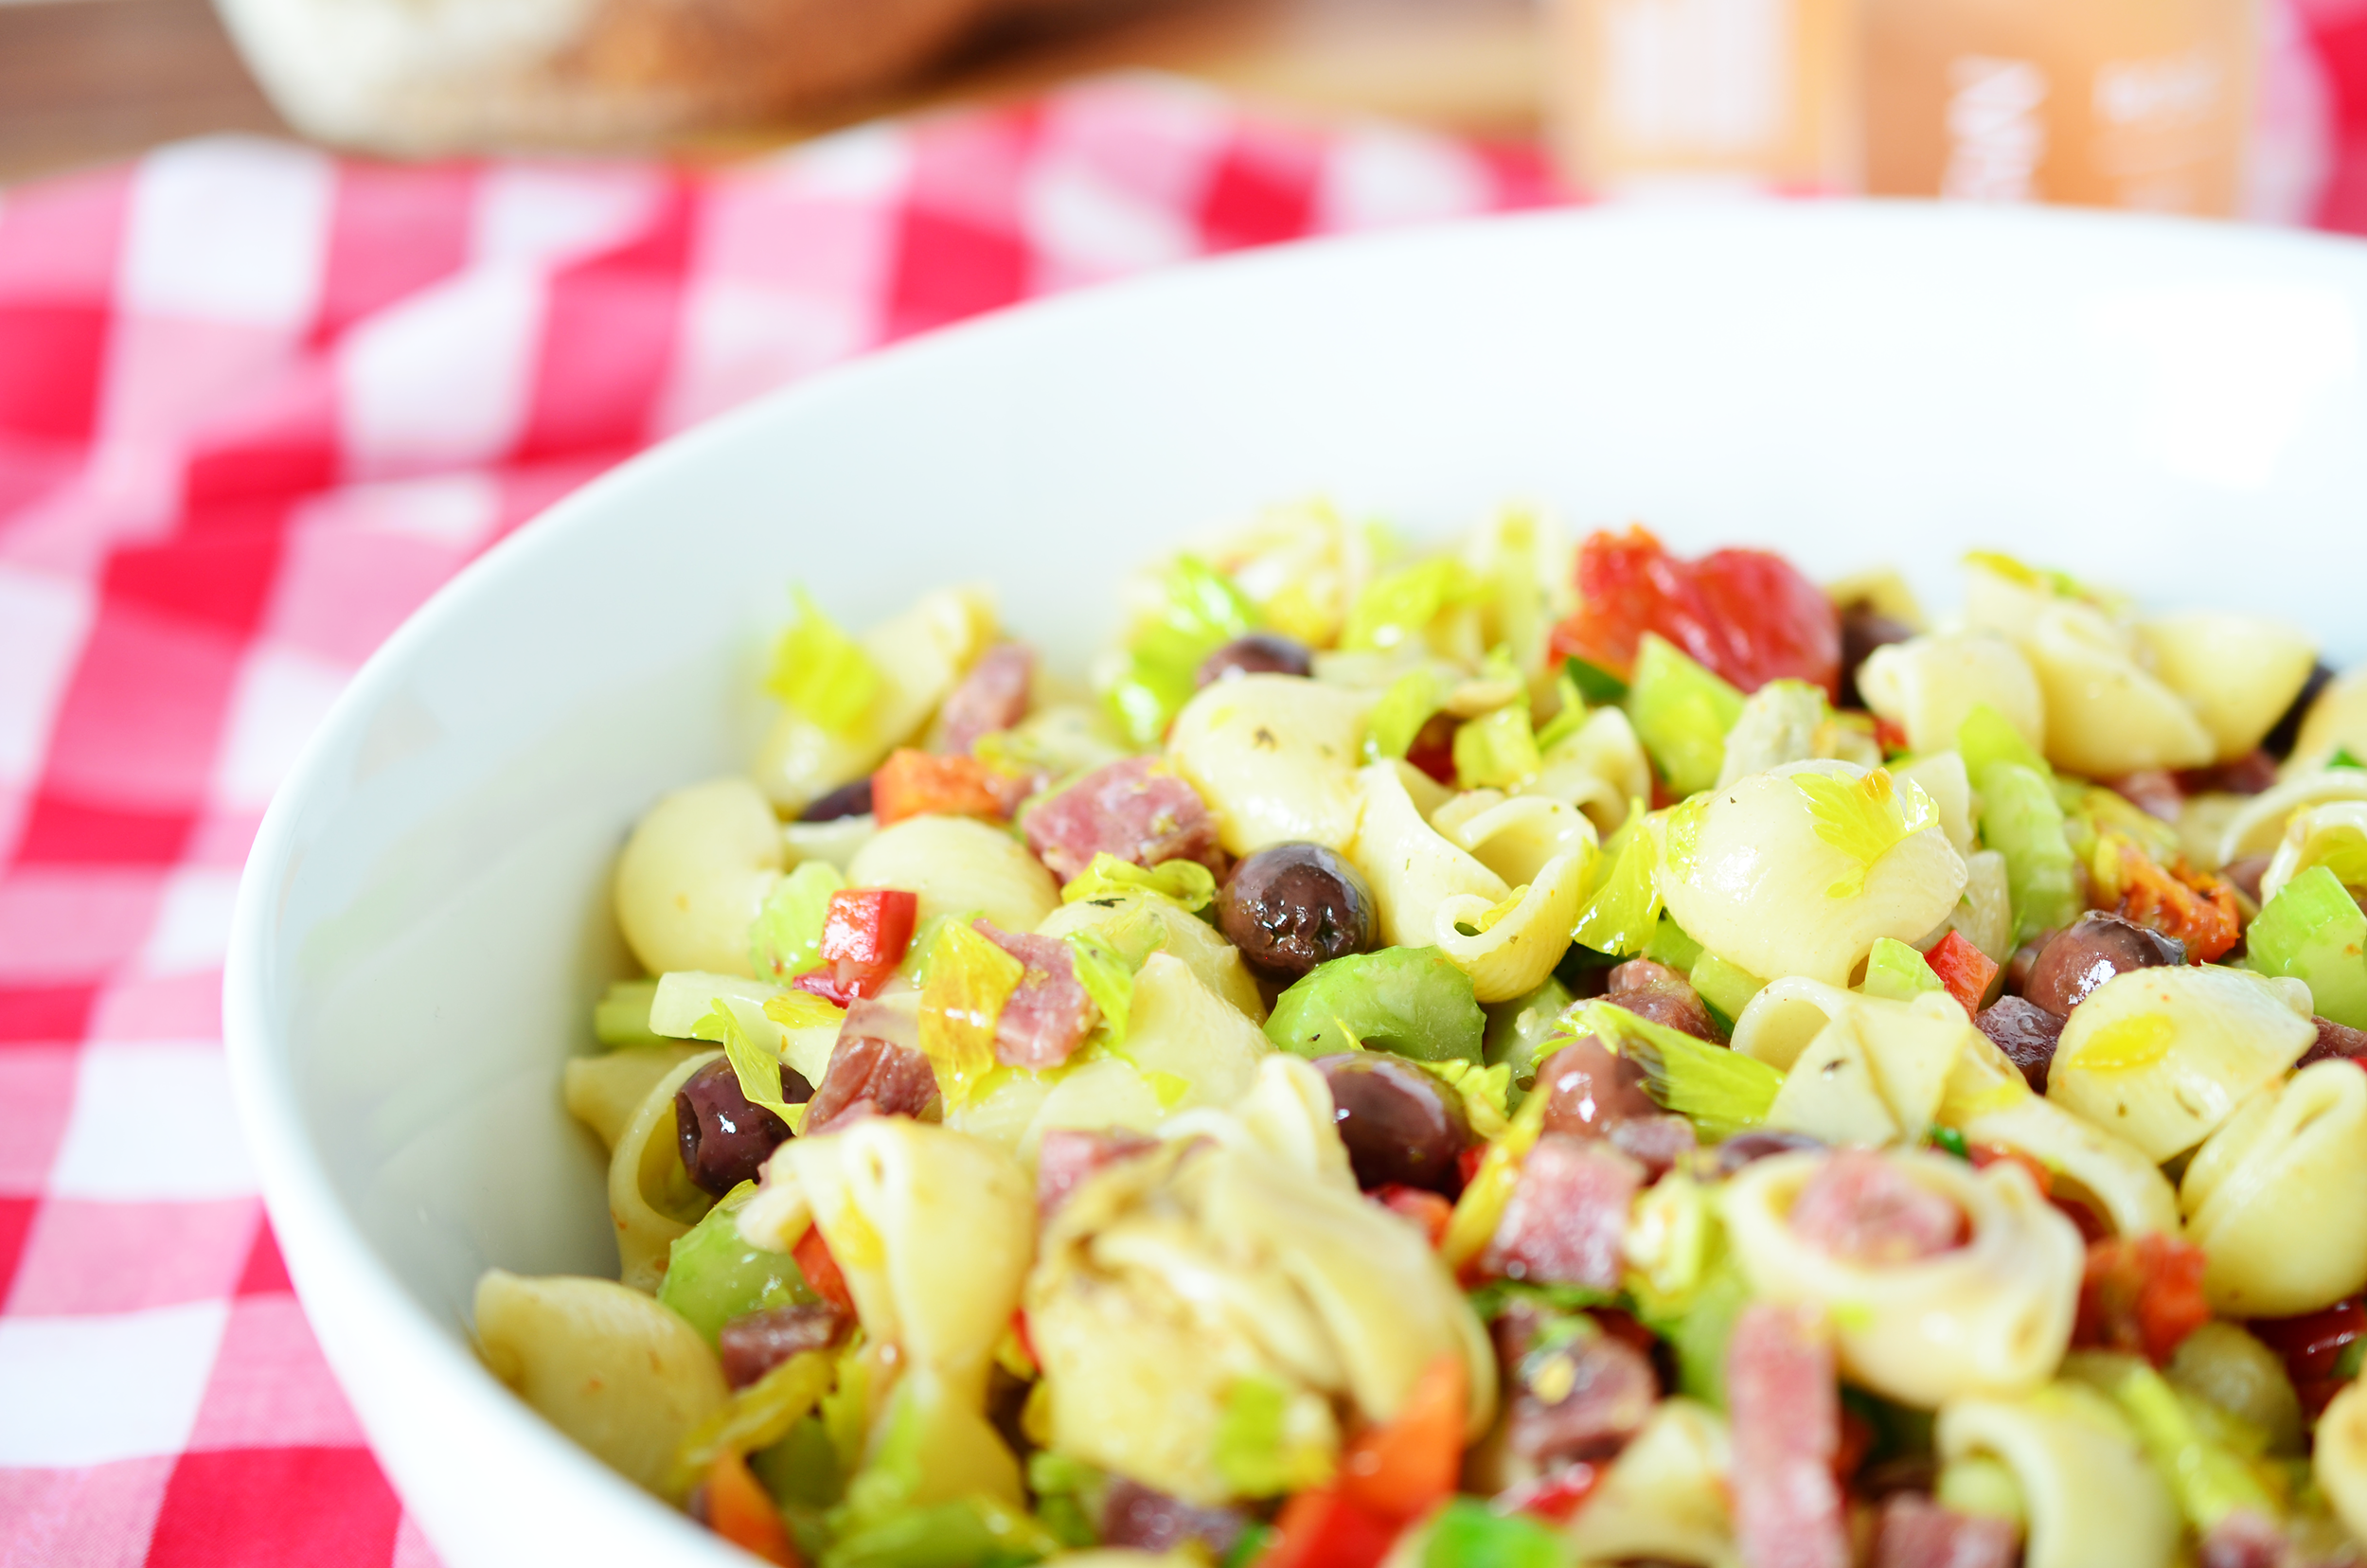
When I was growing up, this was a staple at every family gathering. Aunt Carolann always made this salad. And if she didn’t, then my mom did. It was by far the best part of a potluck buffet - and because we knew either Aunt Carolann or mom made it, then we knew it was a safe option. You never really know what’s at a potluck…

As an adult, I realized why this was at every potluck - it’s actually the easiest thing ever to make. And usually we have the ingredients in the pantry. Keep a bottle of Kalamata olives, regular pimento olives and capers in the pantry and you are ready to mix this up anytime. It has served me well when someone says at the last minute, “hey, I need to take something to school/work/party tomorrow!” Boom. Pasta Salad.

Perfect Potluck Salad | Olive Bar Pasta Salad by Ali Hedin (and Aunt Carolann)

You can really use anything pickled or marinated in this salad. It’s not rocket science. The secret is to toss the hot pasta with the salad dressing. It immediately soaks it up and makes the noodles taste ‘marinated’ too. Which is critical; nothing is grosser than plain noodles in a salad.

Perfect Potluck Salad | Olive Bar Pasta Salad by Ali Hedin (and Aunt Carolann)

Aunt Carolann’s Olive Bar Pasta Salad

1/2 pound dried pasta (small twisty shapes are best)

1/2 cup Italian salad dressing

1/2 cup chopped celery

1/2 cup chopped bell pepper

2 green onions, chopped

1/2 cup chopped salami

1 1/2 cup chopped olive bar bits (olives, marinated artichoke hearts, marinated garlic cloves, pickled mushrooms, marinated tomatoes, etc.)

STEP 1

Cook the pasta to package directions. Drain and immediately toss with the salad dressing. Let cool with the lid off the pan.

STEP 2

Chop all of the bits and toss them into the pasta. Let rest in the fridge for at least an hour - ideally 4-6 hours.

Perfect Potluck Salad | Olive Bar Pasta Salad by Ali Hedin (and Aunt Carolann)

another oLIve Bar FAvorite

Baking a split fryer chicken in a medley of olive bar favorites makes a fabulous dinner!